Best Design File Practices for Long-Run Cylinder UV Printing
Introduction
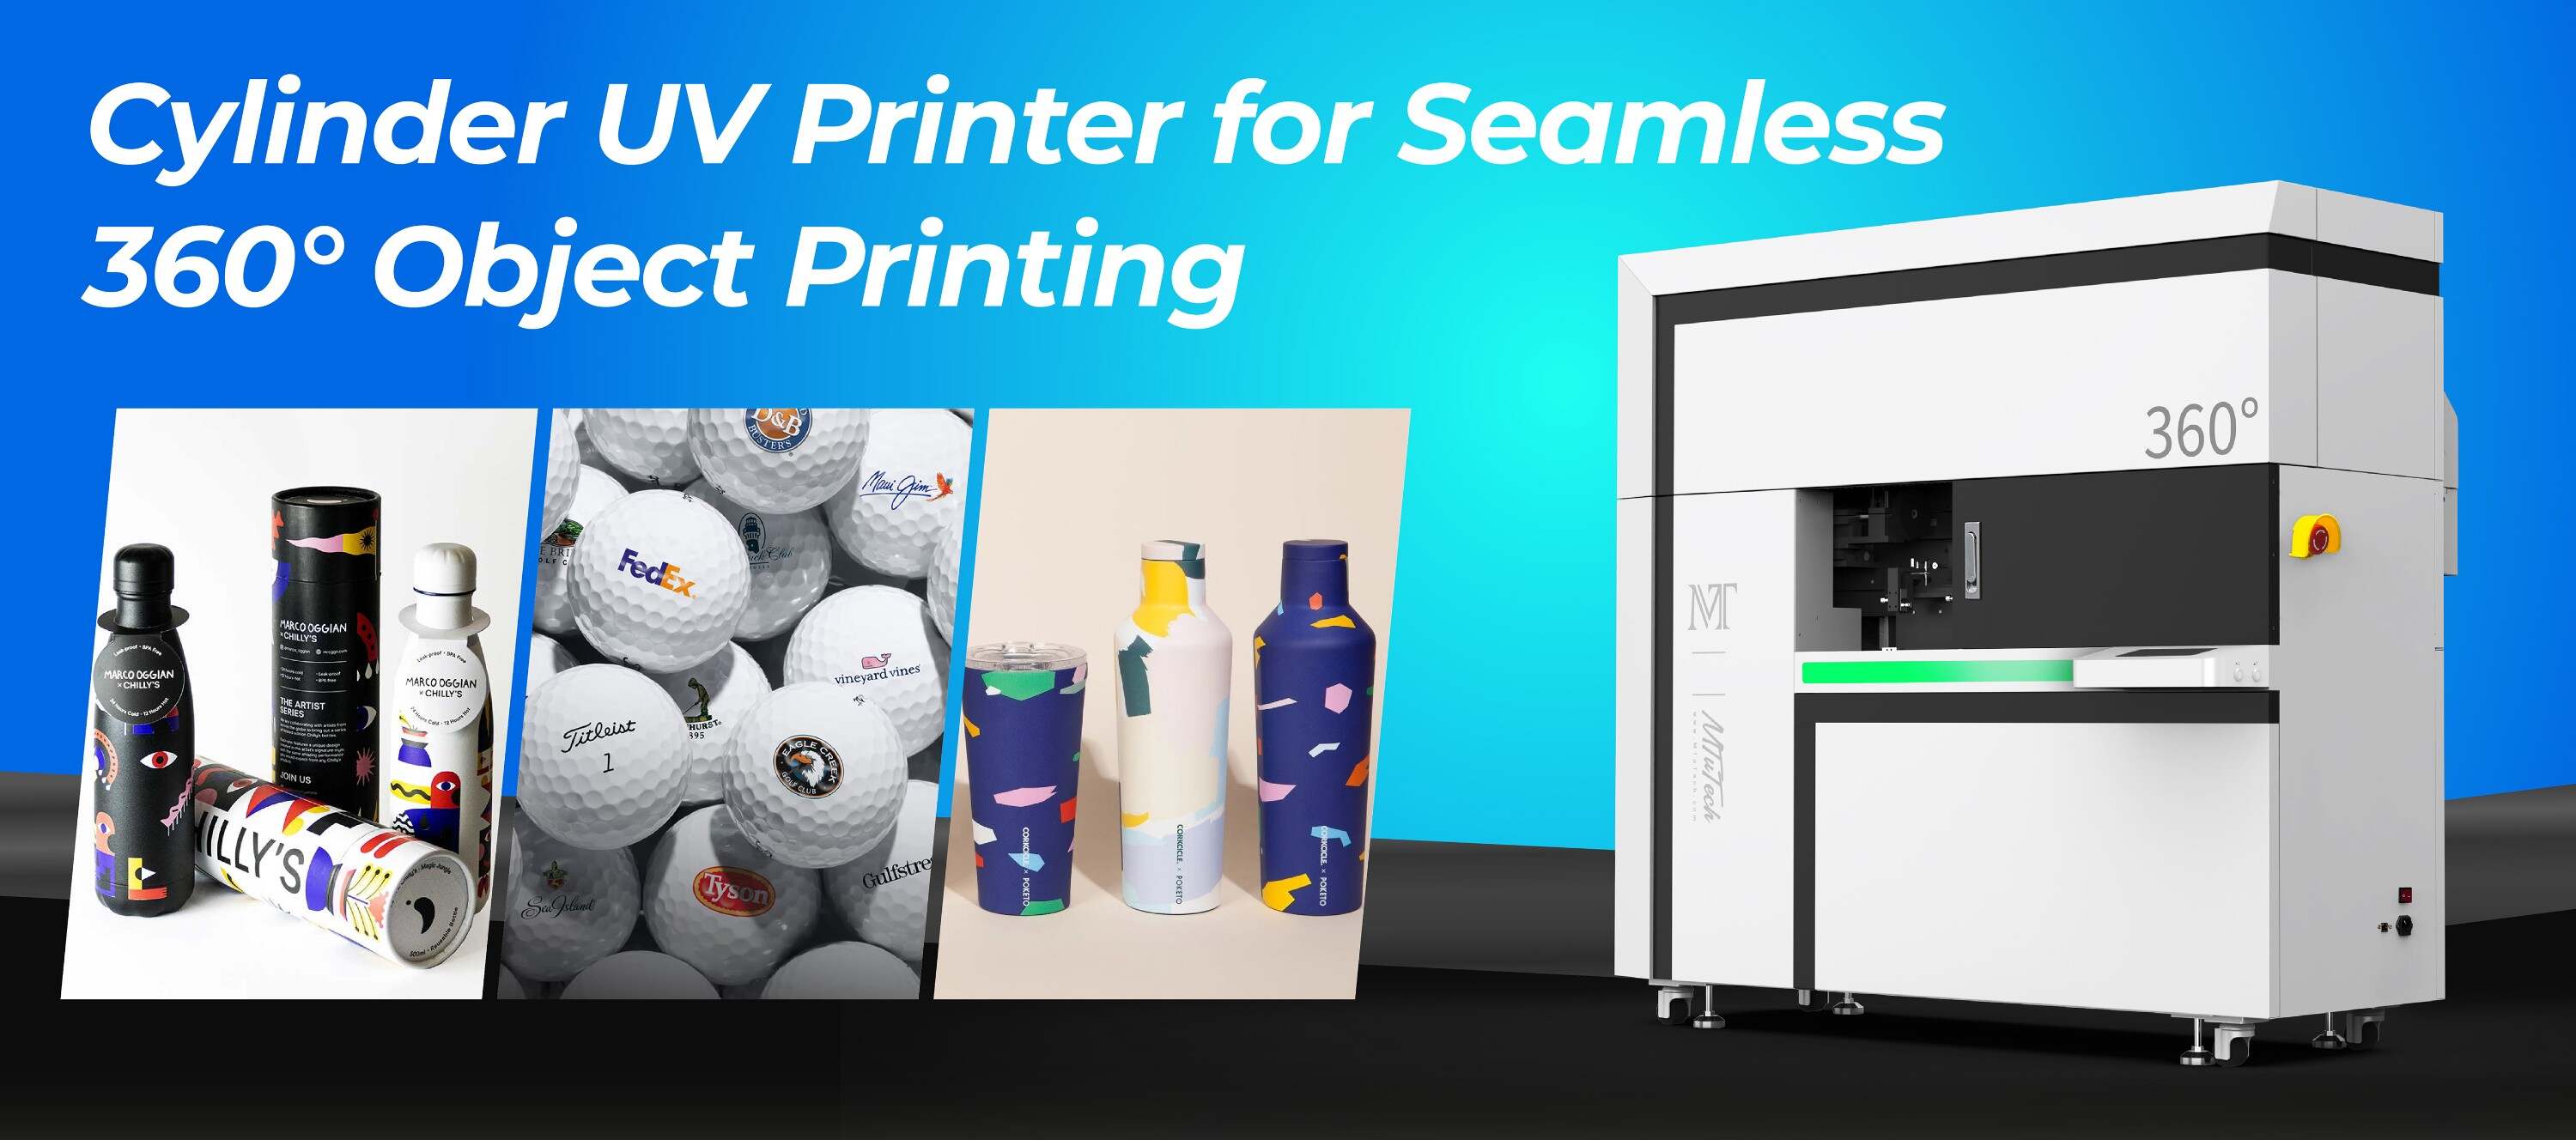
Cylinder UV printing has revolutionized the way businesses approach custom printing solutions. This advanced technology allows for high-quality prints on cylindrical objects, such as bottles, cans, and tubes, providing vibrant colors and durable finishes. However, to achieve optimal results, it is essential to follow best design file practices. This blog post explores key considerations for creating design files that guarantee excellent outcomes in long-run cylinder UV printing.
Understanding Cylinder UV Printing
Cylinder UV printing involves the application of UV-curable inks to cylindrical substrates. The significant advantages of this method include:
·
High-Volume Production: Ideal for mass production of items like promotional products and packaging.
·
·
Fast Drying Time: UV inks are cured instantly, allowing for quicker turnaround times.
·
·
Vibrant Colors: The inks produce bright and eye-catching designs while maintaining durability.
·
Key Design File Practices
1. Use the Correct File Format
When preparing your design files, it's essential to select the right format. Commonly accepted file types for cylinder UV printing include:
·
PDF: Ideal for vector graphics and maintaining high quality.
·
·
AI: Adobe Illustrator files are perfect for detailed vector images.
·
·
EPS: Another excellent vector format, suitable for scalable designs.
·
While raster images can be used, they often lose quality when scaled. Always consult your printer for specific format requirements before submission.
2. Set the Correct Resolution
Resolution is critical for achieving sharp, detailed prints. When creating designs for cylinder UV printing, use a minimum resolution of:
·
300 dpi: This is usually sufficient for high-quality prints, ensuring clarity and detail.
·
Lower resolution files can lead to pixelation, resulting in an unprofessional appearance.
3. Design in CMYK Color Mode
Printing requires a specific color model to render the desired hues accurately. For cylinder UV printing, designing in CMYK (Cyan, Magenta, Yellow, Black) color mode is critical because:
·
This mode best represents how colors will appear when printed.
·
·
RGB colors can look different when converted to CMYK, leading to unexpected results.
·
4. Incorporate Bleed and Safe Zones
In cylindrical printing, bleed and safe zones are essential to ensure that your design looks complete after the printing and finishing processes:
·
Bleed: Add a minimum of 1/8 inch (0.125”) bleed around your design. This ensures that there are no unprinted edges after trimming.
·
·
Safe Zone: Keep important elements like text or logos within the safe zone, ideally at least 0.5 inches from the edge of the design.
·
5. Use Vector Graphics When Possible
Vector graphics are created using mathematical equations, which allow them to be scaled without loss of quality. Advantages of using vector graphics include:
·
Scalability: No matter how large or small your print is, the quality remains intact.
·
·
Editing Flexibility: Vectors allow for easy modifications without significant changes to the original image.
·
If your design includes text, create it as outlines or convert it to paths so that fonts don’t vary between systems.
6. Choose the Right Font and Size
Typography plays a significant role in the overall design. Here are some tips for effective font usage:
·
Select Readable Fonts: Choose fonts that are easy to read and visually appealing.
·
·
Font Size: For cylindrical printing, maintain a minimum font size of 8 pt for legibility.
·
Remember that smaller designs can appear even smaller on cylindrical surfaces, so test fonts in actual size if possible.
7. Proof Your Design
Proofing is a crucial step in the design process. Ensure that your final file is thoroughly checked for:
·
Spelling and Grammar: Thoroughly verify that all text is correct.
·
·
Alignment: Make sure all elements are properly aligned and visually balanced.
·
·
Trim and Bleed Areas: Check that all elements are situated correctly concerning the bleed and safe zones.
·
Consider printing a physical proof or using digital mockups to see how the design translates to a three-dimensional shape.
Benefits of Optimizing Your Design Files
Optimizing your design files for cylinder UV printing not only ensures quality results but offers several notable benefits:
·
Consistency: Streamlined design processes lead to consistent quality across multiple runs.
·
·
Time Efficiency: Proper preparation minimizes delays during production, ensuring timely delivery of your projects.
·
·
Cost-Effectiveness: Avoiding errors in design can save costs associated with reprints and material waste.
·
Challenges in Cylinder UV Printing
While cylinder UV printing offers fantastic capabilities, it is not without its challenges. Some common issues include:
·
Substrate Variability: Different materials can respond differently to UV inks, affecting adhesion and finish.
·
·
Color Variability: Changes in environment such as temperature and humidity can influence ink curing, impacting color output.
·
Understanding these challenges can help you prepare better files and adjust your designs accordingly to navigate these potential pitfalls.
Conclusion
Preparing design files for long-run cylinder UV printing demands attention to detail and an understanding of various technical aspects. By following best practices such as using the right file format, resolution, and color mode, you enhance the likelihood of achieving professional-quality results. Additionally, proper proofing and meticulous design techniques can significantly impact the efficiency and effectiveness of your printing process.
For businesses looking to harness the power of cylinder UV printing, ensuring that your design files are well-prepared can make a substantial difference in both product quality and overall success. Explore our high-quality Cylinder UV printers here to take your printing projects to new heights.
FAQ
What is cylinder UV printing?
Cylinder UV printing is a printing process that uses ultraviolet light to cure inks on cylindrical surfaces. This method is known for its ability to produce high-quality images with vibrant colors and quick drying times.
Why is the resolution important in design files?
High resolution is crucial as it ensures that the printed image is sharp and clear. A resolution of 300 dpi is recommended for maintaining quality across varying sizes.
What should I do if my design uses RGB colors?
If your design employs RGB colors, convert them to CMYK before sending the file for printing. This will help ensure the colors reproduce accurately in the final printed product.
How can I test my design before printing?
Consider creating a physical proof or a digital mockup of your design. This can help you visualize how your design will appear on the cylindrical surface before proceeding with the full print run.