Best Practices for Pre-Treating Tumblers Before Printing
Introduction
When it comes to printing on tumblers, the pre-treatment process is crucial in ensuring vibrant colors, durability, and a high-resolution finish. Pre-treating your tumblers properly sets the foundation for successful printing, whether you're using sublimation, UV printing, or any other method. In this guide, we'll walk you through the best practices for pre-treating tumblers before printing, ensuring your finished products meet the highest quality standards.
Why Pre-Treating is Essential
Pre-treating tumblers isn't just an added step; it's essential for achieving the best printing results. Here's why:
·
Enhances Adhesion: Pre-treatment improves the bonding between the tumbler surface and the ink, ensuring that your designs adhere properly.
·
·
Improves Color Vibrancy: A well-prepped surface allows for brighter and more vivid colors, making your designs pop.
·
·
Increases Longevity: Proper pre-treatment can extend the life of your prints, minimizing wear and tear over time.
·
·
Ensures Uniformity: Consistent application of pre-treatments results in uniform printing over the entire surface, eliminating any inconsistencies.
·
Materials Needed for Pre-Treatment
Before you begin the pre-treatment process, ensure you have all the necessary materials on hand:
·
Isopropyl alcohol or a gentle cleaner
·
·
Microfiber cloths or lint-free wipes
·
·
Spray bottle for pre-treatment solution (if applicable)
·
·
Heat source (for curing, if necessary)
·
·
Protective gloves and mask (if using chemical treatments)
·
Step-by-Step Pre-Treatment Process
1. Clean the Tumblers
Start by thoroughly cleaning your tumblers to remove any dust, oil, or residues that may affect the printing process. Use isopropyl alcohol or a gentle cleaner on a microfiber cloth:
·
Wipe down the exterior surface and inside the tumbler.
·
·
Make sure to get into crevices, especially around the rim, where contaminants can settle.
·
·
Allow the tumbler to air dry completely before proceeding.
·
2. Apply the Pre-Treatment Solution
Next, you will apply the pre-treatment solution. If you are using a commercial pre-treatment product designed for your specific printing method, follow the manufacturer’s instructions. Here are general guidelines:
·
Use a spray bottle to apply the pre-treatment evenly across the surface of the tumbler.
·
·
Be careful not to oversaturate; a light, even coat is adequate.
·
·
For more precision, you might consider using a brush or roller, though spray application is often preferred for its uniformity.
·
3. Let it Soak In
After applying the pre-treatment, let it sit for a few moments to allow the solution to absorb into the surface. Typically, a soak time of 5-10 minutes works well, but always refer to the product instructions for specific guidelines.
4. Cure the Surface
Depending on the type of pre-treatment used, curing may be necessary to prepare the tumbler for printing:
·
If using heat-activated pre-treatment, use a heat gun or oven to cure the surface at the recommended temperature and time.
·
·
If not using heat-activated solutions, ensure the pre-treatment is fully dried before printing.
·
5. Final Inspection
Before moving on to printing, conduct a final inspection of the pre-treated tumblers:
·
Check for any uneven patches or areas that may have been missed.
·
·
Make sure the surface feels silky and dry to the touch; this is crucial for successful printing.
·
Common Mistakes to Avoid
Even experienced professionals can make mistakes during the pre-treatment process. Here are some common pitfalls to avoid:
·
Skipping the Cleaning Step: Always clean your tumblers; skipping this step can lead to poor adhesion and vibrant colors.
·
·
Using the Wrong Pre-Treatment: Make sure to use a pre-treatment appropriate for your printing method, whether it’s sublimation, UV printing, or otherwise.
·
·
Over-Saturating the Surface: More is not always better. Too much pre-treatment can lead to unsatisfactory print quality.
·
·
Neglecting Curing Times: Failing to properly cure your tumblers can compromise the durability of your prints.
·
Conclusion
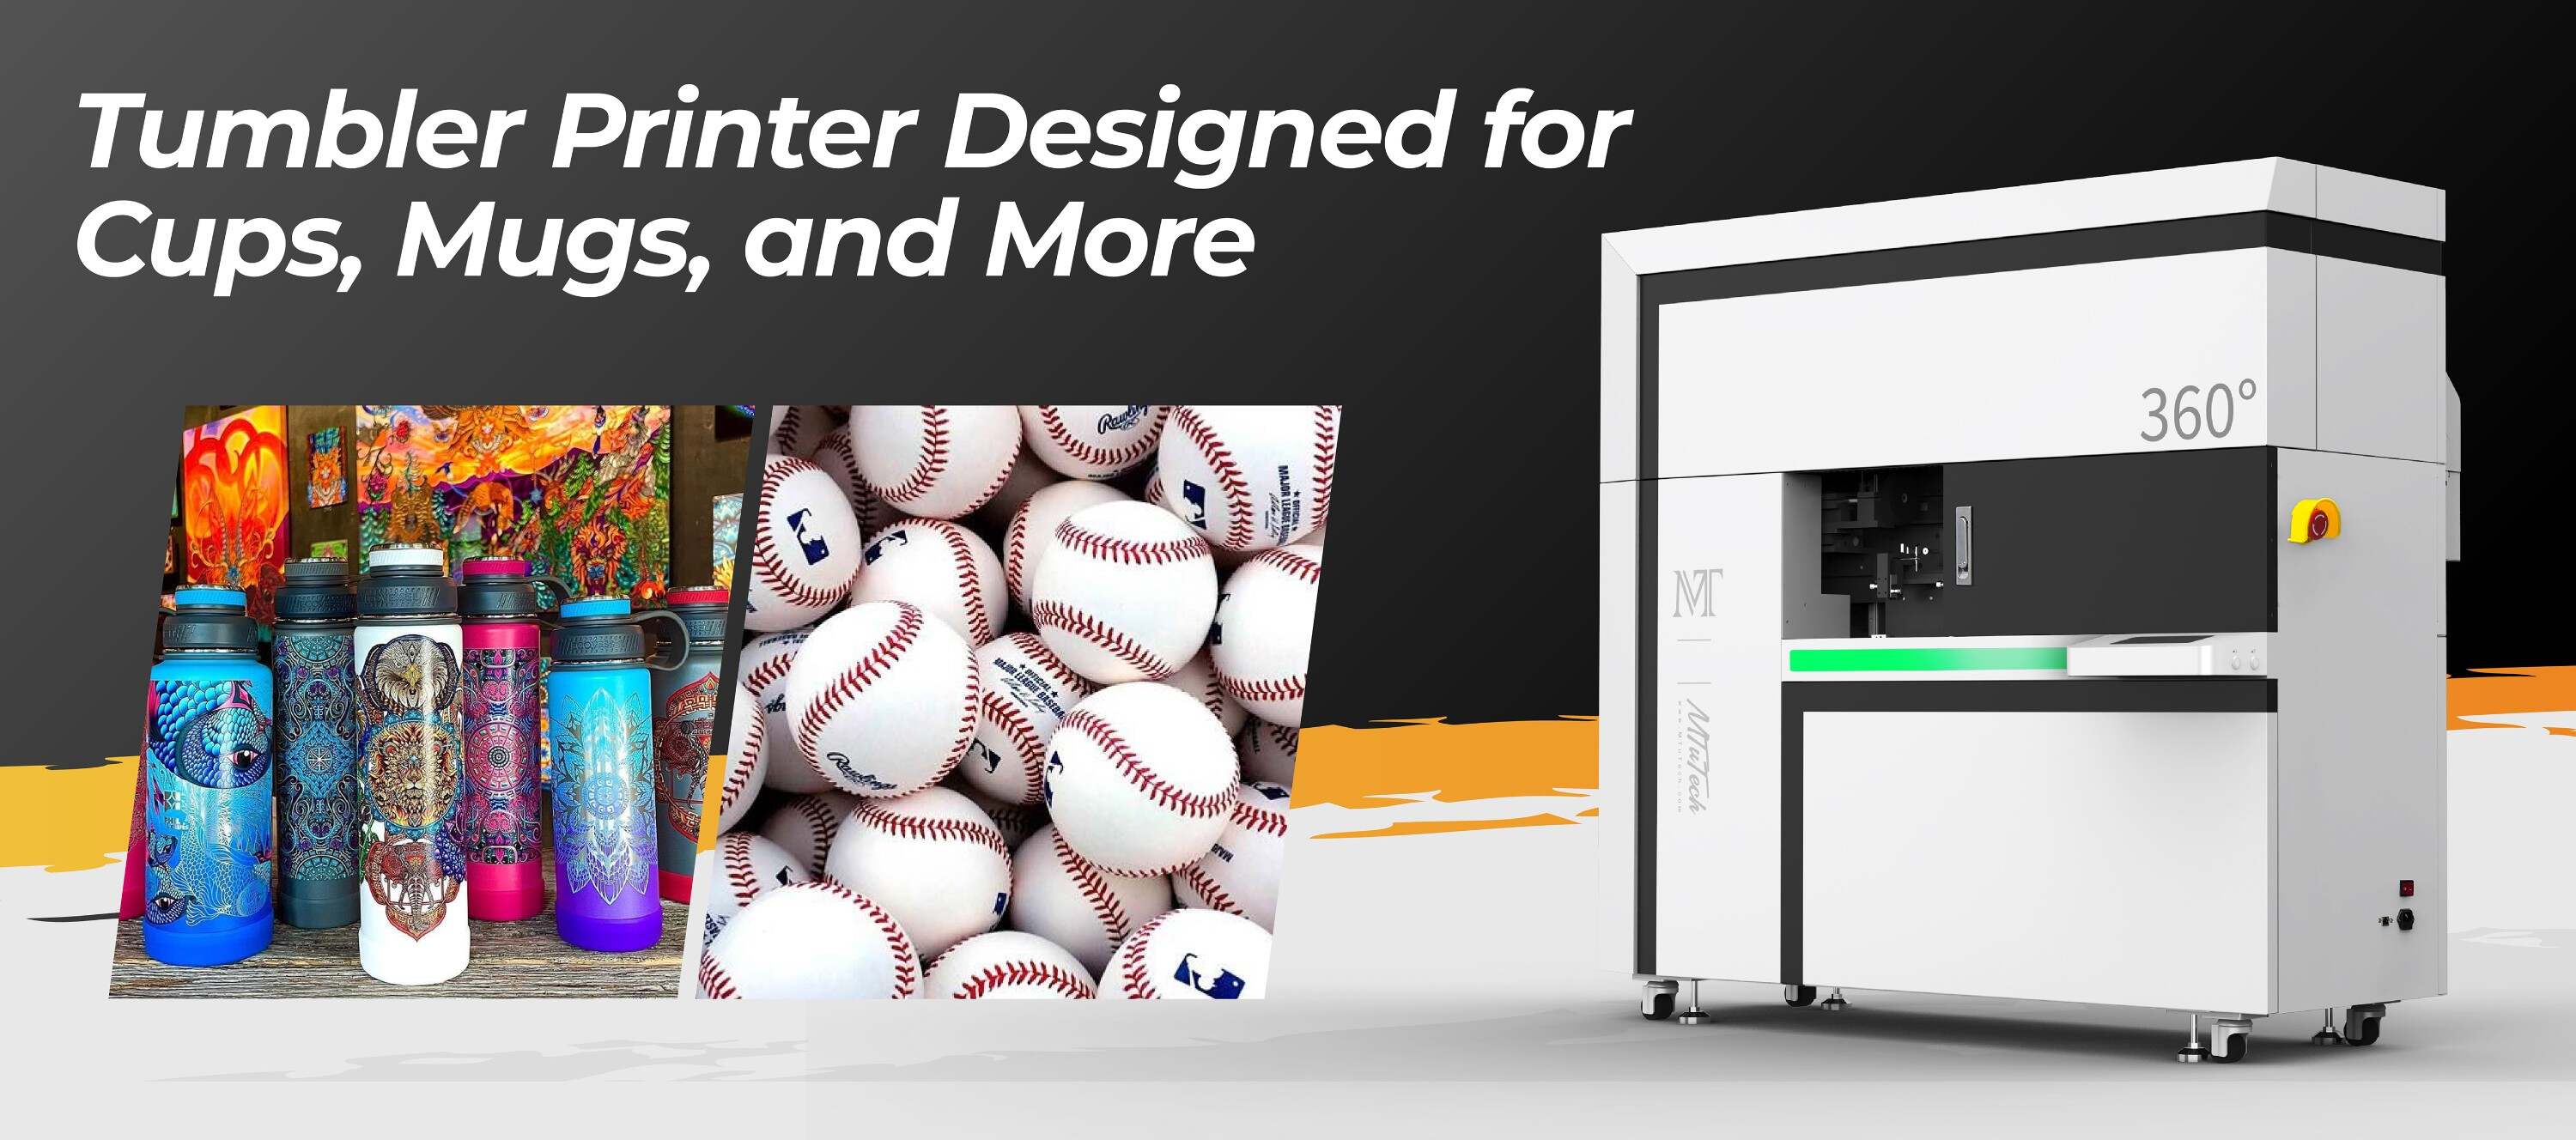
Pre-treating tumblers before printing is a vital process that can significantly affect the quality of your final product. By following the best practices outlined above, you can ensure that your designs adhere properly and maintain their vibrant appearance over time. Remember, attention to detail during the pre-treatment process will yield the best results, so take your time and follow each step carefully. For those looking to invest in quality printing technology, explore our high-quality Tumbler printers here to enhance your printing quality even further.
FAQ
What types of tumblers require pre-treatment?
Pre-treatment is generally recommended for coated tumblers used for sublimation and UV printing. Stainless steel and other metals may also benefit from pre-treatment to enhance print quality.
How do I know when to pre-treat my tumblers?
Pre-treatment is essential whenever you’re preparing tumblers for printing, especially when using dye-sublimation or UV printer technology. If you want your designs to be color-rich and durable, always pre-treat.
Can I pre-treat tumblers in bulk?
Yes, you can pre-treat tumblers in bulk. Just make sure to follow the cleaning and pre-treatment rules consistently across all items to ensure uniform quality.
What should I do if I notice imperfections after pre-treating?
If you notice imperfections, it's best to clean the affected tumbler and repeat the pre-treatment process, focusing on the areas that were not properly treated the first time.
Is there a difference between pre-treatments for different printing methods?
Yes, different printing methods may require specific pre-treatment solutions. Always check the manufacturer’s guidelines for the best results associated with your chosen printing technology.