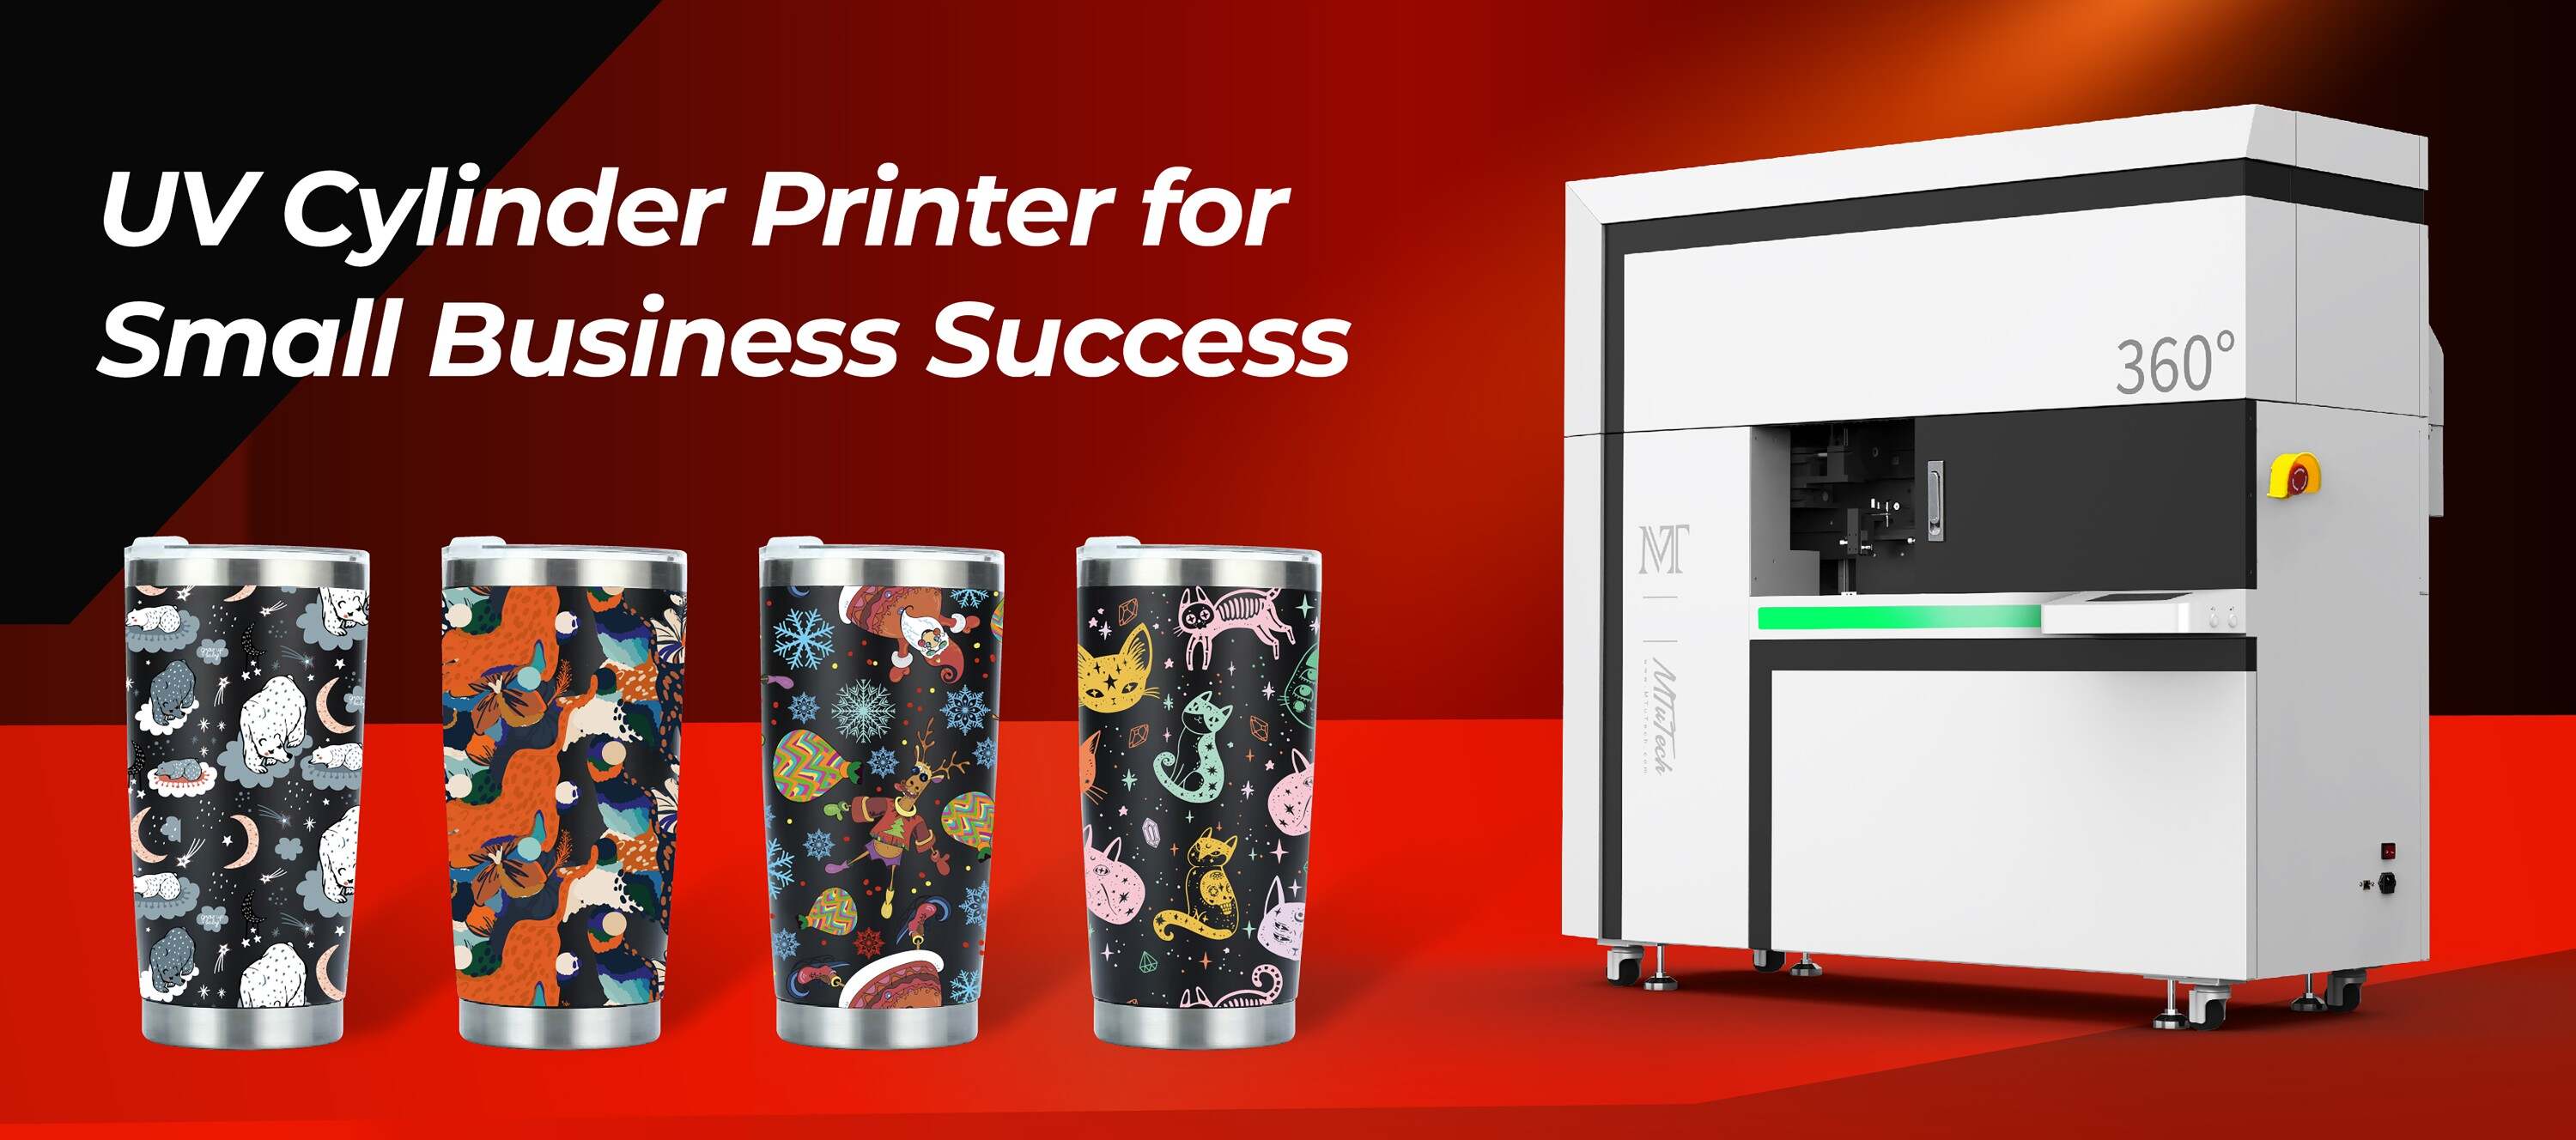
Cylinder UV Printer Object Centering Issues: Quick Calibration Fixes
Introduction
Cylinder UV printers have transformed the landscape of custom printing, allowing for high-quality, vibrant designs on cylindrical objects. From product packaging to promotional items, their application is diverse. However, achieving perfect prints requires precision, particularly when it comes to object centering. Misalignment can lead to wasted materials and compromised product quality. In this post, we'll explore common object centering issues in cylinder UV printing and provide quick calibration fixes to help you achieve optimal results every time.
Understanding Object Centering Issues
Before we delve into calibration fixes, it's essential to understand what causes object centering issues in cylinder UV printers. The challenge lies primarily in the cylindrical nature of the objects being printed, which can introduce a range of alignment problems:
·
Inconsistent Object Diameter: Variations in object sizes can lead to misalignment during the printing process.
·
·
Improper Material Placement: Objects must be placed correctly on the printing bed for accurate alignment.
·
·
Print Head Positioning: Inadequate calibration of printer heads may cause skewed designs.
·
·
Software Settings: Incorrect software configurations can lead to misprints.
·
Common Calibration Issues
When dealing with cylinder UV printers, a few typical calibration issues can arise that affect object centering:
1. Print Head Misalignment
If the print head isn't aligned correctly, it may not deposit ink uniformly across the surface of the object, creating an off-centered print. This issue often occurs due to wear and tear or improper setup during installation.
2. Incorrect Diameter Measurement
One of the most common problems is the printer's inability to recognize the precise diameter of the object being printed. This miscommunication leads to poorly-centered designs, which can significantly affect the print quality.
3. Software Configuration Errors
The printer's software plays a crucial role in ensuring that the correct parameters are set for proper object centering. Errors in software settings can lead to significant misalignment during the print process.
4. Mechanical Issues
Wear and tear on mechanical components such as belts and rollers can lead to misalignment. Ensuring that these parts are in good condition is vital for accurate printing.
Quick Calibration Fixes
Now that we’ve identified common calibration issues, let’s focus on effective solutions to these problems. Here are some quick calibration fixes that can help improve object centering.
1. Adjust the Print Head Position
To adjust the print head position, follow these steps:
·
Turn off the printer and allow it to cool down.
·
·
Access the print head assembly by following the manufacturer's instructions.
·
·
Loosen the screws that hold the print head in place, then gently reposition it to align it straight with the printing zone.
·
·
Tighten the screws and perform a test print.
·
2. Calibrate Object Diameter Settings
To ensure that the printer recognizes the object diameter correctly, make use of the following steps:
·
Measure the diameter of your object using a digital caliper for accuracy.
·
·
Access the printer's software settings or control panel.
·
·
Input the exact diameter measurement in the configuration settings.
·
·
Save the settings and perform a trial print to verify the adjustment.
·
3. Reconfigure Software Settings
Correcting software settings is crucial for improving object centering:
·
Check for any firmware or software updates for your printer.
·
·
Adjust the settings for alignment and scaling to ensure they match the dimensions of the object.
·
·
Consult the printer’s manual for specific parameters you should adjust.
·
·
After making changes, run a test print to check for alignment.
·
4. Inspect Mechanical Components
Regular maintenance of mechanical parts can prevent misalignment:
·
Inspect belts for signs of wear or looseness and replace them as needed.
·
·
Check rollers for dirt or debris that may affect performance. Clean or replace as necessary.
·
·
Ensure that all moving parts are adequately lubricated to avoid stalling or misalignment.
·
Regular Maintenance Tips
Preventive maintenance can save time and resources in the long run. Here are some tips to keep your cylinder UV printer in excellent condition:
·
Schedule regular maintenance checks based on your printer’s usage.
·
·
Keep the printing area clean and free from dust and debris.
·
·
Regularly calibrate your printer as part of your maintenance routine.
·
·
Invest in quality materials compatible with your printer model to reduce wear and tear.
·
Conclusion
Cylinder UV printers offer enormous potential for customization, but achieving high-quality prints requires careful attention to detail, especially regarding object centering. By understanding the common calibration issues and implementing quick fixes, you can enhance your printing accuracy significantly. Regular maintenance is equally important to keep your printer performing optimally and ensure that every print is as perfect as it can be. For those looking to expand their printing capabilities, explore our high-quality Cylinder UV printers here and take your printing experience to the next level.
FAQ
What are the symptoms of object centering issues?
Common symptoms include designs that appear skewed, off-center prints, or text that wraps incorrectly around cylindrical objects. You may also notice inconsistent print quality and color application.
How often should I calibrate my cylinder UV printer?
It’s advisable to calibrate your cylinder UV printer every 1-2 weeks, depending on usage. More frequent calibration may be necessary if you change materials or experience significant misalignment.
Can I perform calibration myself?
Yes, most calibration adjustments can be done in-house, as long as you follow the manufacturer’s guidelines. If you're unsure, it's always best to consult a professional.
What tools do I need to calibrate my printer?
Basic tools you may need include a digital caliper for measuring object diameters, screwdrivers for adjusting print head positions, and cleaning supplies for maintaining mechanical components.
Is software updates necessary for fixing centering issues?
Yes, keeping your printer's software updated can address bugs and improve overall performance, including object centering functionalities.