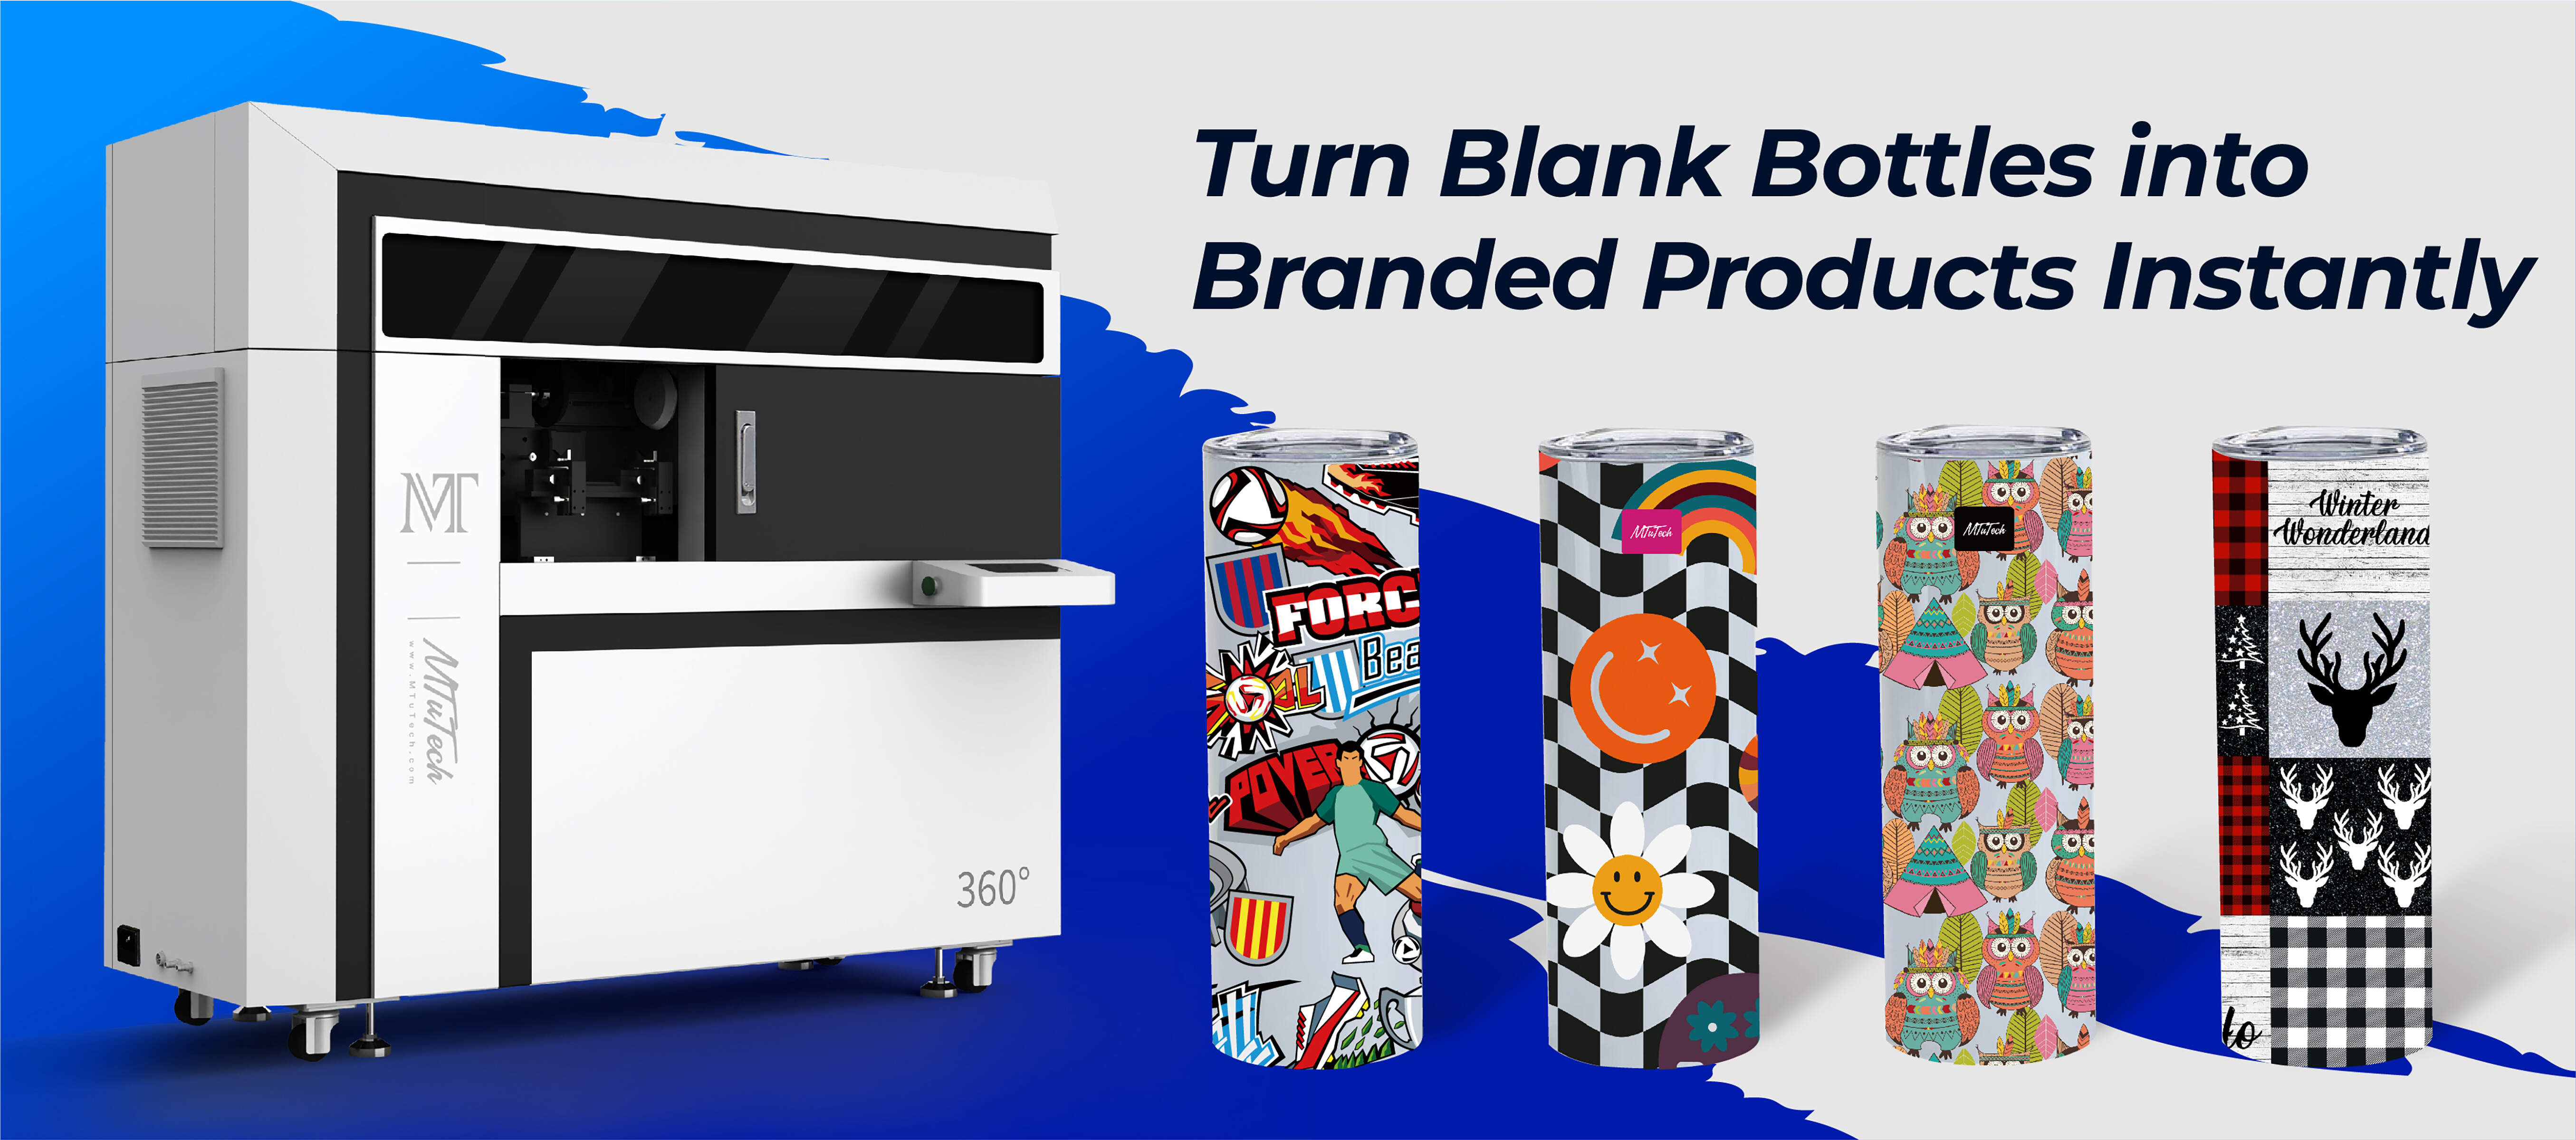
 How to Avoid Common Cylinder UV Print File Setup Errors
Introduction
Cylinder UV printing has revolutionized the world of custom printing, allowing businesses to produce high-quality prints on various cylindrical objects. However, to achieve the best results, it's crucial to set up your print files correctly. Many users encounter errors during the file setup phase that can lead to wasted materials, increased costs, and subpar final products. In this blog post, we will explore the common file setup errors in cylinder UV printing and how to avoid them.
Understanding Cylinder UV Printing
Cylinder UV printing refers to the process of using ultraviolet light to cure or dry the ink as it is printed on a cylindrical surface. This technology offers several advantages:
·
Versatility: Ideal for a variety of materials, including glass, metal, plastic, and paper.
·
·
High Resolution: Produces sharp, vibrant images and text.
·
·
Fast Drying: Immediate drying time allows for quick turnaround.
·
·
Durability: UV prints are resistant to fading and scratching.
·
Common Cylinder UV Print File Setup Errors
Proper file preparation is essential for a smooth printing process. Below, we've outlined some common errors and tips on how to address them.
1. Incorrect Dimensions
One of the most common mistakes is using incorrect dimensions for the print file. Each cylinder has specific dimensions, and failing to match these can result in cut-off images or unwanted white spaces in the final product.
·
Solution: Always measure the cylindrical surface you are printing on accurately. Use this measurement to set your document size in the design software.
·
2. Inadequate Resolution
The resolution of your print file significantly affects the quality of the printed product. Low-resolution images can appear pixelated or blurry when printed on a cylindrical object.
·
Solution: Ensure your images are at least 300 DPI (dots per inch) for the best results. This provides a crisp and clear print, regardless of the objects’ curvature.
·
3. File Format Issues
Using the wrong file format can lead to compatibility issues with the printer or unexpected changes in colors and details.
·
Solution: Save your files in recommended formats such as PDF, TIFF, or EPS. These formats preserve the quality and ensure that the printer can read them correctly.
·
4. Color Settings Confusion
Another common challenge is not using the correct color settings. RGB colors can look great on screens but may not convert well to print, leading to disappointing results.
·
Solution: Convert your files to CMYK color mode before printing. This will align your colors more closely with how they will appear in the final product.
·
5. Missing or Overlooked Bleed Areas
Bleed areas ensure that your design extends to the edge of the printed surface, avoiding any unexpected white lines.
·
Solution: Include a 0.125-inch bleed area around your design. This extra space will help you avoid any undesired borders once the product is cut to its final size.
·
6. Ignoring Safety Margins
Safety margins prevent important text or design elements from being cut off during the printing and finishing processes.
·
Solution: Maintain a safety margin of at least 0.25 inches from the final cut line. This helps ensure no critical elements are inadvertently trimmed.
·
7. Not Testing with a Proof
Skipping the proofing process can lead to errors that could have been easily caught before the full run.
·
Solution: Always request a proof of your design. This allows you to see how it will look when printed and make any necessary adjustments before the final print run.
·
Tips for Successful File Setup
Besides avoiding common errors, here are additional tips to enhance your file setup process:
·
Use Templates: If possible, use pre-made templates specific to your printer model to help streamline the setup process.
·
·
Double-Check Everything: Always review your file before sending it to print. A second set of eyes can catch errors you might have missed.
·
·
Stay Updated: Keep your software and printer’s firmware updated to take advantage of the latest features and compatibility fixes.
·
·
Save Different Versions: Keep backups of different versions of your file to avoid losing work and enable you to revert to earlier designs if necessary.
·
Conclusion
By understanding and avoiding these common cylinder UV print file setup errors, you can greatly improve the quality of your final products and streamline your printing process. Proper preparation and attention to detail will result in vibrant, high-quality prints that meet your expectations.
For those looking to enhance their printing capabilities, explore our high-quality Cylinder UV printers here and elevate your custom printing solutions.
FAQ
What is the importance of a proof in cylinder UV printing?
A proof allows you to see how your design will look once printed, helping you catch any errors before the full run. It acts as a final check for design, colors, and overall layout.
How can I determine the right dimensions for my cylinder print file?
Measure the height and circumference of the cylindrical object you are printing on. Ensure your digital file matches these exact specifications to avoid cutting important elements off.
Why do I need to convert my files to CMYK?
CMYK (Cyan, Magenta, Yellow, Key/Black) is the color model used in color printing. Converting RGB files to CMYK helps ensure the colors appear as intended when printed, as monitors and printers display colors differently.
What are safety margins, and why are they important?
Safety margins are areas around the edge of your print file that prevent critical design elements from being cut off during printing. They are crucial for achieving a polished and professional look.
