How to Calibrate Rotary Fixtures for Perfect Prints
Introduction
When it comes to ensuring quality prints with rotary fixtures, calibration is crucial. This process sets the stage for precision and consistency, ultimately enhancing the overall quality of your printed products. In this blog post, we’ll explore how to effectively calibrate rotary fixtures for perfect prints, ensuring you get the most out of your printing equipment.
Understanding Rotary Fixtures
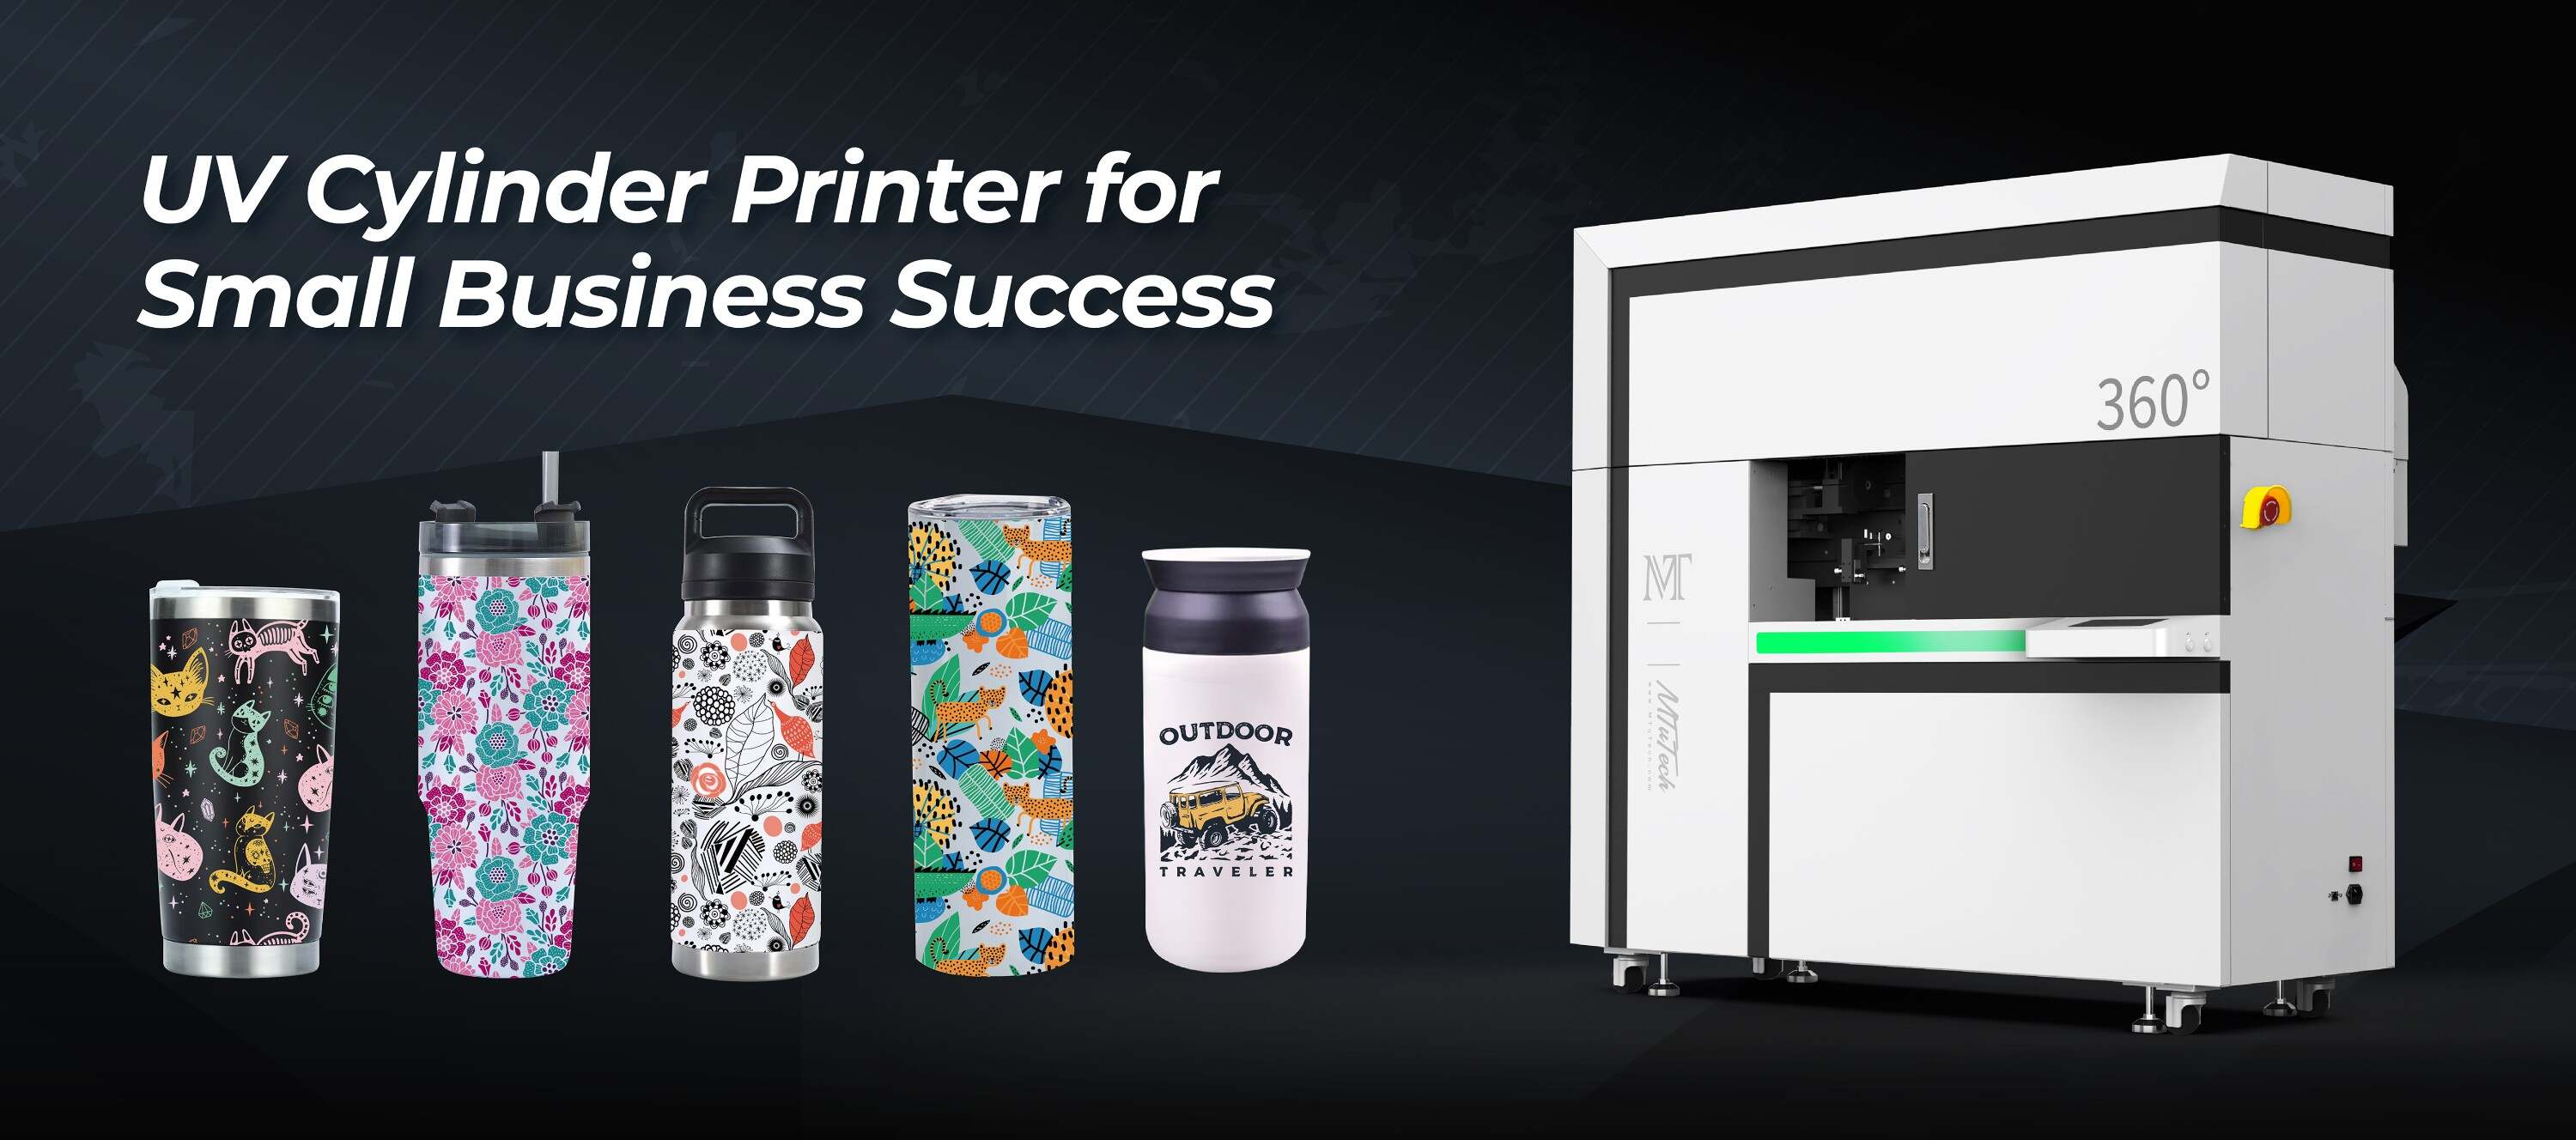
Rotary fixtures are critical components in printing technologies such as UV printing and sublimation printing. They allow for 360-degree printing on cylindrical objects, such as tumblers, bottles, and other drinkware. By maintaining accurate calibration, users can achieve sharp, vibrant images that adhere perfectly to the contours of the object.
Importance of Calibration
Calibration refers to the adjustment of your printing equipment to ensure that it produces the highest quality output. Properly calibrated rotary fixtures can help:
·
Enhance print quality by improving image clarity.
·
·
Reduce waste by minimizing print errors.
·
·
Extend the life of your printing equipment by avoiding unnecessary strain.
·
Steps to Calibrate Rotary Fixtures
To achieve the best results from your rotary fixtures, follow these steps for proper calibration:
1. Gather Required Tools
Before you begin, ensure that you have the following tools:
·
A standard calibration cylinder or test object
·
·
A ruler or measuring tape
·
·
A digital caliper for precise measurements
·
·
Your printing software and configurations
·
2. Prepare Your Printer
Ensure that your printer is set up correctly. This includes:
·
Loading the correct media type for the calibration test.
·
·
Double-checking that the rotary fixture and print head are securely attached.
·
·
Cleaning the print head and adjusting the ink levels if necessary.
·
3. Measure the Diameter
Using a caliper, measure the diameter of the object you plan to print on. This measurement is essential, as incorrect diameter settings can lead to misaligned prints. Record the measurements accurately.
4. Set Up Your Printer's Calibration Settings
Access your printer’s settings and input the diameter measurement:
·
Adjust the print area dimensions based on the object’s diameter.
·
·
Set the appropriate length for the design you wish to print.
·
5. Test Print
Once the settings are configured, it’s time to conduct a test print. Use the calibration cylinder or material to verify that the design aligns with the physical characteristics of your object.
6. Evaluate the Outputs
After completing the test print, evaluate the output:
·
Check for alignment accuracy.
·
·
Examine the print quality, noting any blurriness or pixelation.
·
·
Look for color consistency across the print.
·
7. Make Adjustments as Necessary
If the test print reveals any issues, make the necessary adjustments. This could involve:
·
Revising the diameter settings based on your measurements.
·
·
Altering print speed or ink flow as needed.
·
·
Tweaking the print head height if there are any inconsistencies.
·
8. Perform Regular Maintenance
Calibration is not a one-time process. Regularly check and maintain your rotary fixtures to ensure long-lasting performance. Schedule routine inspections and tests to stay ahead of potential calibration issues.
Best Practices for Maintaining Calibration
To keep your rotary fixtures calibrated effectively over time, consider these best practices:
·
Document all calibration settings for future reference.
·
·
Use quality ink and substrates to ensure optimal output.
·
·
Conduct calibration checks after significant adjustments or repairs.
·
Benefits of Proper Calibration
Having well-calibrated rotary fixtures yields numerous advantages, including:
·
Improved Print Quality: Enhanced accuracy leads to higher quality prints.
·
·
Increased Efficiency: Fewer misprints decrease waste and increase production speed.
·
·
Cost-Effective: Minimizing material waste and reprints ultimately reduces costs.
·
Conclusion
Calibrating rotary fixtures is essential for achieving perfect prints. By following the outlined steps and best practices, you can ensure consistent, high-quality outputs that meet your production needs. With regular maintenance and recalibrations as necessary, your printing processes will become more efficient, and your products will speak volumes about the quality you deliver.
If you're looking for exceptional printing options for drinkware, Explore our high-quality Tumbler printers here and elevate your printing capabilities.
FAQ
What tools do I need to calibrate rotary fixtures?
You will need a standard calibration cylinder, a ruler or measuring tape, a digital caliper for precise measurements, and your printing software for configuration settings.
How do I know if my printer's calibration is off?
Common signs include misaligned prints, blurriness or inconsistencies in color, and increased waste due to print errors.
Is calibration a one-time process?
No, calibration should be checked regularly, especially after making any adjustments to your printer or using new media types.
How often should I calibrate my rotary fixture?
It’s advisable to conduct calibration checks monthly or after significant changes in materials or printer settings.
Can I use the same calibration method for different objects?
While the general calibration method is consistent, you will need to measure and adjust settings according to the specific dimensions of each object type you are printing on.