How to Print on Irregular-Shaped Cylindrical Objects
Introduction
Printing on irregularly shaped cylindrical objects presents unique challenges compared to flat surfaces. Whether you’re looking to customize bottles, vases, or any other non-standard cylindrical object, understanding the printing methods and techniques available is crucial. This guide will explore the most effective methods, tools, and best practices for achieving high-quality prints on these complex surfaces.
Understanding the Challenges of Irregular Shapes
Before diving into the printing techniques, it's essential to understand the specific challenges that come with printing on irregular-shaped cylindrical objects:
·
Surface Area: Irregular shapes can have varying surface areas, making it hard to ensure even ink distribution.
·
·
Alignment: Proper alignment is crucial to prevent misprints, which can ruin an otherwise perfect design.
·
·
Material Variability: Different materials may react differently to inks, affecting adhesion and print quality.
·
·
Size Variations: Objects with inconsistent diameters can complicate the printing process.
·
Choosing the Right Printing Method
Selecting the correct printing method is critical for successfully printing on irregular shapes. Here are the most common techniques:
1. UV Printing
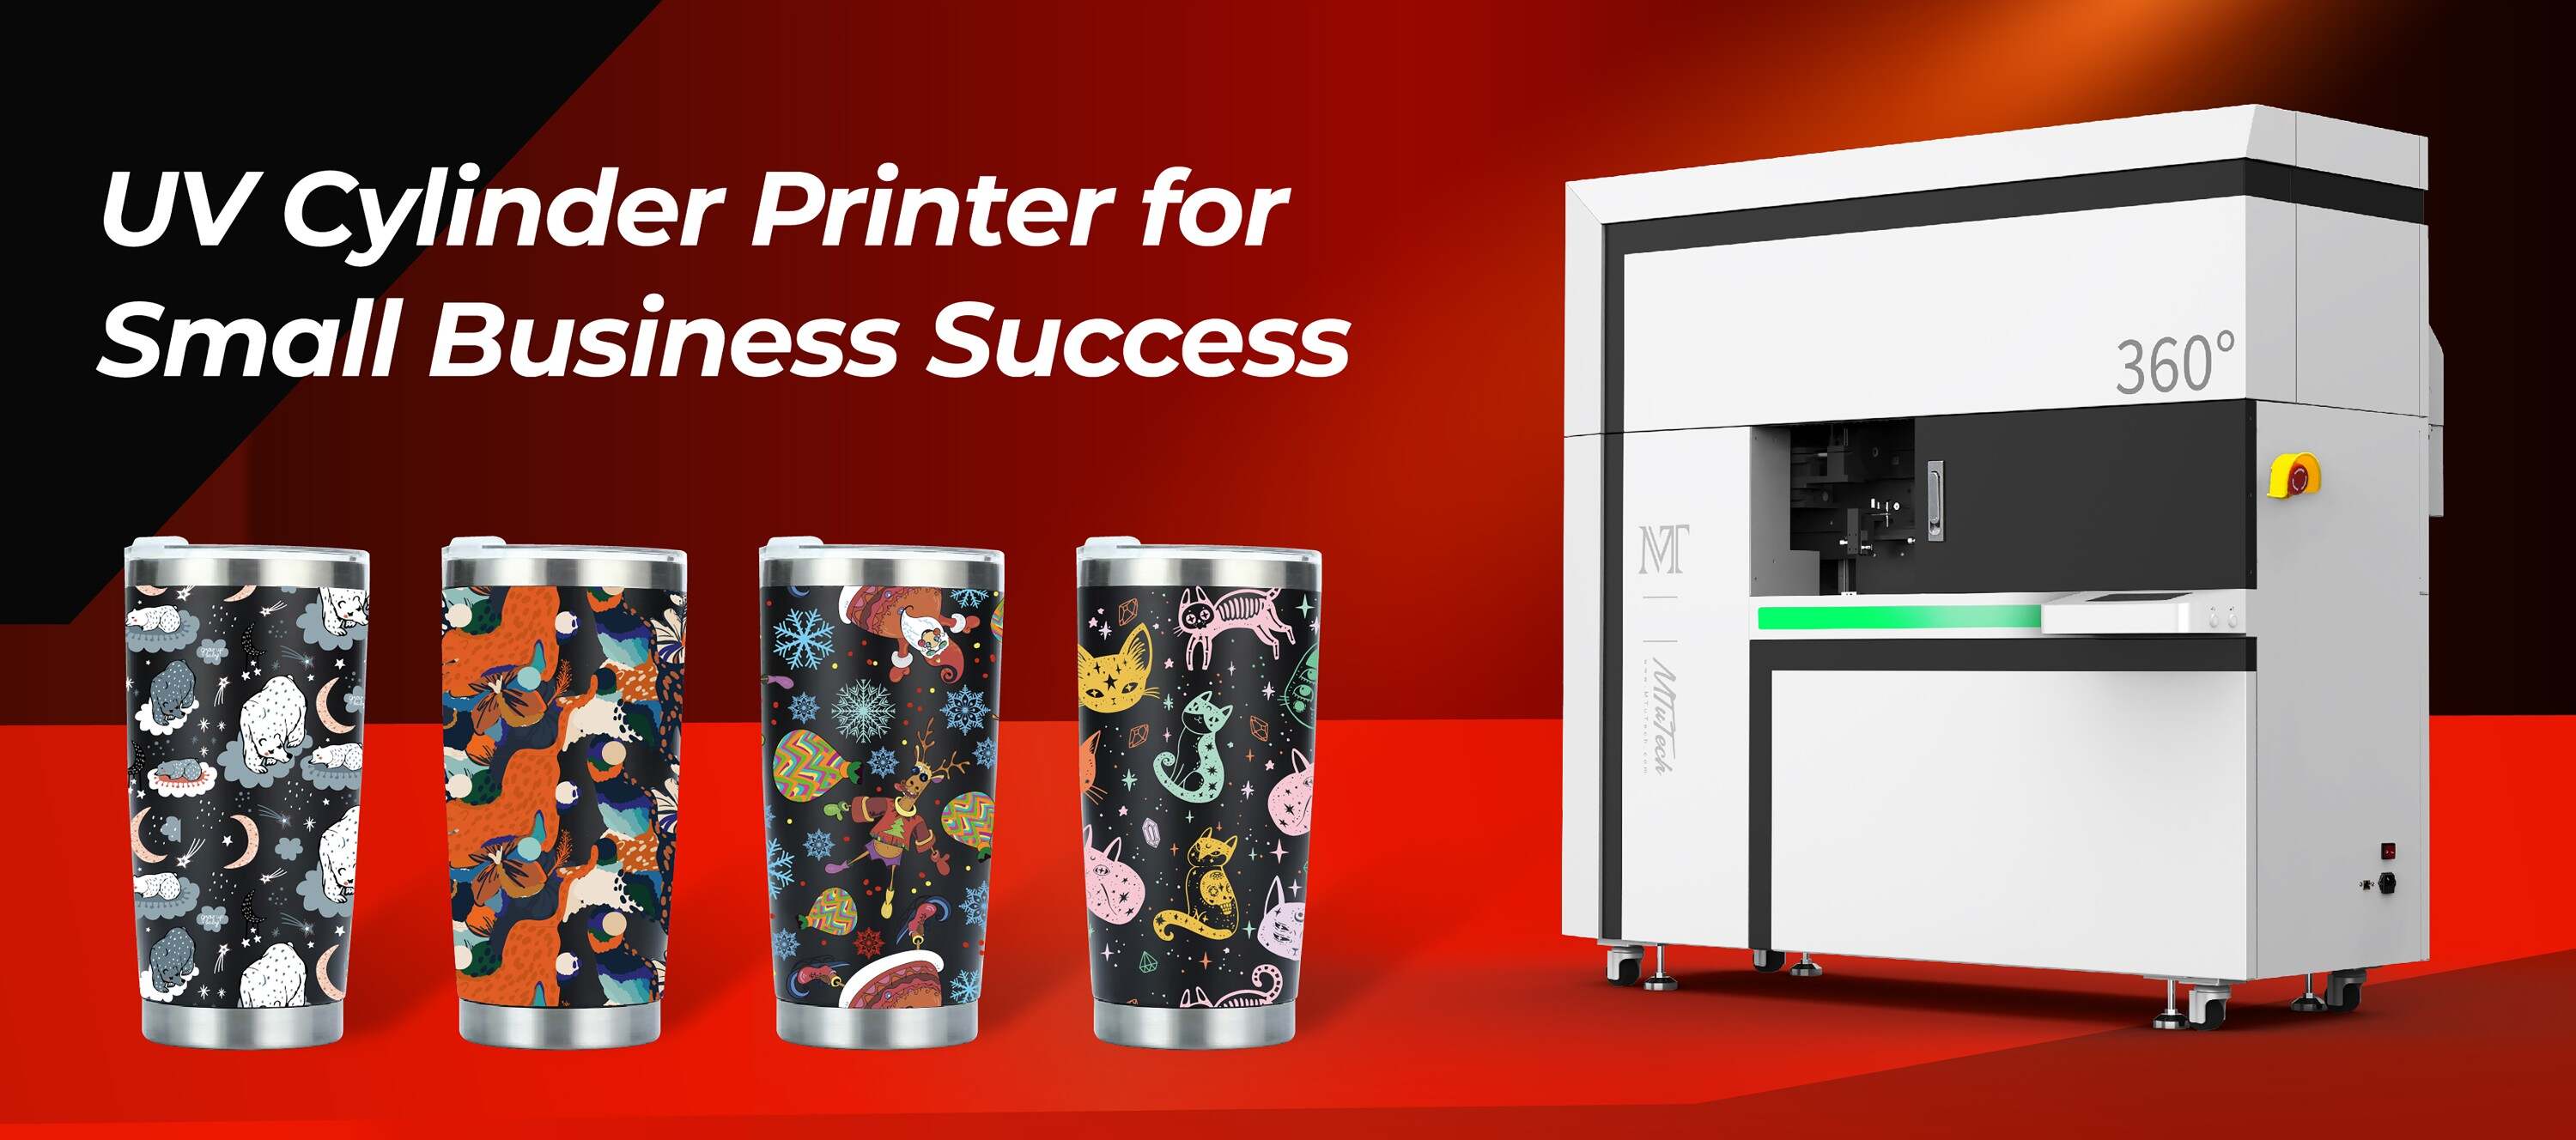
UV printing has become a popular choice for printing on irregularly shaped cylindrical objects due to its versatility and high-quality results. UV printers use ultraviolet light to cure the ink as it is printed, allowing it to adhere effectively to a wide range of materials.
With advancements in technology, modern UV printers can handle various shapes and sizes with precision
.Explore our high-quality Cylinder UV printers here.
2. Pad Printing
Pad printing is another effective technique for irregular shapes. This method involves transferring ink from a silicone pad onto the object's surface. Pad printing is particularly advantageous for printing on small or intricate areas. However, it may require multiple setups for various shapes and sizes.
3. Screen Printing
Screen printing can also be used for cylindrical objects, especially when dealing with larger volumes. This method uses a mesh screen to apply layers of ink, making it suitable for designs where color saturation is essential. However, achieving fine details can be challenging with this technique.
Tools and Equipment You Need
To successfully print on irregular-shaped cylindrical objects, you need proper tools and equipment. Here’s a list of essential items:
·
Printer: Depending on your chosen method, select a UV printer, pad printer, or screen printer.
·
·
Cylindrical jig: A jig will help secure your object in place, allowing for consistent printing.
·
·
Ink: Choose the right ink based on your material – UV inks for UV printers or specialized inks for pad and screen printing.
·
·
Cleaning supplies: Keeping equipment clean will avoid ink contamination and ensure high-quality prints.
·
·
Software: Graphic design software is crucial for preparing your designs to match the dimensions of your objects.
·
Preparing Your Design
The design preparation phase is crucial for successful printing. Here's how to prepare your artwork effectively:
·
Understand Dimensions: Measure the object carefully, noting any curves or angles.
·
·
Design Adaptation: Use graphic design software to adapt your designs to fit the object's shape. This may involve warping or scaling elements to ensure they appear correctly once printed.
·
·
Color Considerations: Choose colors that stand out on the object's surface. Test on similar materials to see how the colors translate.
·
·
File Formats: Save your designs in appropriate formats (e.g., AI, PSD, or PDF) for compatibility with your printing software.
·
Printing Process
The actual printing process may vary depending on the method you use, but here’s a general overview:
Step 1: Setup
Secure the object in your printing machine using a jig or clamps to ensure it stays in place. This step is critical for consistency across multiple prints.
Step 2: Calibration
Calibrate your printer settings based on the material and shape of the object. Adjust the ink flow, speed, and curing time as necessary.
Step 3: Test Print
Always perform a test print on a similar object before running a full batch. This step allows you to identify any alignment or color issues.
Step 4: Production
Once satisfied with the test, proceed with the full production run, monitoring the printing to ensure quality remains consistent.
Step 5: Finishing Touches
After printing, clean off any excess ink and consider adding a protective coating for durability. This step is essential if the object will be exposed to wear or environmental factors.
Common Challenges and Solutions
While printing on irregularly shaped cylindrical objects can be rewarding, it also comes with its challenges:
·
Inconsistent Inking: Ensure proper calibration of your printer and monitor the flow of ink to reduce inconsistencies.
·
·
Misalignment: Use jigs or fixtures to hold the objects firmly in place during the printing process.
·
·
Durability Issues: Choose inks compatible with your object's material and consider applying a protective coating to extend longevity.
·
Conclusion
Printing on irregularly shaped cylindrical objects can open up a world of creative possibilities, whether for promotional products, custom gifts, or unique art pieces. By understanding the challenges and utilizing the right techniques and tools, you can achieve stunning results that stand out. The key is in the preparation and execution, allowing you to maximize your printing potential.
FAQ
1. What materials can I print on using UV printers?
UV printers can work on a variety of materials, including glass, plastic, metal, wood, and ceramics. The key is to ensure the surface is clean and free from contaminants.
2. How do I ensure my design fits an irregular shape?
You can use graphic design software to warp and adapt your design based on the object's dimensions and curves. Always conduct a test print to ensure accuracy before committing to a full run.
3. Can pad printing work on all types of cylindrical objects?
While pad printing is versatile, it may not be suitable for all shapes. It works best on objects with smaller diameters. Larger or more complex shapes may require different techniques.
4. How can I improve ink adhesion on irregular surfaces?
Pre-treating the surface with coatings or using inks specifically formulated for the material can improve adhesion. Additionally, ensure your printer settings are optimal for the surface you're working on.
5. What should I consider when selecting inks for printing on irregular objects?
Consider the object's material, exposure conditions (like UV or moisture), and the desired finish. Always use inks designed for the specific printing method and materials for the best results.