How to Set Up a Home Studio for Tumbler Printing
Introduction
Dreaming of launching a tumbler printing business from home? You’re not alone. Many successful creators start in a small room, garage, or even a kitchen corner. With the right setup, you can run a professional-grade tumbler business right from your home. In this blog, we’ll guide you through every essential you need to create a productive, organized, and efficient home studio for tumbler printing.
1. Choose the Right Space
- Select a well-ventilated room with minimal dust
- Ensure there's enough room for your printer, computer, packaging, and inventory
- Natural lighting helps with inspecting print quality and creating content
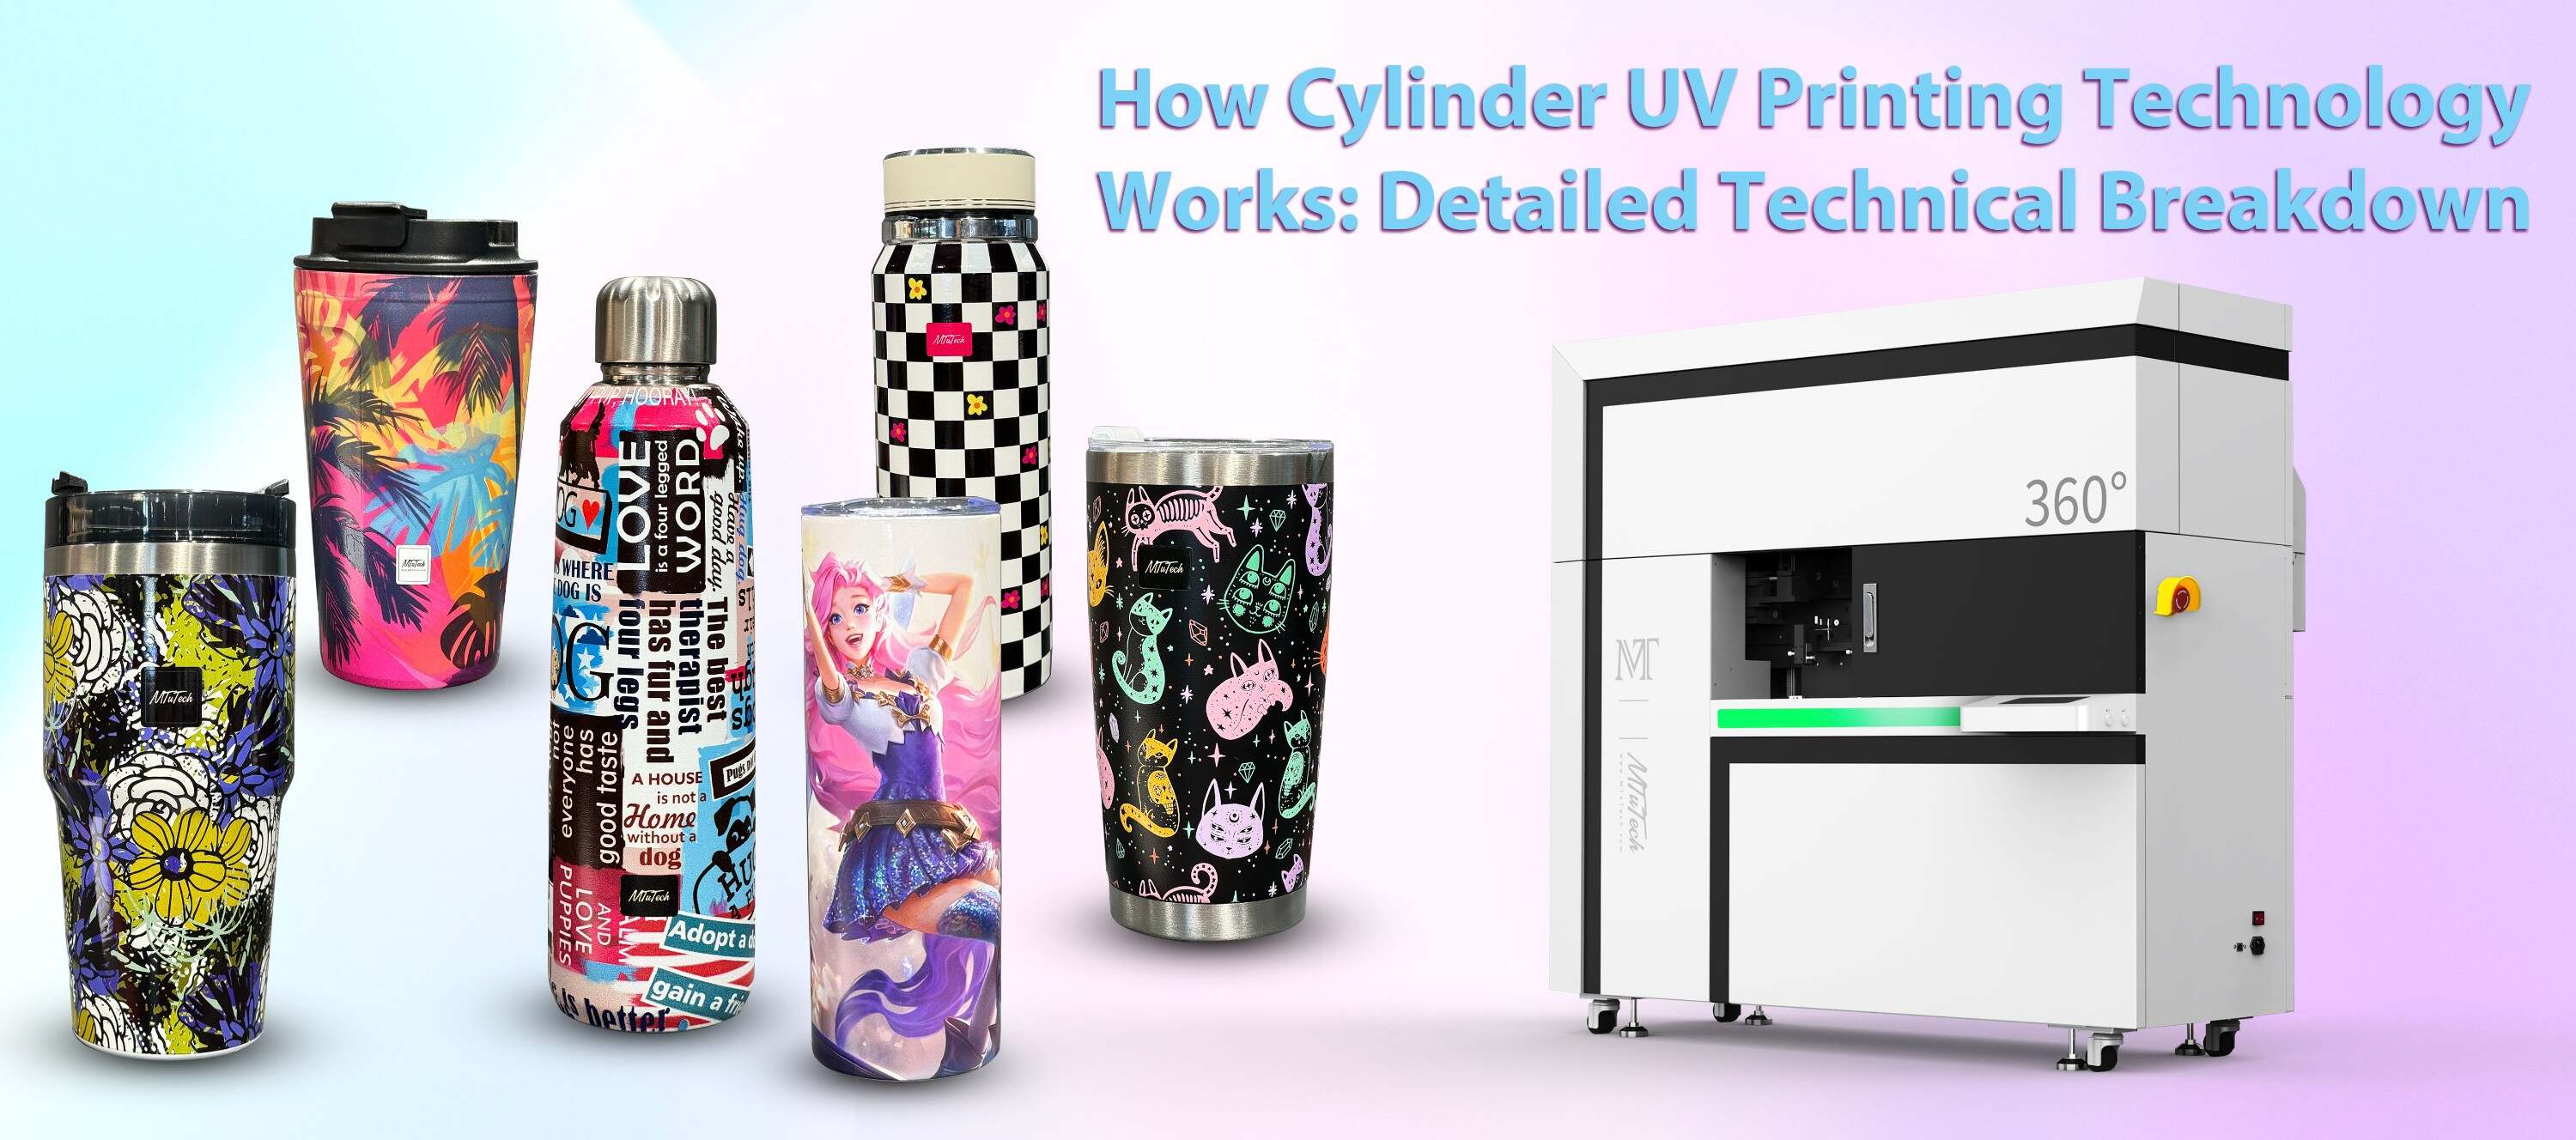
2. Invest in a Reliable Tumbler Printer
- Look for compact printers designed for desktop use but still capable of printing high-resolution designs
- Make sure the printer supports white ink and cylindrical printing
- Position it near an outlet and stable table for vibration-free operation
3. Create a Clean Prep Area
- Designate a cleaning station with alcohol, gloves, lint-free wipes
- Keep cleaning supplies separate from packaging to avoid contamination
- Label drawers and bins for organized storage
4. Set Up a Design and Print Command Center
- Use a reliable PC or laptop with design software like Illustrator or Photoshop
- Install RIP software compatible with your tumbler printer
- Use dual monitors if possible for efficiency
5. Install Proper Lighting
- Use daylight-balanced LED lights to inspect colors and finishes
- Add a ring light or lightbox for photography and product shots
- Bright lighting helps identify flaws and improves your marketing visuals
6. Safety and Ventilation
- Use fans or open windows to avoid fumes if using UV-curable ink
- Store inks and solvents away from heat and children
- Use a fire extinguisher and first-aid kit as basic precautions
7. Inventory and Storage
- Use vertical racks to store blank tumblers
- Label boxes by material, size, or color
- Keep finished orders separated from raw inventory to avoid mix-ups
8. Packaging Station Setup
- Set up a packaging zone with tissue paper, boxes, labels, and shipping supplies
- Use a thermal printer for shipping labels
- Add personal touches like thank-you cards or stickers
Conclusion
Starting from home doesn’t mean thinking small. With an efficient layout, a high-quality tumbler printer, and smart workflows, you can build a booming print business without renting a commercial space. Set it up right from the start, and your home studio will serve as the launchpad for something big.
Launch your home-based print shop with our compact and powerful tumbler printer — designed for creators who print big in small spaces.