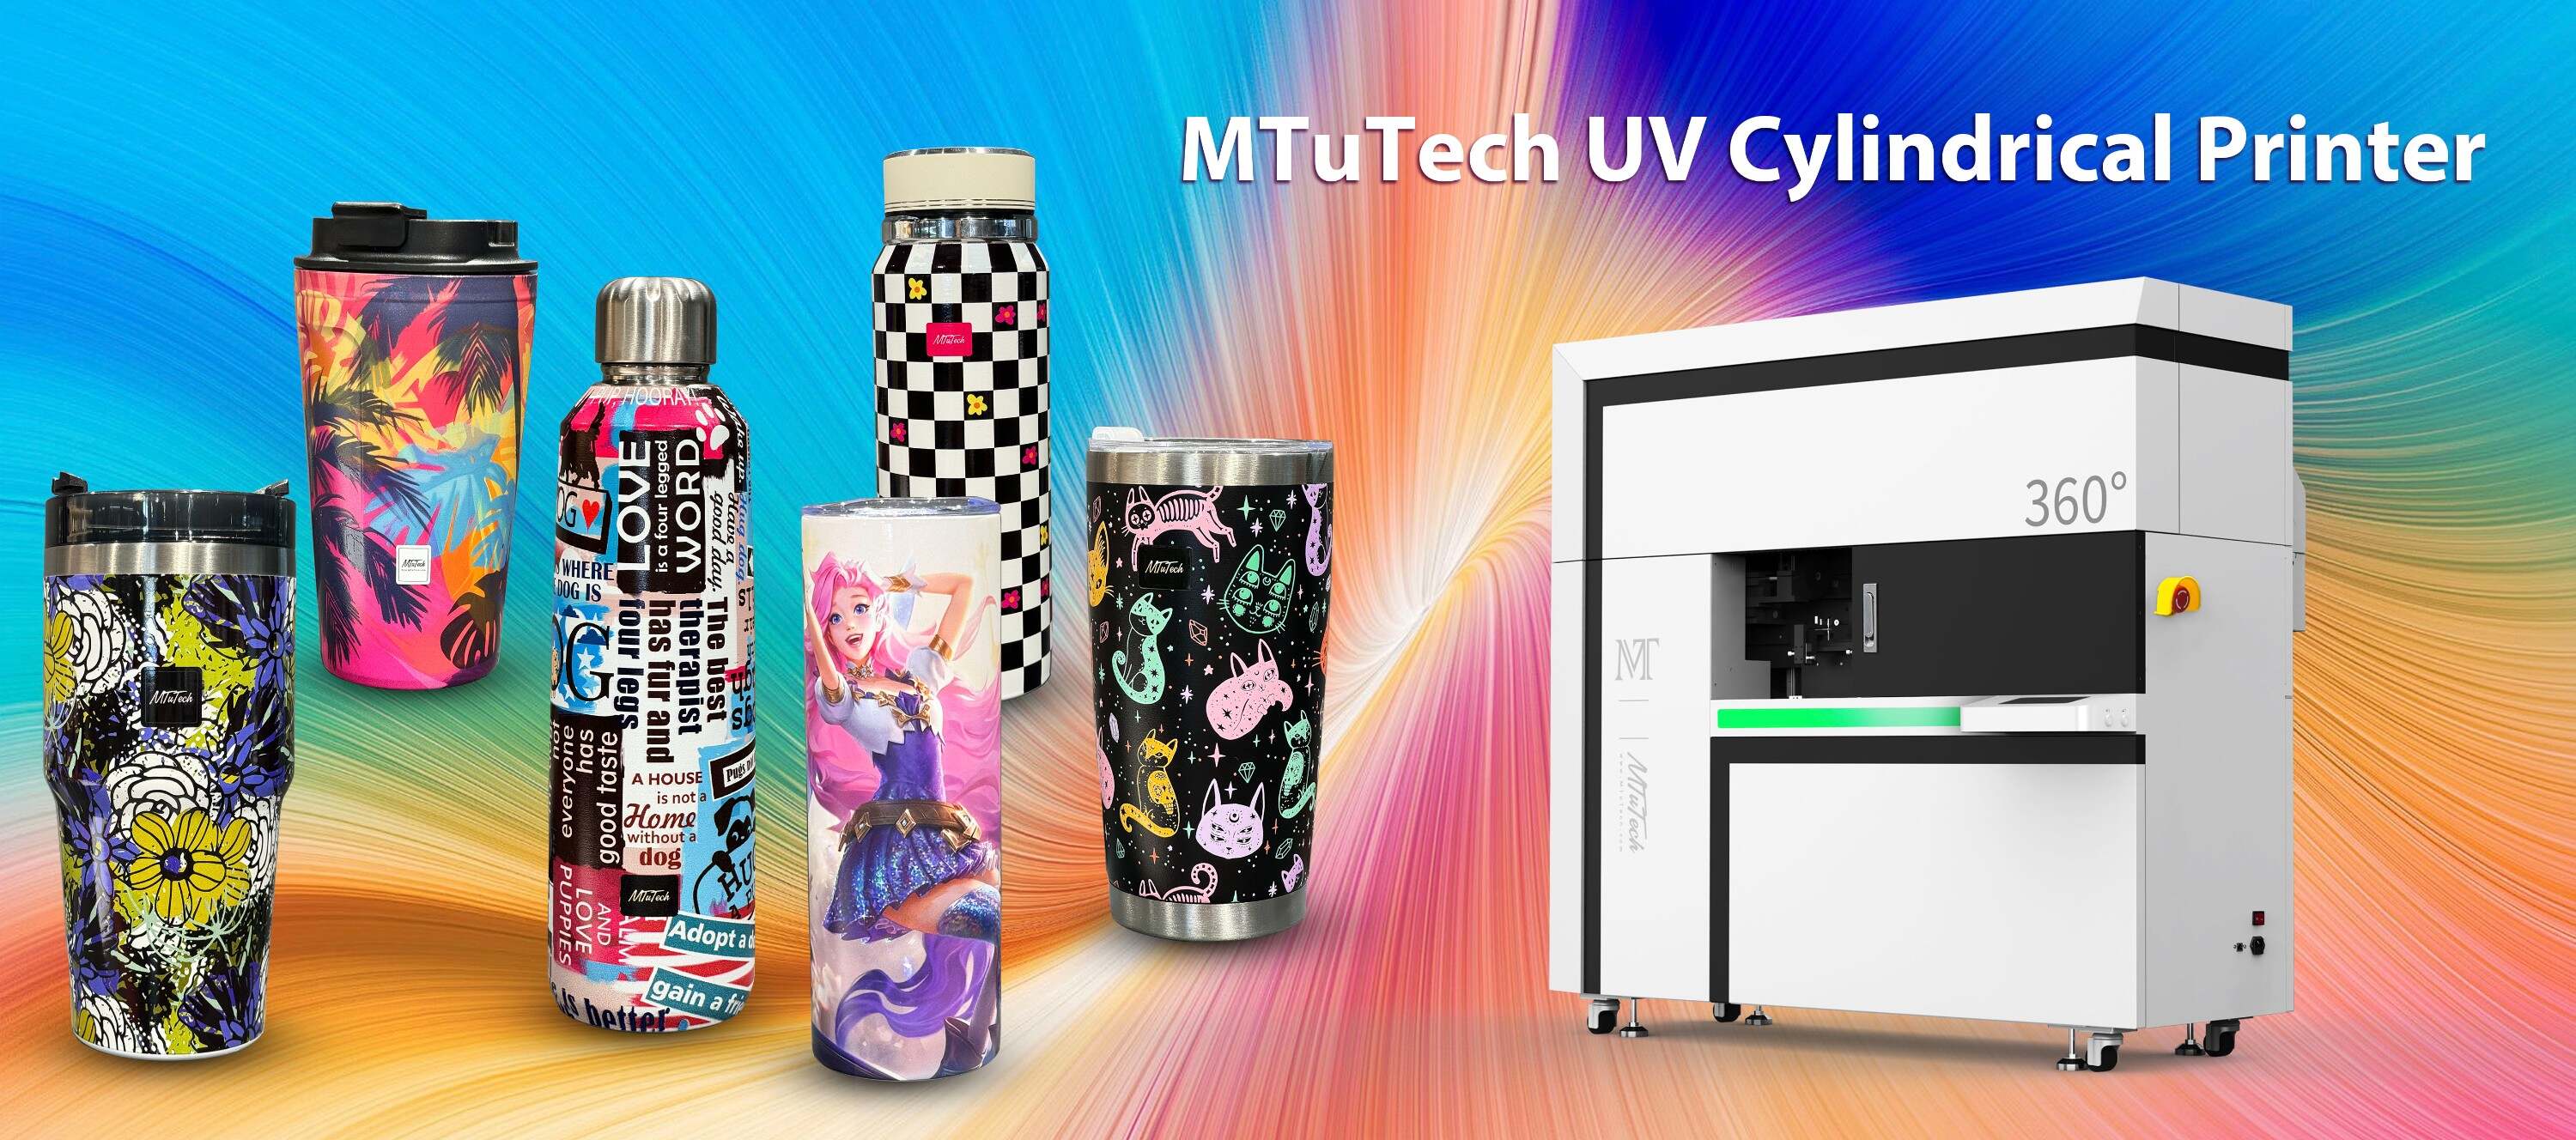
Tumbler Printer Print Offset on Seam Line: Calibration Walkthrough
Introduction
Tumbler printing has emerged as a popular method for customizing drinkware, allowing businesses and crafters to create unique, high-quality designs. However, printer calibration, especially concerning print offset on seam lines, can be a significant challenge. Getting this right not only ensures high-quality prints but also maintains the integrity of your designs across all tumbler types. This guide will walk you through the essentials of calibrating your tumbler printer for optimal results.
The Importance of Calibration
Calibration is necessary for a range of reasons, particularly when printing on tumblers where seams can disrupt design alignment. Inaccurate calibration can lead to:
·
Misalignment of designs on the seam.
·
·
Color misrepresentation due to improper settings.
·
·
Increased waste due to retries and errors.
·
·
Overall poor print quality, which can affect customer satisfaction.
·
Understanding Print Offset
Print offset refers to the distance between the design and the intended print area, particularly relevant when dealing with seams. In tumblers, this becomes increasingly important, as a misaligned design can result in an unsightly finish:
·
Seams on tumblers often create a visual break that can disrupt your design.
·
·
Offset adjustments can help align the print where the tumbler transitions from one side to the other.
·
Calibration Walkthrough
Now that we understand the significance of calibration and print offset, let's dive into a step-by-step process to calibrate your tumbler printer effectively.
Step 1: Gather Supplies
Before starting the calibration process, ensure you have the necessary supplies and equipment, including:
·
Your printer and tumblers.
·
·
Calibration paper or a test tumbler.
·
·
Measurement tools (calipers or a ruler).
·
·
Design software with print layout capabilities.
·
Step 2: Prepare Your Design
Once you have your supplies ready, create a test print design. Here’s how:
·
Use design software such as Adobe Illustrator or CorelDRAW.
·
·
Include a grid and alignment markers to help assess print positioning.
·
·
Keep the design simple for the initial test.
·
Step 3: Initial Test Print
Run a test print on your calibration paper or a similar surface. Here’s what to do:
·
Load your design into the printer’s software.
·
·
Ensure the correct settings are applied for your substrate.
·
·
Print and observe the results carefully.
·
Step 4: Measure and Adjust
After your initial test print, it’s crucial to measure and adjust the offsets:
·
Use measurement tools to determine the distance between the actual print and the design outlines.
·
·
Take note of any offsets, specifically around the seam line.
·
·
Adjust the printer settings to correct these offsets based on your measurements.
·
Step 5: Repeat Tests
Printing is often an iterative process. After adjusting your settings:
·
Print another test run and measure the results.
·
·
Continue this process until the design aligns perfectly on the seam line.
·
Step 6: Finalizing Calibration
Once you achieve satisfactory results, save your printer settings for future reference:
·
Document your calibration parameters.
·
·
If necessary, set up profiles for different tumbler types.
·
·
Always keep your settings handy for future calibrations and adjustments.
·
Common Calibration Issues
During the calibration process, you may encounter some common issues. Here are a few and how to address them:
Print Misalignment
If your prints are consistently misaligned:
·
Recheck the print layout in your design software.
·
·
Ensure that the printer bed is level.
·
·
Review the settings for the specific tumbler type you’re using.
·
Color Inconsistencies
Inconsistent colors can stem from misconfigurations:
·
Verify that your color profiles are set correctly in your design software.
·
·
Test different image formats; sometimes, formats like PNG can better retain color fidelity.
·
·
Run a color calibration if your printer supports this feature.
·
Final Thoughts
Calibrating your tumbler printer for print offsets on seam lines is essential to deliver high-quality, professional designs. By following the steps outlined above, you will enhance the quality of your prints, resulting in satisfied customers. Remember, calibration is not just a one-time task, but an ongoing process that may require periodic adjustments to maintain optimal performance. For those looking to expand their capabilities further, explore our high-quality Tumbler printers here and set your printing endeavors up for success.
FAQ
What is the best way to ensure print alignment on tumblers?
The best way to ensure print alignment is to use a combination of accurate measurement tools and design software settings. It's essential to calibrate regularly and make adjustments based on previous test prints.
How often should I recalibrate my tumbler printer?
It's a good idea to recalibrate your tumbler printer any time you change the substrate or if you notice misalignment in your prints. Regular checks, especially when using different designs, can prevent quality issues.
Can I print on other types of drinkware with the same settings?
While some settings may translate well to other drinkware types, each item can have unique characteristics such as shape, size, and material. It's advisable to perform specific calibrations for different drinkware types to ensure optimal print quality.
What tools are necessary for effective calibration?
Basic tools include measurement instruments such as calipers or rulers, design software for creating test prints, and the right substrates that mirror the final products you will print on.