How to Install and Configure Visual Positioning Software (VPS)
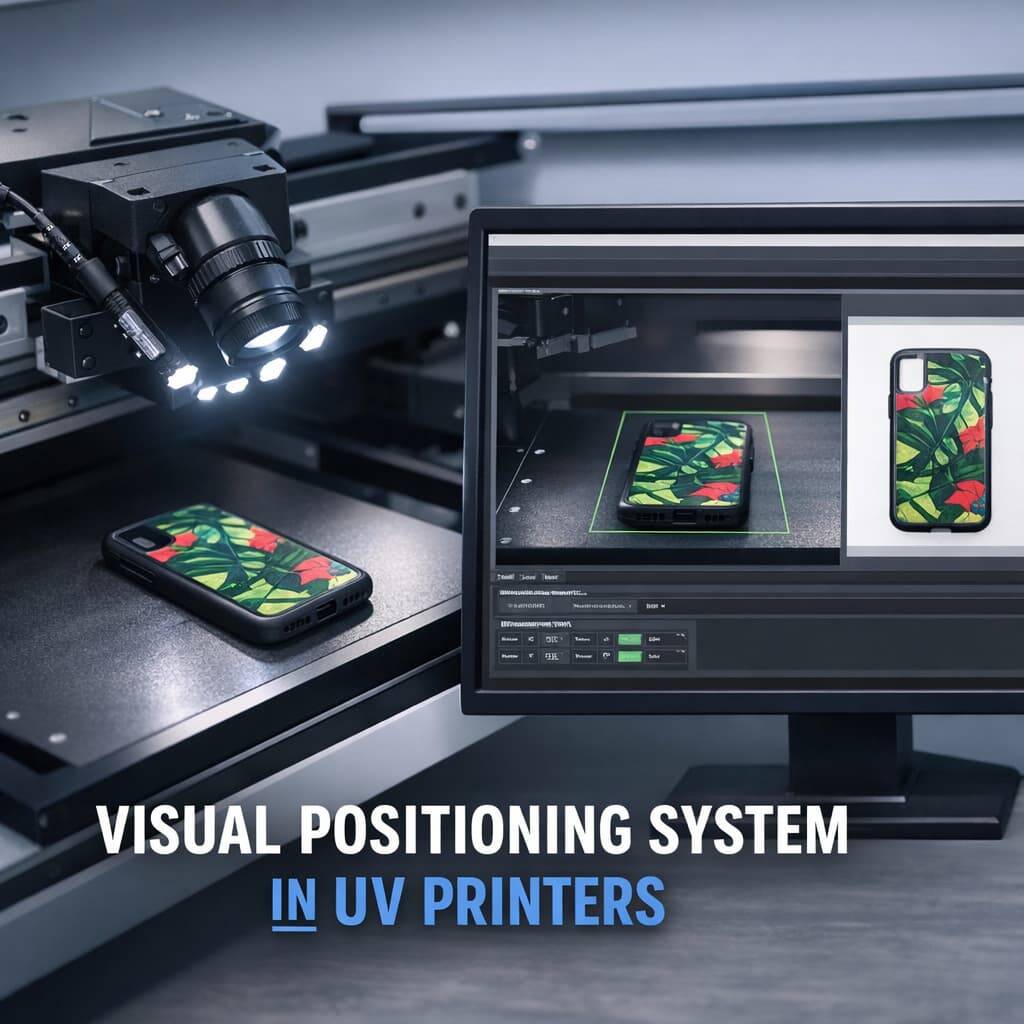
Visual Positioning Software (VPS) plays a crucial role in industries where precision and consistency matter the most, especially in printing, manufacturing, signage, and customized production. This software allows machines to visually detect reference points and align designs accurately on physical materials.
By reducing manual adjustments and alignment errors, VPS helps businesses achieve professional-quality output while saving time, materials, and operational costs. In this guide, we’ll explain how to install and configure Visual Positioning Software step by step, so you can unlock its full potential with confidence.
Why Visual Positioning Software Is Important
Modern production environments demand speed without compromising accuracy. Visual Positioning Software bridges this gap by combining automation with intelligent visual detection.
Key Benefits of Visual Positioning Software
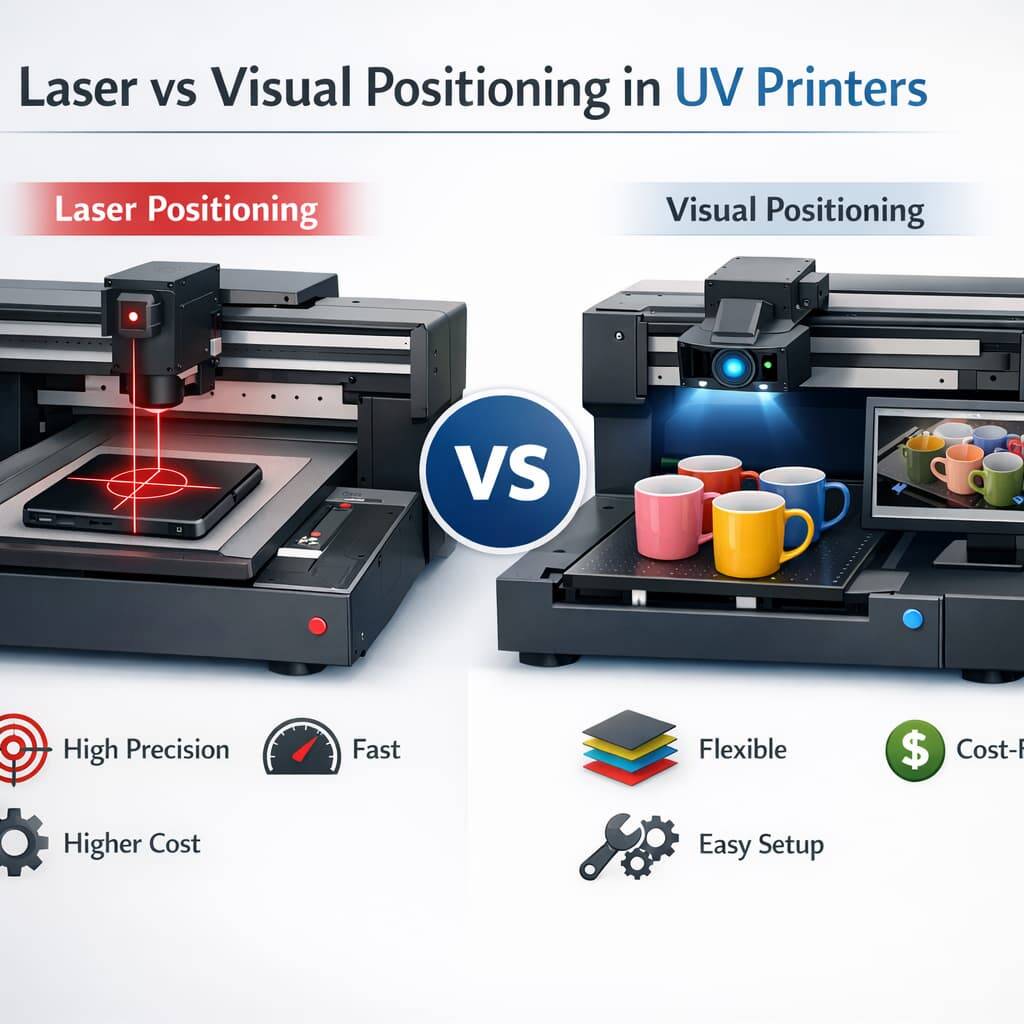
High Precision Output
VPS ensures accurate alignment of designs, minimizing positioning errors and reducing material wastage.Faster Production Workflow
Automated positioning significantly speeds up printing and manufacturing processes.Easy to Use
Most VPS platforms offer intuitive dashboards, making them accessible even for beginners.Wide Industry Compatibility
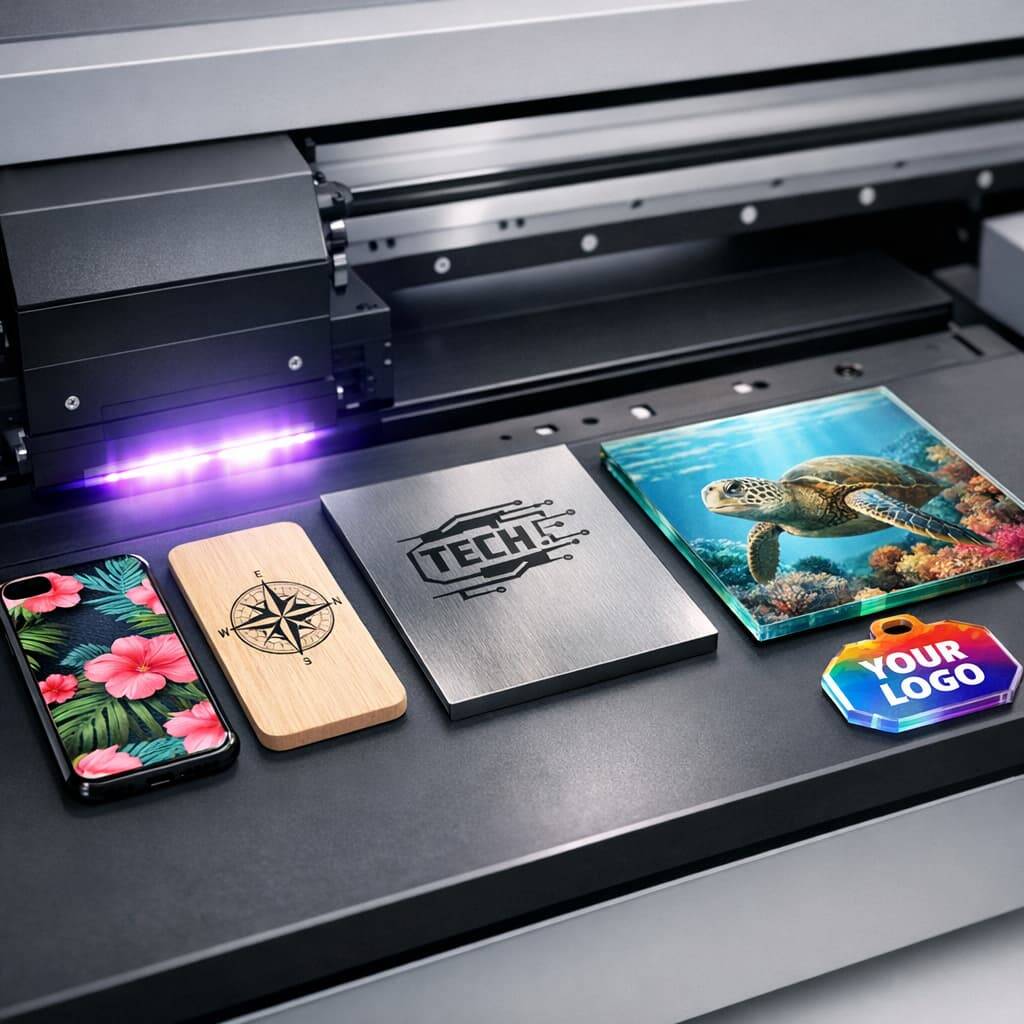
Suitable for UV printing, textile printing, packaging, signage, and industrial applications.
Core Features to Look for in Visual Positioning Software
Choosing the right Visual Positioning Software depends on the features it offers. High-quality VPS solutions typically include:
Real-Time Visual Feedback
Instant on-screen feedback allows operators to correct alignment issues immediately during production.
Hardware and Software Integration
Seamless compatibility with printers, cameras, and design software ensures a smooth workflow.
Customizable Configuration Options
Users can adjust detection sensitivity, alignment tolerances, and workflow preferences based on project needs.
Performance Monitoring and Reports
Built-in reporting tools help track efficiency, error rates, and overall production accuracy.
Step-by-Step Guide to Installing Visual Positioning Software
Step 1: Check System Requirements
Before installation, confirm that your system meets the minimum requirements recommended by the software provider:
Operating System: Windows 10 or later / compatible macOS version
RAM: Minimum 8 GB (16 GB recommended)
Storage: At least 1 GB of free disk space
Graphics: Dedicated GPU recommended for optimal performance
Ensuring system compatibility helps avoid performance issues later.
Step 2: Download the Latest Software Version
Visit the official website of the Visual Positioning Software provider and navigate to the download section. Always install the latest version to benefit from improved features, security updates, and bug fixes.
Step 3: Install the Software
After downloading:
Open the installer file from your system.
Accept the license agreement.
Select the installation directory (default path is usually best).
Click Install and allow the setup process to complete.
Step 4: Activate the Software License
Once installed, activate the software using the license key provided during purchase or subscription. Activation unlocks full functionality and ensures ongoing support and updates.
How to Configure Visual Positioning Software for Best Results
Step 5: Complete Initial Setup
When launching the software for the first time, you’ll be guided through an initial setup wizard. Important configurations include:
Selecting the connected printer model
Defining material types (size, thickness, surface type)
Setting camera detection parameters
This step ensures accurate communication between the software and hardware.
Step 6: Adjust Preferences and Defaults
Access the settings panel to fine-tune the software:
Positioning Tolerance Levels: Adjust based on accuracy requirements
Default Presets: Save frequently used configurations
Color Management Settings: Ensure consistent and accurate print output
These adjustments improve efficiency for recurring projects.
Step 7: Perform Calibration
Calibration is essential for reliable visual detection and alignment. The calibration process may involve:
Printing calibration or test patterns
Adjusting camera alignment and reference points
Verifying measurement accuracy
Always follow the official calibration instructions provided by the software manufacturer.
Testing and Troubleshooting After Setup
Step 8: Run Test Jobs
Before full-scale production, run small test projects to verify alignment accuracy and software performance. Observe output carefully and make necessary adjustments.
Step 9: Fix Common Issues
If issues arise, consult the built-in help section or user manual. Common challenges include:
Printer not detected by the software
Misaligned or shifted prints
Errors related to specific materials or surfaces
Most issues can be resolved by recalibration or adjusting detection settings.
Software Maintenance and Best Practices
Step 10: Keep Software Updated
Regular updates ensure better stability, new features, and security improvements. Enable automatic updates if available.
Step 11: Backup Configuration Settings
Save backup copies of your software settings to prevent data loss during system failures or reinstallation.
Conclusion
Installing and configuring Visual Positioning Software doesn’t have to be complicated. By following a structured approach—from system checks and installation to calibration and testing—you can achieve consistent, high-accuracy results.
For businesses aiming to improve precision and productivity, Visual Positioning Software paired with advanced Visual Positioning UV printers offers a powerful and future-ready solution.explore our high-quality Visual Positioning UV printers here.
Frequently Asked Questions (FAQ)
What is Visual Positioning Software used for?
It is used to align and position designs accurately on materials during printing or manufacturing processes.
Is calibration required after installation?
Yes, calibration is necessary to ensure precise alignment and consistent output quality.
Can VPS work with different printer models?
Most VPS solutions support multiple printer models, but compatibility should always be verified beforehand.
What should I do if installation fails?
Refer to the official troubleshooting guide or contact customer support for assistance.