Setting Up a Visual Positioning UV Printer: Step-by-Step
Introduction
In the world of printing technology, visual positioning UV printers stand out for their precision and versatility. Used in various industries from signage to custom merchandise, these printers offer unique capabilities that can enhance your business's creative output. Setting up a visual positioning UV printer can seem daunting, but with a step-by-step approach, you can ensure that your machine is functioning optimally and producing high-quality prints. In this guide, we will take you through everything you need to know about setting up your printer effectively.
Understanding Visual Positioning UV Printers
What is a Visual Positioning UV Printer?
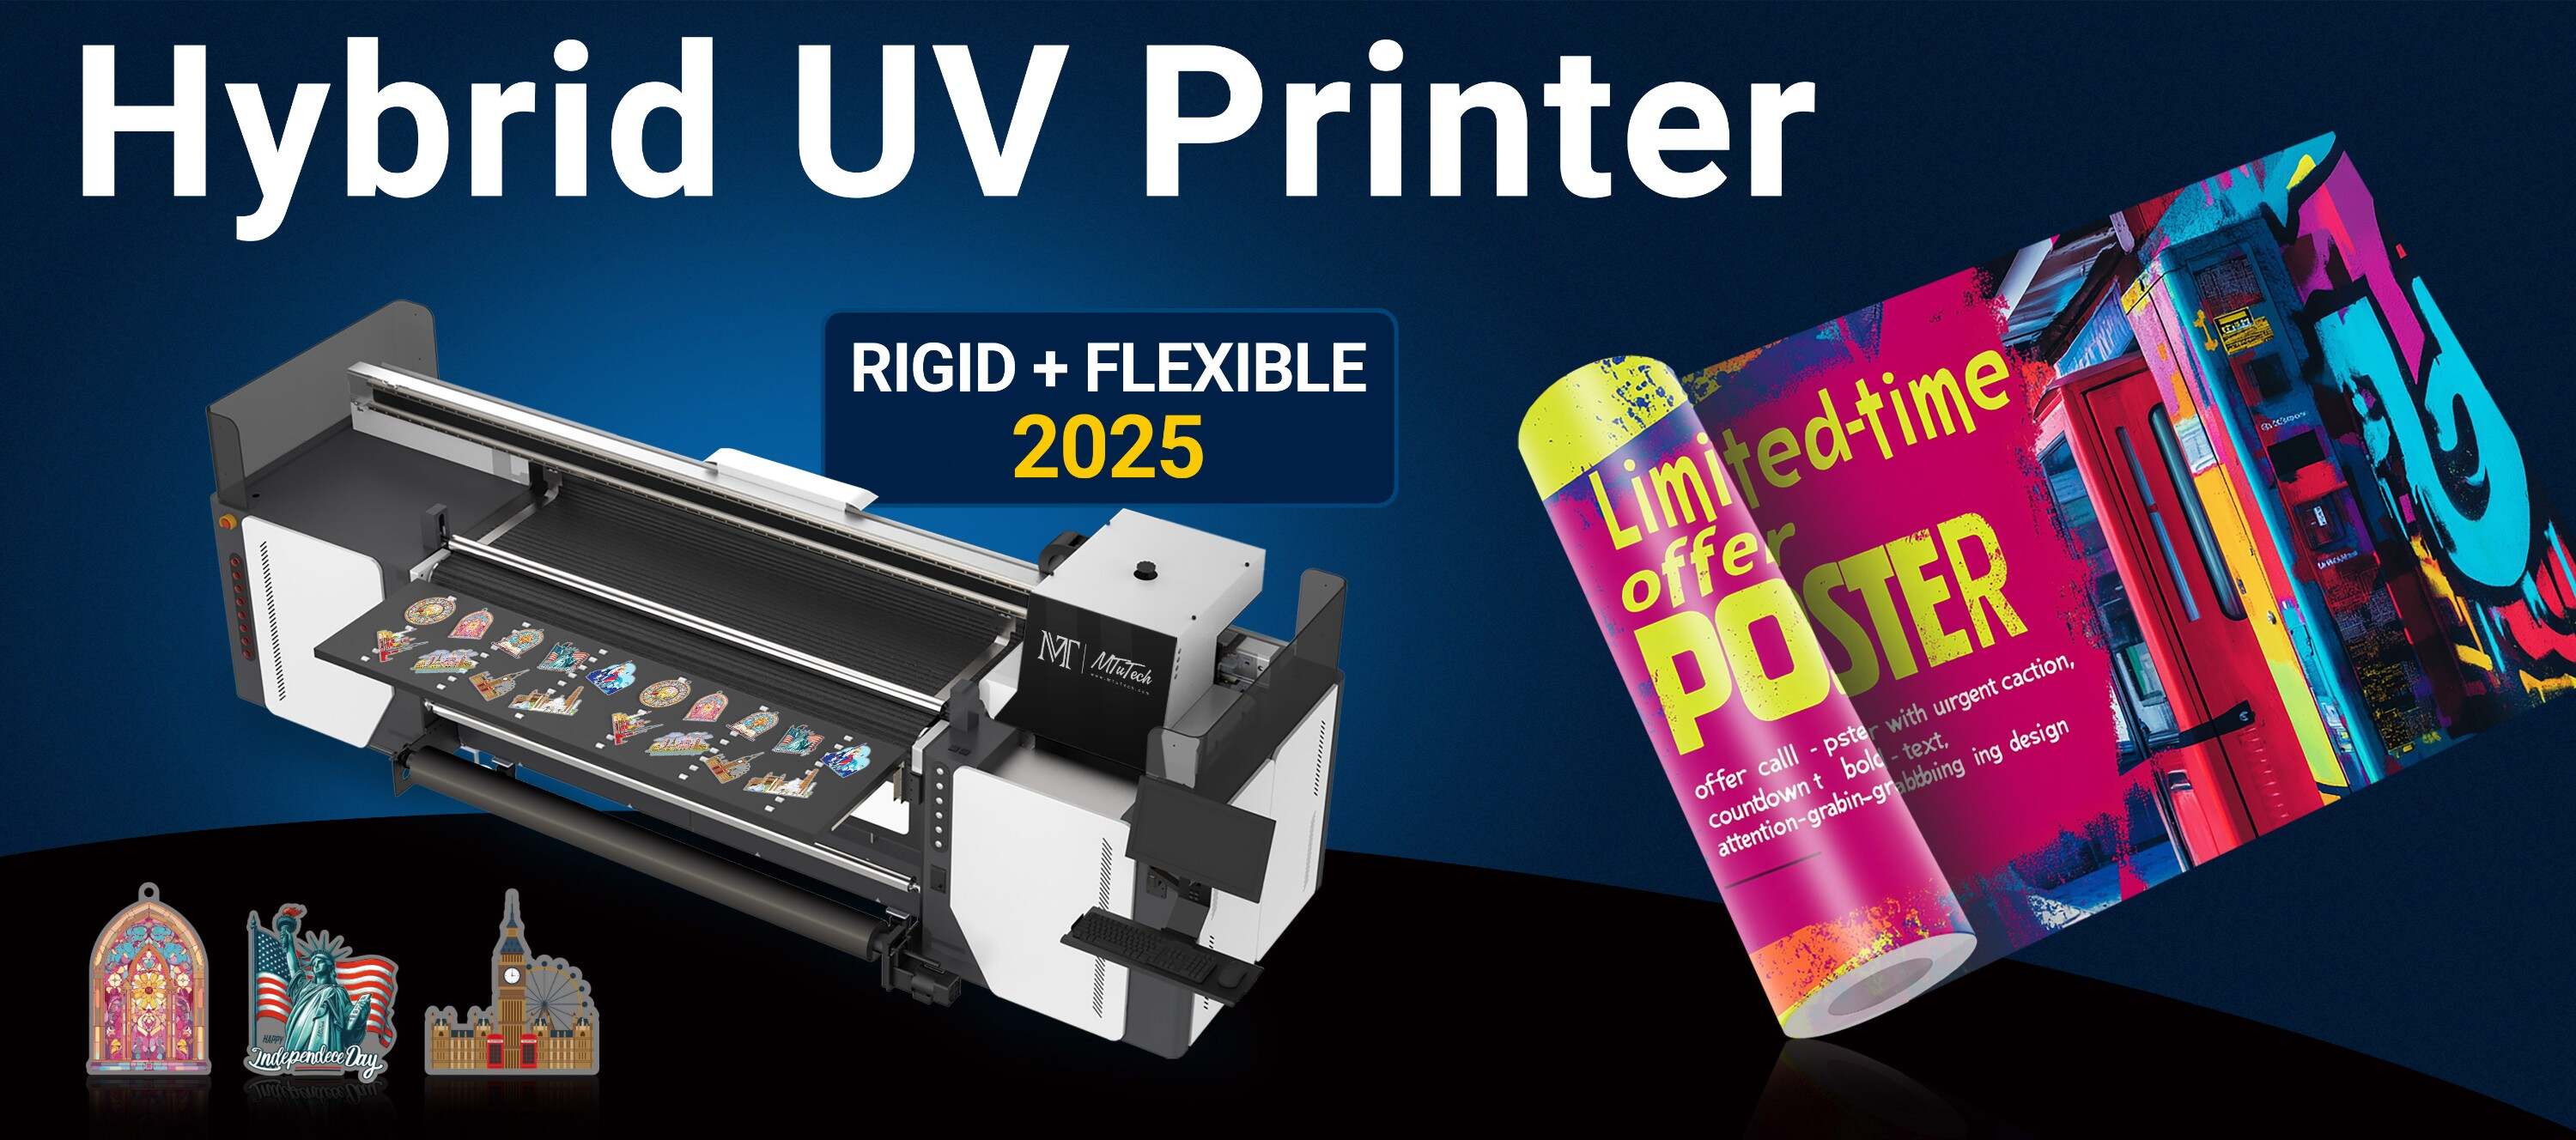
A visual positioning UV printer utilizes ultraviolet light to cure or dry the ink as it is printed. This technology allows for high-resolution printing on various materials, including plastics, metals, wood, and glass. The 'visual positioning' aspect refers to the printer’s ability to accurately align the print head with the substrate, ensuring perfect placement and reducing waste.
Benefits of Using a Visual Positioning UV Printer
·
High-Quality Prints: These printers produce vibrant and durable prints that stand out.
·
·
Versatility: They can print on a wide variety of substrates, accommodating different projects.
·
·
Low Ink Consumption: UV technology allows for efficient ink usage, reducing overall material costs.
·
·
Instant Drying: The curing process ensures prints are ready for use immediately, speeding up production times.
·
Preparing for Setup
What You Need Before You Start
Before diving into the setup, ensure you have all necessary tools and equipment at hand:
·
Visual positioning UV printer
·
·
Computer with printer software installed
·
·
Clean workspace with ample space for operation
·
·
Protective gear such as gloves and eyewear
·
Unpacking the Printer
Carefully unpack the printer, ensuring you follow the manufacturer's guidance. Remove all protective foam and materials without damaging the machine. Inspect the printer for any visible damages; if you find any, contact the supplier.
Step-by-Step Setup
Step 1: Placement of the Printer
Choose a stable and level surface to place your printer. Ensure that the area around it is well-ventilated and free from dust. Also, consider the power supply and proximity to your computer for easy connection.
Step 2: Connecting to Power and Computer
Once the printer is in place, connect it to a power source. Then, use the USB or Ethernet cable to connect the printer to your computer. Turn on the printer and wait for the initialization to complete.
Step 3: Installing Ink and Print Heads
Refer to the user manual for detailed instructions on installing the ink cartridges and print heads:
·
Open the printer cover carefully.
·
·
Insert the ink cartridges as per color coding and lock them in place.
·
·
Install print heads, ensuring they are securely fitted.
·
Step 4: Printer Calibration
Calibration is crucial to ensure accurate printing. Follow these steps:
·
Access the printer settings through the software on your computer.
·
·
Run the automatic calibration based on the manufacturer's instructions.
·
·
Print a test pattern to check alignment and make adjustments as needed.
·
Step 5: Loading Media
Loading your desired printing substrate is the next step. Ensure that the substrate fits the printer size specifications. Follow these guidelines:
·
Open the media loading section of the printer.
·
·
Carefully place the substrate in the correct position.
·
·
Align the paper guides to fit snugly against the substrate.
·
Step 6: Software Configuration
Launch the printer software on your computer and configure the settings:
·
Select the correct printer model from the dropdown menu.
·
·
Adjust preferences, including resolution and quality settings.
·
·
Import your design files for the print job.
·
Step 7: Conducting a Test Print
Before starting with actual production, it is essential to conduct a test print:
·
Use a test design that checks all functionalities (colors, alignment, etc.).
·
·
Monitor the output and identify any potential issues.
·
Step 8: Final Adjustments and Maintenance
After successful test prints, make any necessary adjustments based on the results. Regular maintenance is key to keeping your printer in top shape. This includes:
·
Cleaning print heads periodically.
·
·
Checking ink levels frequently.
·
·
Calibrating the printer monthly for optimal results.
·
Conclusion
Setting up a visual positioning UV printer may seem overwhelming, but with careful planning and execution of the steps outlined in this guide, you can establish a reliable and efficient printing process. By following this comprehensive setup process, you will not only enhance your printing capabilities but also open new avenues for creativity in your projects. Explore our high-quality Visual Positioning UV printers here to find the perfect machine for your needs.
FAQ
What types of substrates can be printed on using visual positioning UV printers?
Visual positioning UV printers can print on a wide range of substrates, including plastics, metal, glass, wood, and even textiles, depending on the specific printer model and capabilities.
How often should I perform maintenance on my UV printer?
Regular maintenance is essential for optimal performance. It is advised to clean the print heads and check ink levels weekly. A full calibration should be performed at least once a month.
Can I use third-party inks in my visual positioning UV printer?
While some third-party inks may be compatible, using inks recommended by the manufacturer is always advisable to avoid damaging the printer and to maintain print quality.
What safety precautions should I take when using a UV printer?
When operating a UV printer, always wear protective gear such as gloves and eyewear. Ensure proper ventilation in the working area, and avoid direct contact with UV light exposure.
How can I improve the quality of prints produced by my UV printer?
To improve print quality, ensure proper calibration, use high-resolution images, and select appropriate substrate settings in the software. Regular maintenance, including cleaning the print heads, also plays a vital role in achieving excellent results.