Eliminating Shadowing in Visual UV Printing: Causes, Fixes, and Prevention
Visual UV printing has revolutionized modern digital printing by enabling vibrant colors, sharp detail, and the ability to print directly onto a wide range of materials such as acrylic, glass, metal, wood, PVC, and more. With the help of visual positioning systems, today’s UV printers can achieve remarkable precision, making them essential for signage, packaging, promotional products, industrial marking, and customized manufacturing.
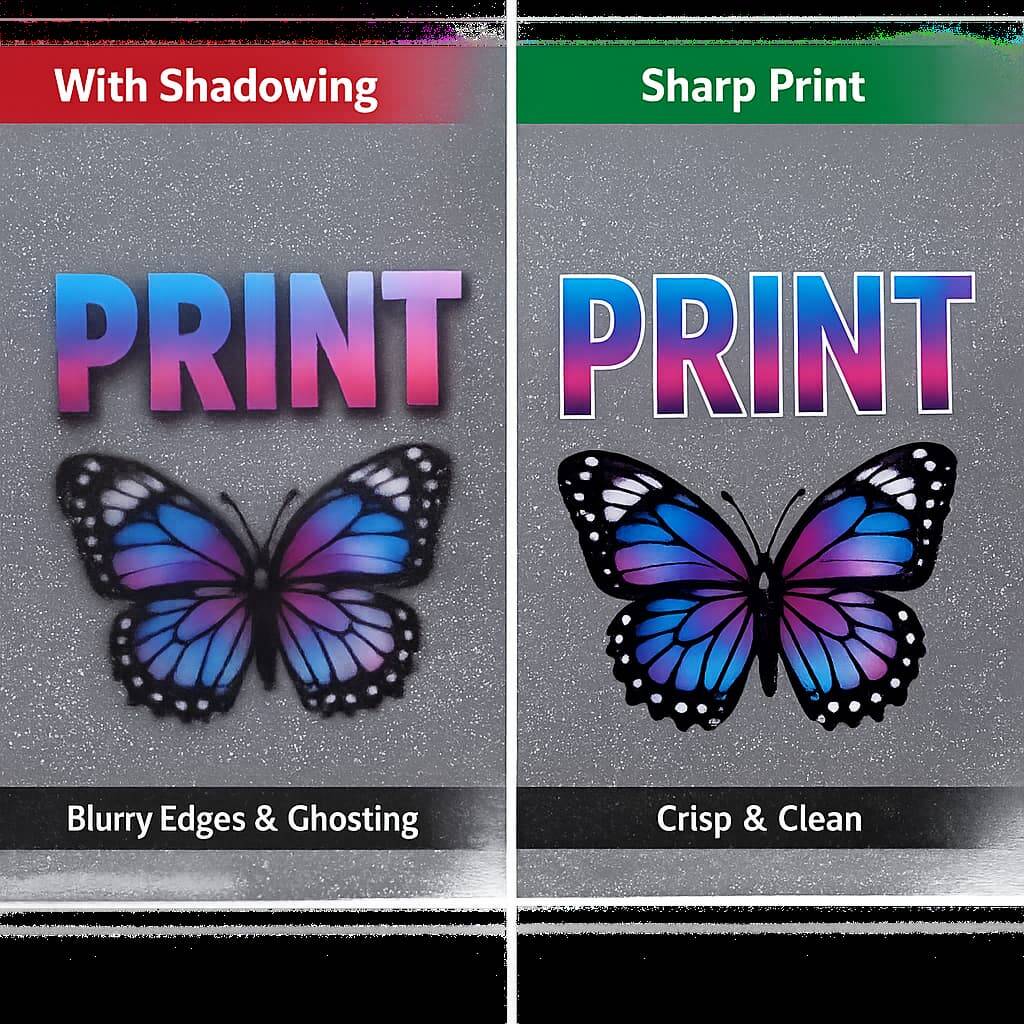
However, even with advanced equipment, one frustrating issue continues to affect print quality across many UV printing operations: shadowing. Shadowing appears as unwanted dark edges, ghost images, halos, or inconsistent color density around printed graphics. It reduces clarity, lowers perceived quality, and can lead to material waste, production delays, and customer dissatisfaction.
This in-depth guide explains what shadowing is, why it happens in visual UV printing, how to diagnose it accurately, and the proven steps you can take to eliminate and prevent it. Whether you operate a flatbed UV printer, a hybrid system, or a visual positioning UV printer, this article will help you achieve cleaner, sharper, and more professional results.
What Is Shadowing in UV Printing?
Shadowing in UV printing refers to dark outlines, duplicated edges, blurred halos, or uneven ink density that appears around text, graphics, or solid color areas. It is most visible in:
Fine text and line graphics
High-contrast designs
Solid color backgrounds
Detailed logos and photographs
Unlike banding or color shift, shadowing is usually related to ink placement accuracy, curing behavior, or mechanical alignment rather than color calibration alone.
In visual UV printing, where cameras and positioning systems guide the print placement, shadowing may also occur when the positioning and ink deposition are not perfectly synchronized.
Why Shadowing Is a Serious Problem for Print Businesses
Shadowing is not just a cosmetic defect. It can:
Make prints look blurry and unprofessional
Reduce readability of small text and barcodes
Cause brand color inconsistency
Increase reprints and material waste
Slow down production due to troubleshooting time
Damage customer trust in high-value applications like signage and packaging
Understanding the root causes is essential for maintaining consistent output quality.
The Most Common Causes of Shadowing in Visual UV Printing
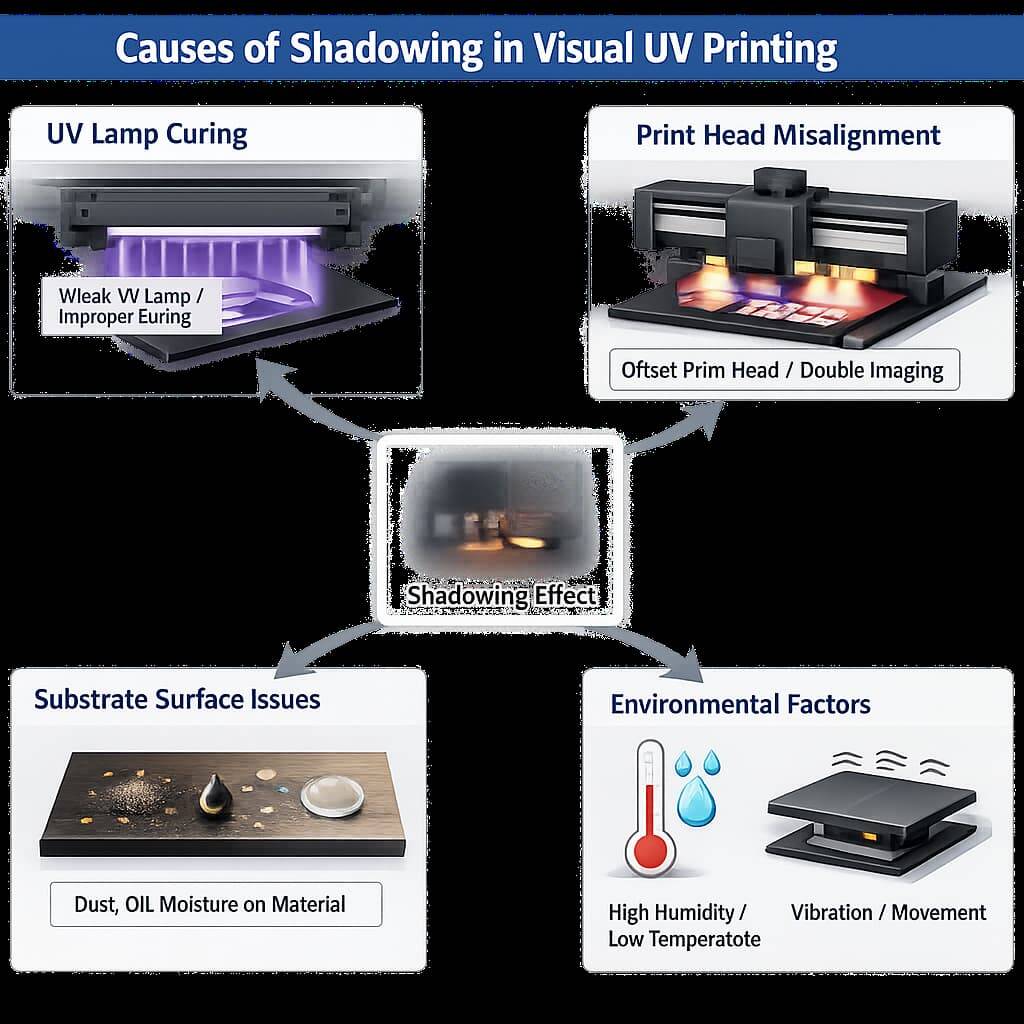
Shadowing rarely comes from a single issue. It is typically the result of multiple small factors working together.
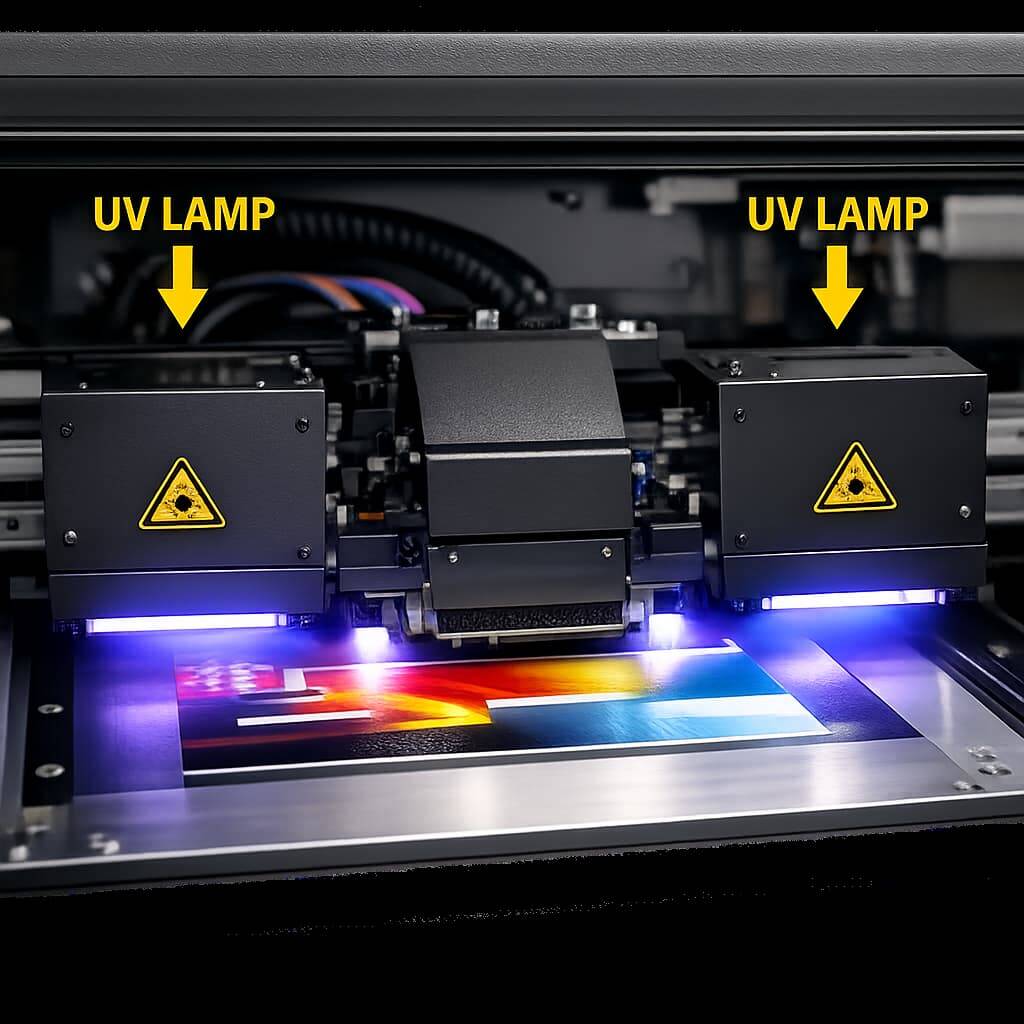
1. Incomplete or Uneven UV Curing
If UV ink is not cured instantly and evenly, it can spread slightly after landing on the substrate. This microscopic ink movement creates blurred edges or shadow outlines.
Causes include:
Weak or aging UV lamps
Incorrect lamp height or angle
Excessive print speed
Thick ink layers that require more curing energy
2. Incorrect Ink Density and Layering
Too much ink in a single pass causes pooling. When the ink spreads before curing, shadowing appears around shapes and text.
This is especially common when:
Printing white ink bases
Printing on non-absorbent materials like acrylic or glass
Using high saturation settings for vivid colors
3. Print Head Misalignment
If the print head is even slightly out of alignment, each pass places ink in a slightly different position. The result is a ghost edge or double outline.
4. Visual Positioning Calibration Errors
Visual UV printers rely on cameras to locate materials and guide printing. If the camera system is not precisely calibrated:
The print placement shifts slightly
Multi-pass prints do not overlap perfectly
Edges appear doubled or shadowed
5. Substrate Surface Problems
Dust, oil, moisture, or static electricity on the material can cause ink to behave unpredictably, leading to uneven edges.
Some materials naturally repel or spread UV ink if not pre-treated.
6. Environmental Conditions
Temperature and humidity affect how ink flows and how fast it cures. High humidity or low temperature slows curing and promotes ink spread.
7. Mechanical Vibration or Movement
Loose belts, worn rails, or unstable tables can cause micro-movements during printing, resulting in edge duplication.
Step-by-Step Troubleshooting Guide for Shadowing
When shadowing appears, use this systematic approach.
Step 1: Inspect the UV Curing System
Check lamp intensity
Replace old UV bulbs or LEDs if output has weakened
Verify proper lamp positioning
Reduce print speed temporarily to allow better curing
If shadowing improves when printing slower, curing is likely the issue.
Step 2: Reduce Ink Output
Lower ink density in RIP software
Try printing in multiple lighter passes instead of one heavy pass
Reduce white ink thickness if used as a base layer
Step 3: Perform Print Head Alignment
Use the printer’s alignment test to ensure all nozzles deposit ink in exact positions.
Step 4: Recalibrate the Visual Positioning System
Clean camera lenses
Re-run calibration routines
Ensure proper lighting conditions for the camera
Step 5: Clean and Prepare the Substrate
Wipe with alcohol or approved cleaner
Remove dust and static
Use adhesion promoters when required
Step 6: Check the Environment
Maintain:
Temperature between 20°C and 25°C
Humidity between 40% and 60%
Advanced Techniques to Prevent Shadowing
Once basic issues are resolved, these professional practices help eliminate shadowing permanently.
Use Proper ICC Color Profiles
Correct color management ensures ink limits are appropriate for each material, preventing over-inking.
Optimize Pass Count and Resolution
Higher resolution with lighter passes often produces sharper edges than fewer heavy passes.
Maintain a Strict Maintenance Routine
Clean print heads daily
Check belts and rails weekly
Inspect UV lamps regularly
Train Operators Thoroughly
Well-trained operators recognize early signs of shadowing and adjust settings before large batches are printed.
Substrate Considerations That Affect Shadowing
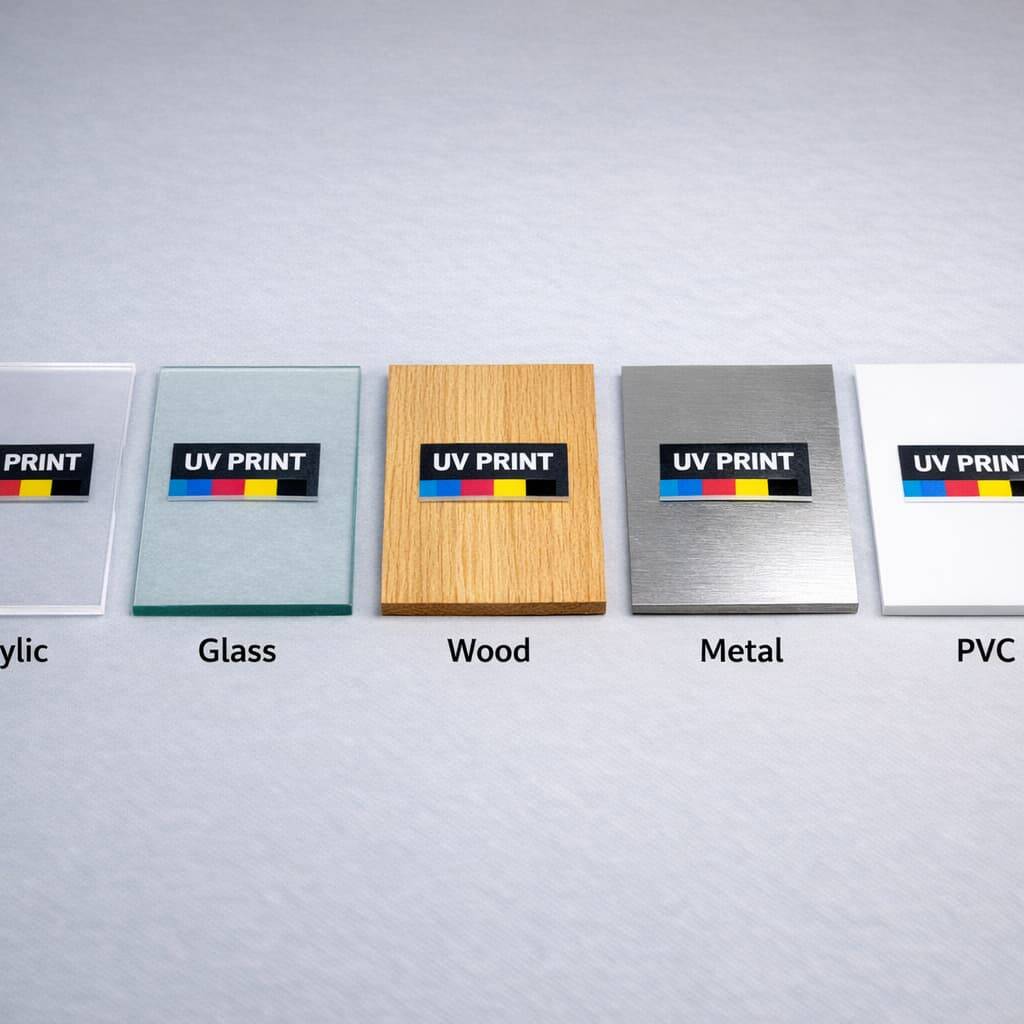
Different materials behave differently with UV ink.
| Substrate | Shadowing Risk | Recommendation |
|---|---|---|
| Acrylic | High | Reduce ink, increase curing |
| Glass | High | Clean thoroughly, use adhesion promoter |
| Wood | Medium | Ensure flat surface |
| Metal | Medium | Check surface oils |
| PVC | Low | Standard settings work well |
The Role of Visual Positioning Accuracy
In visual UV printing, precision depends on synchronization between:
Camera detection
Software positioning
Print head movement
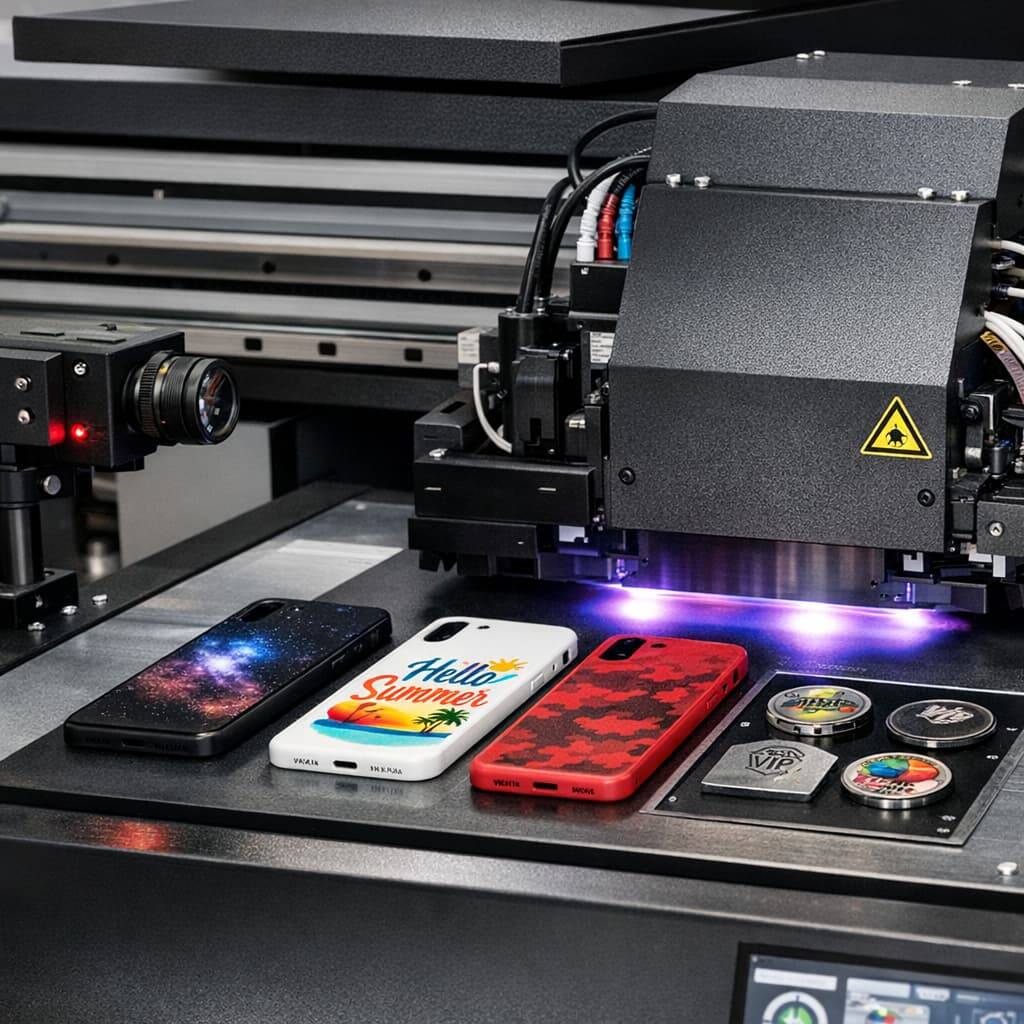
Any delay or misreading creates slight offsets that appear as shadows. Regular calibration is essential for precision work like phone cases, badges, or promotional items.
Real Production Examples
Example 1: Acrylic Sign Printing
A shop printing acrylic signs experienced shadow edges around text. Reducing ink density by 15% and slowing print speed solved the problem completely.
Example 2: Phone Case Customization
A business using a visual positioning UV printer noticed double edges on small logos. Camera recalibration eliminated the issue.
Example 3: Metal Nameplates
Shadowing occurred due to oil residue on metal sheets. Cleaning with alcohol before printing fixed it.
Daily Checklist to Avoid Shadowing
Before printing each day:
Clean print heads
Check UV lamp status
Clean camera lenses
Verify substrate cleanliness
Confirm room temperature and humidity
Run alignment test
Frequently Asked Questions
What is the fastest way to diagnose shadowing?
Print a small test pattern while reducing speed and ink density. If it improves, the issue is curing or ink overload.
Does shadowing mean the printer is faulty?
No. It is usually a settings, maintenance, or environment issue.
Can software settings alone fix shadowing?
Sometimes, but often mechanical, curing, or material factors are involved.
Is shadowing more common on certain materials?
Yes. Acrylic, glass, and glossy surfaces are more prone to it.
Final Thoughts
Shadowing in visual UV printing is a common but solvable challenge. By understanding how curing, ink density, alignment, substrate condition, environmental factors, and visual positioning interact, you can eliminate this issue and achieve consistently sharp, professional prints.
A disciplined approach to maintenance, calibration, and operator training makes a significant difference. With the right practices, your UV printer can deliver flawless results across a wide range of materials and applications without the frustration of shadow defects.explore our high-quality Visual Positioning UV printers here.