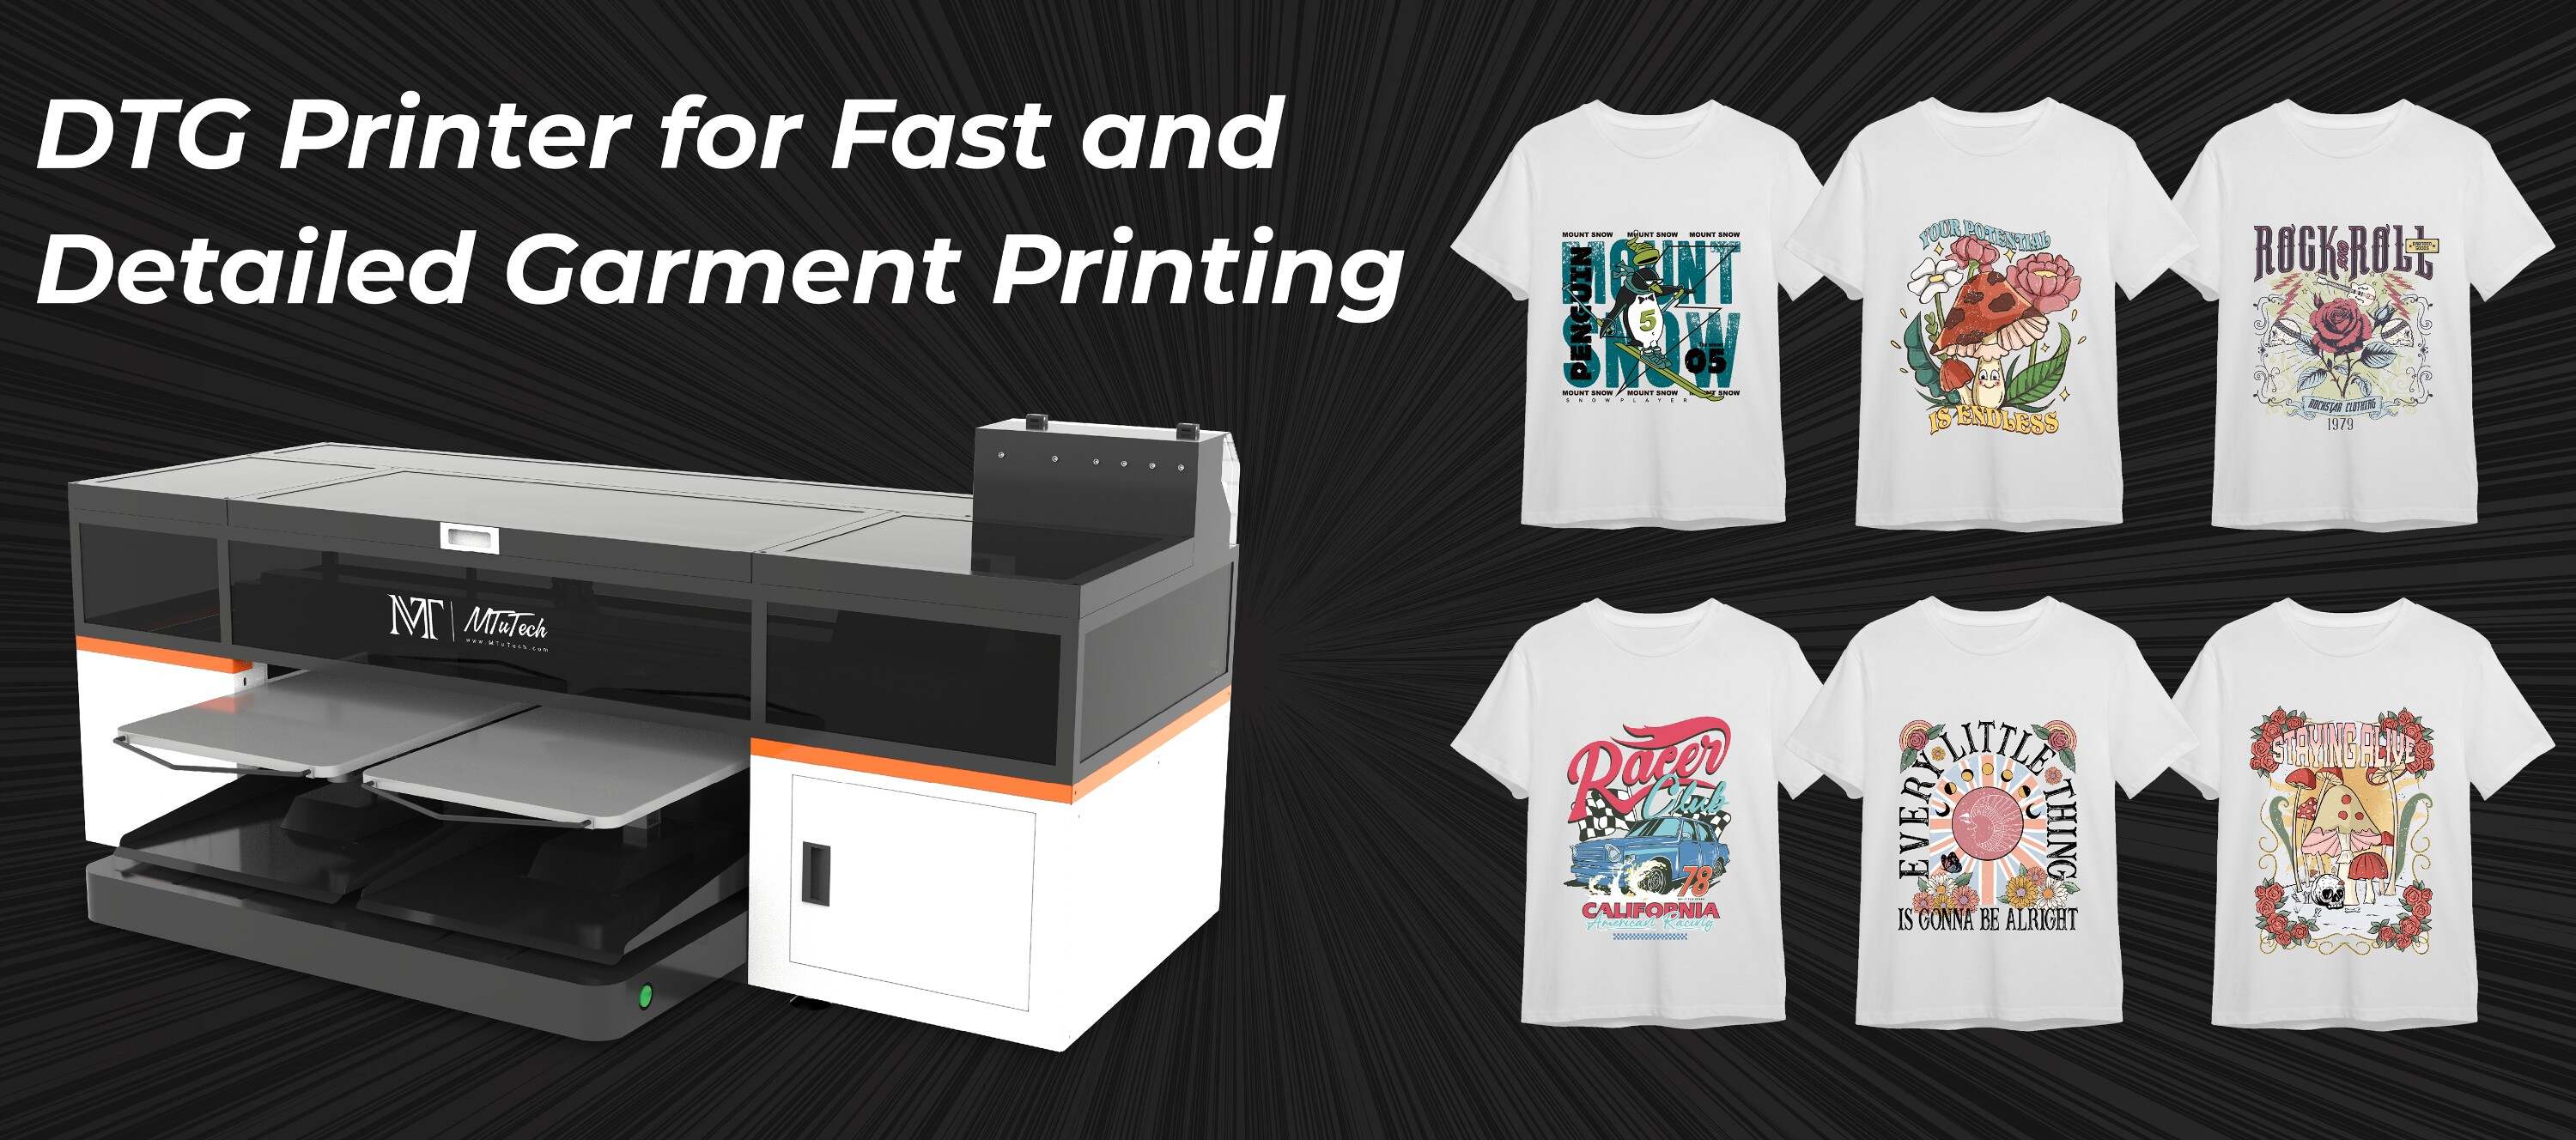
Direct-to-Garment (DTG) printing is a relatively new but extremely powerful technology in the textile industry. It uses a technique similar to an inkjet printer to print directly onto fabric. One of the most revered aspects of this style of printing is its ability to maintain the fine details of any design while still preserving the soft feel of the fabric. But, arguably the coolest thing you can achieve using DTG is layered printing which creates visually impressive texture effects. This blog post will guide you through the process of how to create these great texture effects using DTG layering.
Introduction
The trick to introducing texture and a sense of depth into your DTG prints lies in the ability to control where, how, and when the ink is laid down. This is a more advanced technique, but once mastered, it opens up a world of possibilities for any printer.
Benefits of DTG Layering
DTG layering can produce a more three-dimensional look to your designs.
It provides the opportunity to introduce texture and a tactile feel to your prints.
Achieving these effects can give your products a higher perceived value to customers.
Step-by-Step Guide on Creating Texture Effects Using DTG Layering
Step 1: Use Optimal Graphic Software
First, you need to create your design in graphic software such as Photoshop or Illustrator. These programs will allow you to work in layers, which is essential to the process.
Step 2: Create Multiple Layers
Break down your design into multiple layers, which will be printed individually. Think about how depth and texture will be perceived in your final print. The layers closer to the viewer should be printed last, and those in the background should be printed first.
Step 3: Experiment with Gradients
Taking advantage of gradients can greatly boost the perception of depth and texture in your DTG prints. It can make areas of the garment look closer or further away, adding a whole new dimension to your designs.
Step 4: Utilize Transparency
Another technique you can use to enhance the texture effect is to experiment with varying degrees of transparency in your layered printing. This allows for the interplay of colors and can accentuate the texture you are trying to execute.
Step 5: Print in Stages
Finally, when it’s time to print your design, ensure to do it in stages, following the layer order you mapped out during the design process. Explore our high-quality DTG printers here that allow for efficient layering and depth when printing.
Conclusion
Creating texture effects using DTG layering can transform your garment prints from simple two-dimensional images into designs that appear to jump off the fabric. However, mastering this skill requires understanding how the layering process works and a willingness to experiment until you achieve the effect you desire.
FAQ Section
What is DTG printing?
DTG or Direct-to-Garment printing is a technique that allows a printer to print a digital image directly onto a Variety of fabrics without the use of transfers or heat presses. The ink is absorbed into the fabric, giving the design a soft feel.
Is DTG good for detail?
Absolutely. DTG's method of printing allows it to capture extremely intricate details in designs, which can be a struggle for other forms of garment printing.
Where can I find a DTG printer that allows for efficient layering?
MtuTech offers high-quality DTG printers that allow for efficient layering and depth when printing
Is DTG printing durable?
Yes. DTG prints are known for their durability and longevity. This is because the ink is absorbed directly into the fabric, rather than sitting on top as with other methods.
What software is best to use for layering designs in DTG printing?
Adobe Illustrator and Photoshop are excellent tools to use when creating designs for DTG printing. They allow for fine-tuning and manipulation of layers, which is crucial in getting the desired texture effects.