Introduction
Setting up and calibrating a UV DTF (Direct to Film) printer can seem daunting, especially for beginners entering the world of digital printing. However, with the right guidance, you can efficiently configure your printer for optimal performance. This guide will walk you through the essential steps to set up and calibrate your UV DTF printer, ensuring you achieve vibrant and consistent print quality.
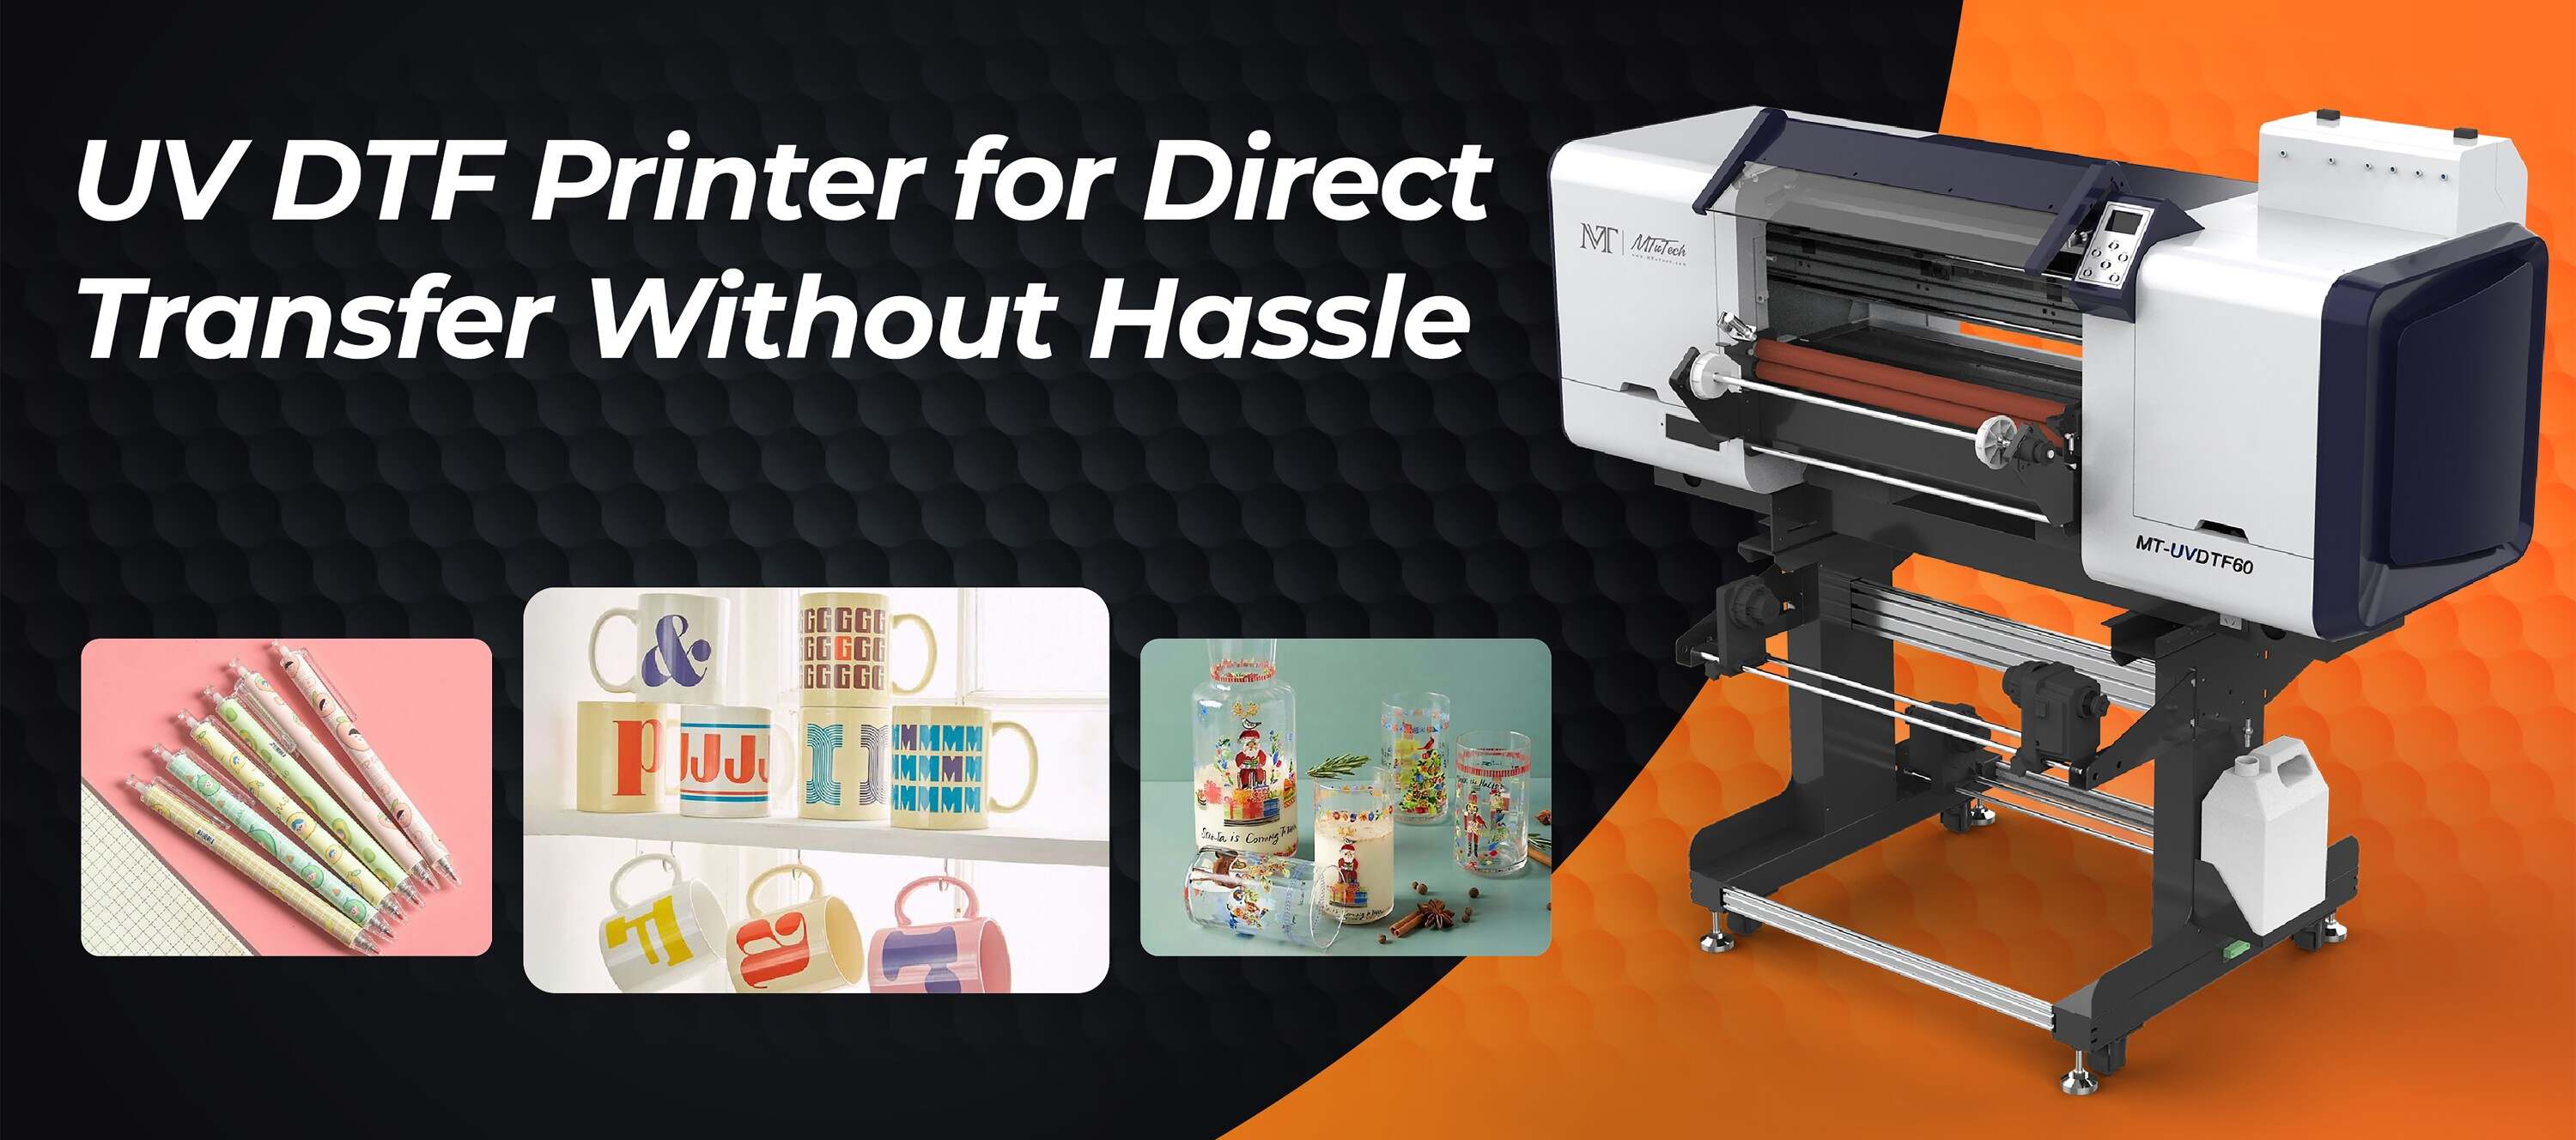
What is a UV DTF Printer?
A UV DTF printer is a specialized type of digital printer that uses ultraviolet (UV) light to cure ink as it is printed onto a film. This process allows for high-quality, durable prints that can be applied to a variety of surfaces, including textiles, plastics, and metals. With the growing demand for customized products, UV DTF printers have become increasingly popular among businesses and hobbyists alike.
Benefits of Using a UV DTF Printer
Before diving into the setup and calibration process, let's quickly explore the key benefits of using a UV DTF printer:
Vibrant Colors: UV DTF printers produce bright, rich colors that stand out on various materials.
Durability: The cured ink is resistant to fading and scratching, ensuring long-lasting prints.
Versatility: Prints can be applied to a wide range of materials, making them ideal for custom projects.
Fast Production Speed: The printing process is quick, allowing for rapid turnaround times.
Environmentally Friendly: UV inks typically contain fewer volatile organic compounds (VOCs), making them safer for the environment.
Essential Tools and Materials
Before you begin setting up your UV DTF printer, ensure you have the following tools and materials on hand:
UV DTF printer
Computer with design software
High-quality UV DTF film
Ink cartridges compatible with your printer
Protective gloves and eyewear
Cleaning supplies (lint-free cloths, cleaning solution)
Step-by-Step Setup and Calibration Process
Step 1: Unboxing and Initial Setup
Carefully unbox your UV DTF printer, ensuring that all components are included. Set the printer on a level surface, away from direct sunlight and moisture. Ensure there is sufficient space for the printer to operate smoothly without obstructions. Connect the printer to your computer using the provided USB or network cable.
Step 2: Install the Required Software
Install the printer's software and drivers on your computer. This step is crucial as the software will communicate with your printer, allowing you to design and send print jobs directly. Follow the manufacturer’s instructions for installation, and restart your computer if prompted.
Step 3: Fill Ink Cartridges
Once the software is installed, it's time to fill the ink cartridges. Carefully follow the manufacturer’s guidelines for filling the cartridges with UV ink, ensuring that you avoid spills to maintain a clean workspace. Securely insert the cartridges into the printer and check for proper installation.
Step 4: Load the UV DTF Film
Next, load your UV DTF film into the printer. Ensure that the film is aligned properly according to the printer’s specifications. This is vital for achieving accurate prints and preventing jams during printing. Refer to the user manual for guidance on loading the film correctly.
Step 5: Perform a Test Print
With your printer set up, it’s important to perform a test print to ensure that everything is functioning correctly. Use a simple design that contains various color gradients and textures. This will help you assess the printer’s performance before proceeding to intricate designs.
Step 6: Calibration of the Printer
Calibration is a crucial step to ensure that your prints have the desired quality. Here are the key aspects to calibrate:
Color Calibration
Adjust the color settings in the software to match the UV DTF inks. Compare the test print with the colors displayed on your computer screen. Make necessary adjustments in the printer settings to achieve color accuracy.
Print Head Alignment
To avoid issues like banding or misalignment, perform a print head alignment. This process adjusts the nozzles in the print head for accurate ink placement. Refer to the printer software’s alignment tool for guidance on completing this step.
Ink Density Adjustment
Depending on the material used, you may need to adjust the ink density to ensure optimal coverage without oversaturation. Use the software settings to modify the density levels, and perform additional test prints if necessary.
Best Practices for UV DTF Printing
Now that you've set up and calibrated your UV DTF printer, it's essential to adopt best practices for maintaining print quality and equipment longevity:
Regularly check and clean the print heads to prevent clogs and maintain consistent quality.
Store UV inks and films in a cool, dark place to prolong their lifespan.
Always perform routine maintenance as recommended by the manufacturer.
Experiment with different materials to assess how they interact with the UV inks and adjust settings accordingly.
Keep your workspace clean to avoid dust and debris that could affect print quality.
Troubleshooting Common Issues
Even with careful setup and calibration, you may encounter some common issues. Here are solutions to help you troubleshoot:
Print Quality Issues
If your prints have inconsistencies in color or quality, recheck your color calibration settings and ensure that the print head alignment is correct. You may also need to perform another test print after recalibrating.
Ink Smudging or Bleeding
Ink smudging may occur if the print density is too high or the ink is not cured properly. Adjust the ink density settings and ensure that the printer’s curing lamp is functioning optimally.
Paper Jams
Paper jams can be caused by improper loading of the UV DTF film or misalignment. Remove the film carefully and reload it as per the manufacturer’s instructions.
Conclusion
Setting up and calibrating a UV DTF printer may seem challenging at first, but by following this guide, you'll be able to establish a solid foundation for your printing projects. Remember that practice makes perfect—don’t hesitate to experiment with different settings and materials to achieve the results you’re looking for. Whether you're printing for your business or personal projects, a well-calibrated UV DTF printer can yield stunning results.
As you embark on your UV DTF printing journey, consider the benefits of investing in high-quality equipment. Explore our high-quality UV-DTF printers here and elevate your printing experience!
FAQ
What is the difference between UV DTF and traditional DTF printing?
UV DTF printing uses UV curing technology, which allows the ink to instantly cure upon exposure to UV light. This results in more durable prints and allows for printing on a wider range of surfaces compared to traditional DTF printing, which utilizes heat transfer.
Can I print on any type of material with a UV DTF printer?
Yes, UV DTF printers are designed to print on various materials, including textiles, plastics, wood, and metal. However, the ink adhesion may vary, so it’s best to test the printer on different surfaces to achieve the desired results.
How often should I perform maintenance on my UV DTF printer?
Regular maintenance is crucial for optimal printer performance. It’s recommended to clean the print heads at least once a week and conduct full maintenance procedures every few months, depending on the usage of the printer.