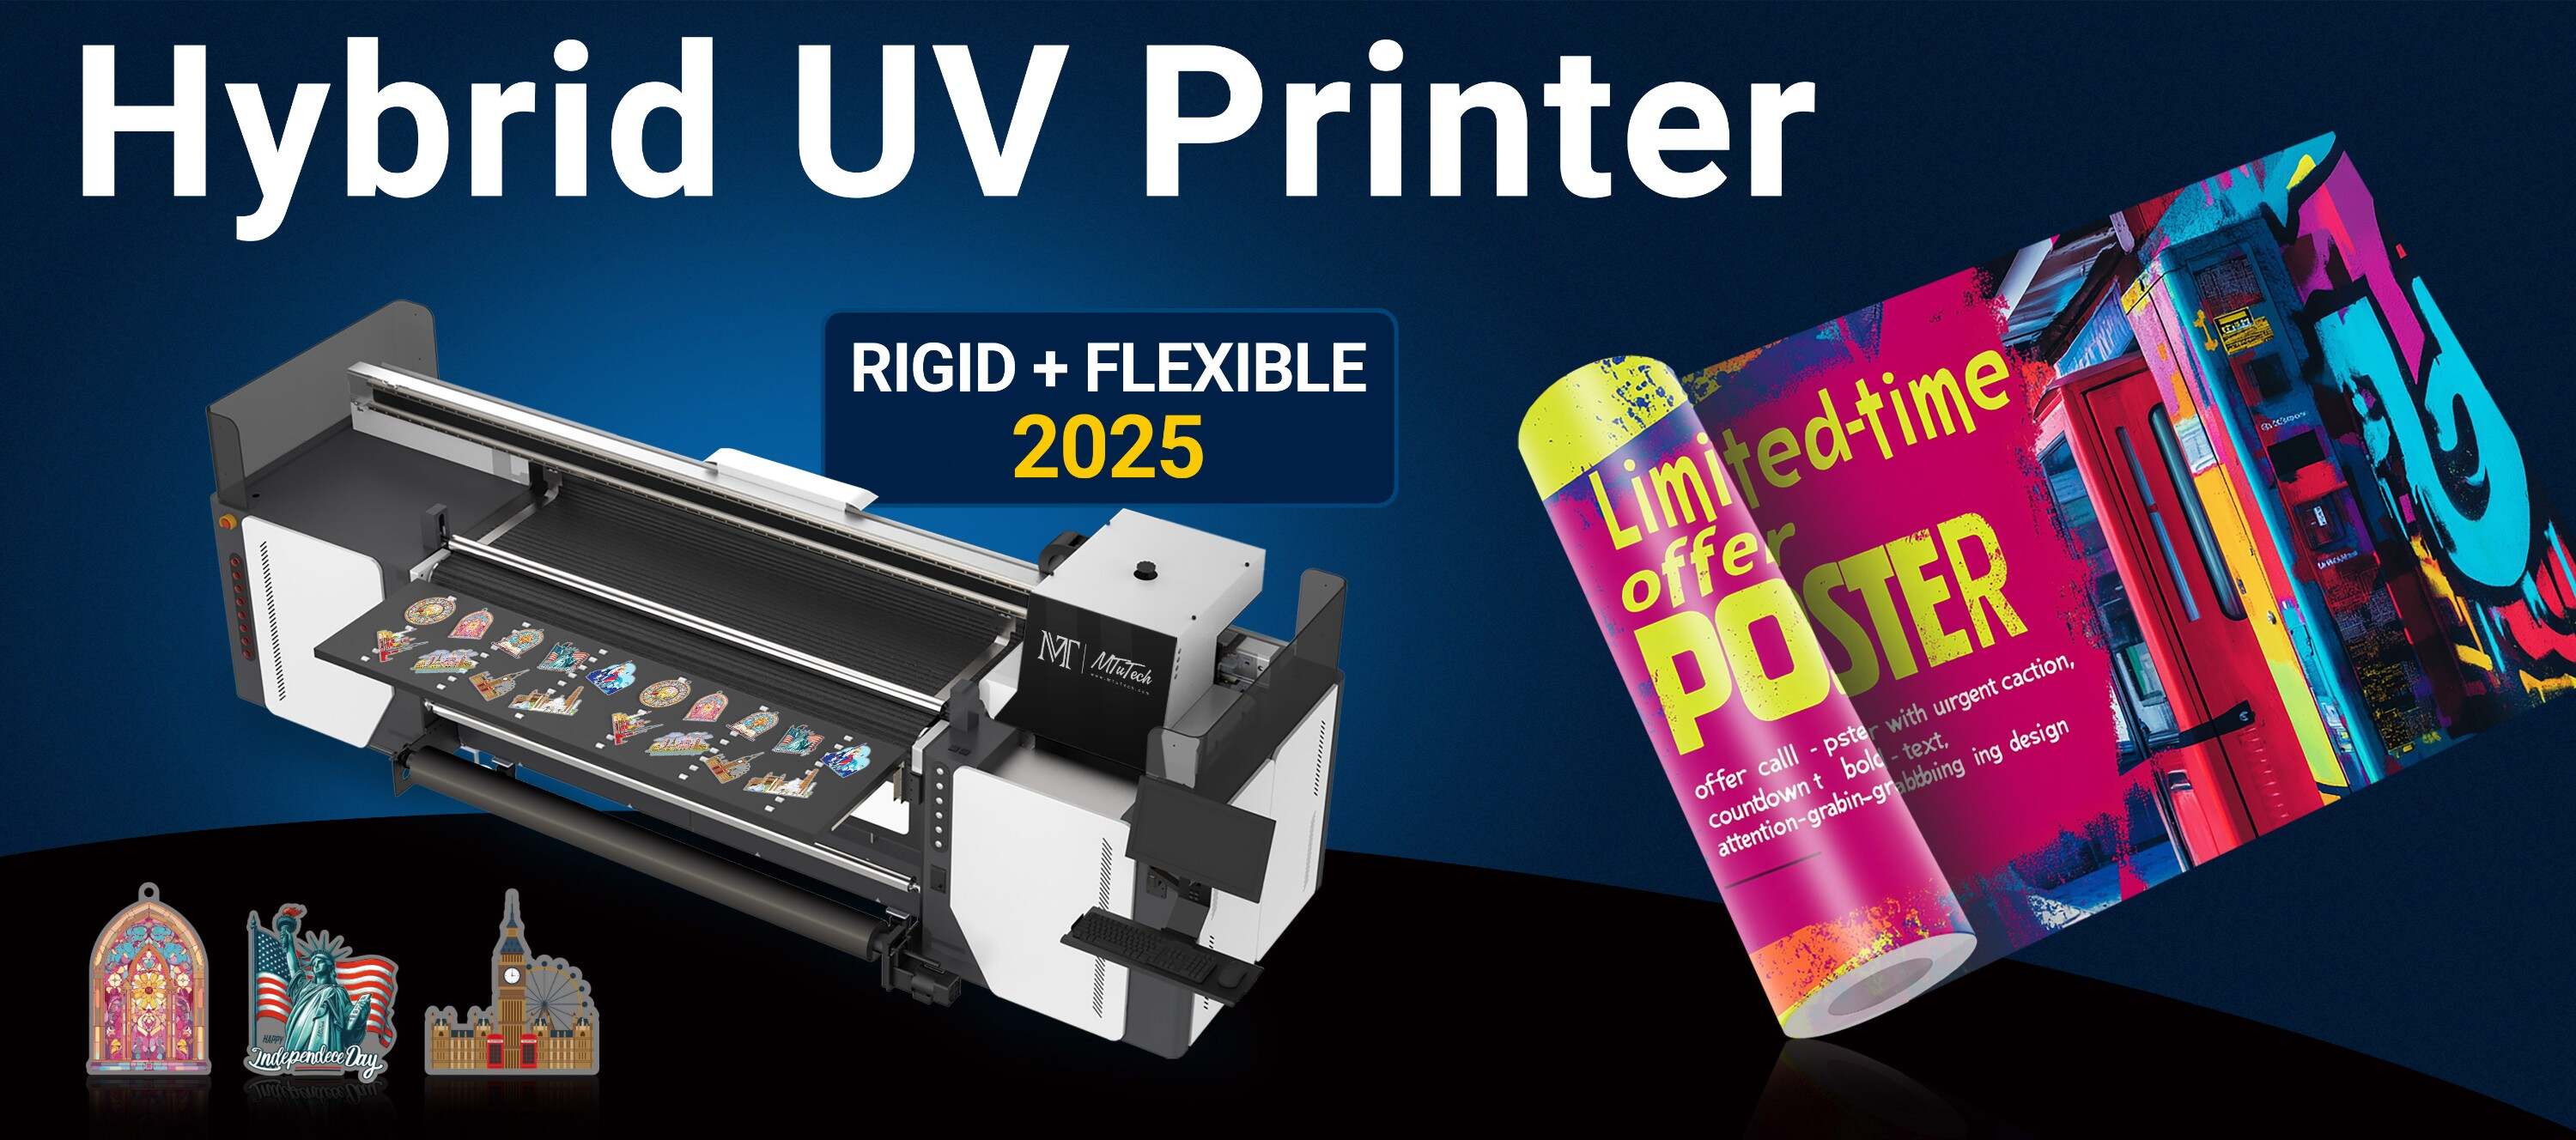
 Layered UV printing is one of the most powerful techniques for adding depth, texture, and dimensionality to your designs. Whether you’re creating raised effects, spot varnish, or multi-pass prints, layering with UV printers lets you go beyond flat prints into a realm of tactile customization.
What Is Layered UV Printing?
Layered UV printing involves printing multiple layers of ink (CMYK and/or varnish) in specific sequences to create raised, embossed, or textured effects. It is commonly used in:
• Packaging
• Signage
• Business cards
• Premium product labels
Benefits of Layered UV Prints
• Enhanced visual depth
• Unique tactile feel
• Better light reflection (great for branding)
• Luxury product appeal
• Competitive edge over traditional flat prints
Key Elements for Layered Printing Success
1. Printer Capability : Not all UV printers support layered printing. Look for models with multi-pass functionality and varnish ink compatibility.
2. Design File Setup : You’ll need separate layers for base color, white ink, and varnish. Use vector design tools like Adobe Illustrator or CorelDRAW to define these precisely.
3. RIP Software Configuration : Proper layering requires accurate RIP settings. Ensure white and varnish layers are correctly interpreted and sequenced.
4. Material Choice : Smooth substrates like acrylic, metal, and PVC yield better results than textured or absorbent materials.
Applications That Pop with Layering
• Textured backgrounds on luxury invites
• Raised logos on business cards
• Glossy highlights over matte finishes
• Braille or readable raised text for accessibility
Common Mistakes to Avoid
• Over-layering that causes smudging or uneven curing
• Poor registration leading to misalignment
• Using incompatible materials without primer
Want to explore advanced layering features and premium results? [Click here](https://www.mtutech.com/HybridPrinter2000/HybridUVPrinterMT-UV2000HR-1014.html) to learn more about MTuTech’s hybrid UV printers designed for multi-layer precision and creativity.
