Introduction
Printing UV Direct to Film (DTF) cup wraps has revolutionized the way we customize drinkware. Whether you are a small business owner looking to expand your product line, or a hobbyist eager to create personalized gifts, understanding the process of printing UV DTF cup wraps can be invaluable. This guide will take you through everything you need to know—from selecting the right materials to step-by-step printing instructions. By the end, you will have a clear understanding of how to create stunning, vibrant cup wraps that make a lasting impression.
What is UV DTF Printing?
UV DTF printing combines the advantages of UV printing and DTF technology. In this system, the design is printed on a special film using UV ink, and then transferred onto the cup. The UV curing process ensures that colors remain vibrant and durable, making this method ideal for various applications, including drinkware. Unlike traditional printing methods, UV DTF printing allows for intricate designs and high-quality finishes on a variety of surfaces.
Benefits of UV DTF Cup Wraps
Choosing UV DTF printing for your cup wraps has numerous benefits:
Vibrant Colors: UV inks provide a wide color gamut, resulting in bright and vivid prints.
Durability: The UV curing process offers excellent resistance to fading, scratching, and moisture.
Versatility: UV DTF printing can be used on various materials, including glass, ceramic, and plastic.
Eco-Friendly Options: Many UV inks are low in VOCs, making them more environmentally friendly compared to solvent-based inks.
Cost-Effective: Lower production costs and reduced waste make it a good option for small businesses.
Essential Tools and Materials
To successfully print UV DTF cup wraps, you'll need specific tools and materials. Here is a checklist of what you’ll need:
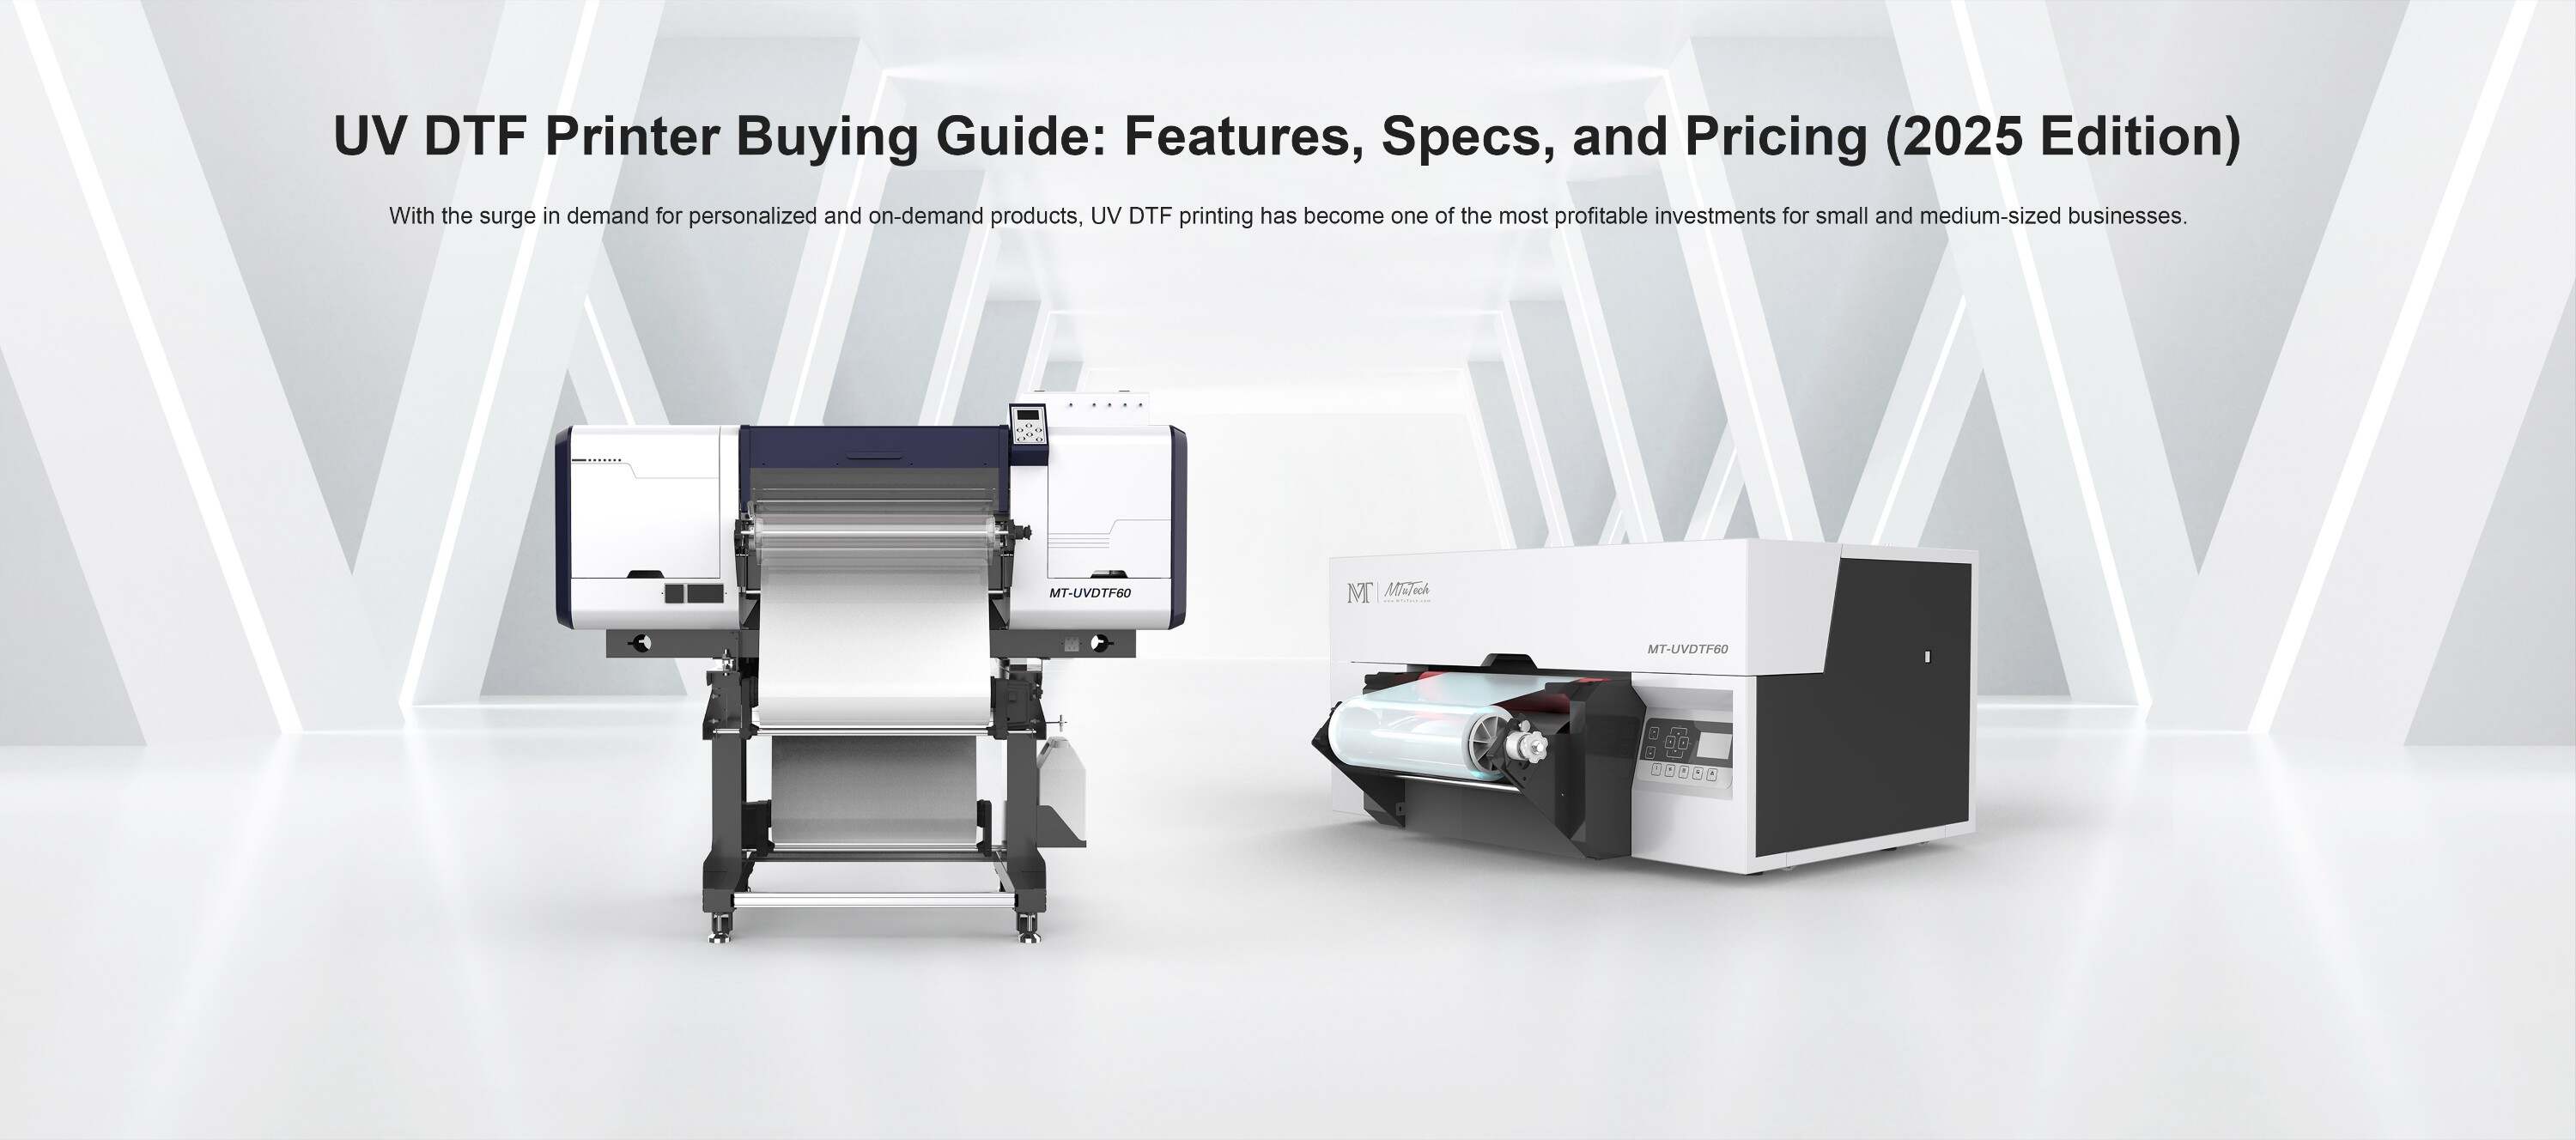
UV DTF Printer: Choose a reliable machine suitable for cup printing. Explore our high-quality UV-DTF printers here.
Specialized UV DTF Film: This film is essential for transferring designs.
UV Ink: Ensure your printer is compatible with the required UV ink for high-quality prints.
Heat Press: A heat press or a cup press specifically designed for cups is necessary for the transfer process.
Cups: Select the type and size of cups you intend to print on.
Design Software: Use professional graphic software like Adobe Illustrator or CorelDRAW to create your designs.
Protective Gear: Safety goggles and gloves are recommended while handling UV inks and printing equipment.
Step-by-Step Guide to Print UV DTF Cup Wraps
Step 1: Designing Your Artwork
The first step in creating a UV DTF cup wrap is designing your artwork.
Open your design software and create a new document.
Set the dimensions according to your cup specifications (considering wrap-around designs).
Use high-resolution images and vector graphics to ensure quality.
Export your completion in a format compatible with your printing software (usually .PNG or .PDF).
Step 2: Preparing the Film
Once your artwork is ready, it’s time to print it onto the UV DTF film.
Load the UV DTF film into your printer, making sure it's properly aligned.
Use the printer settings to select the type of print you’re doing (ventilation, high resolution, etc.).
Print a test design to ensure everything is working properly before the final print.
Allow the printed film to dry completely before moving to the next step.
Step 3: Curing the Ink
After printing the design, it's crucial to cure the ink for durability.
Set your UV light source for curing the film; typically, this step can be done using a UV light box.
Place the printed film in the UV light source and allow it to cure according to the manufacturer's specifications, usually for a few seconds to minutes.
Ensure that the ink is completely cured and dry before proceeding.
Step 4: Preparing the Cup
While the film is curing, you can prepare the cup.
Clean the cup thoroughly to remove any dust or grease; this helps with ink adhesion.
Consider lightly sanding the area where the wrap will adhere if the cup has a glossy finish. This helps the design stick better.
Step 5: Applying the Transfer
Transferring the design onto the cup is a delicate process.
Position the cured film around the cup to ensure it fits perfectly.
Use heat-resistant tape to secure the film in place to avoid shifts during the pressing process.
Preheat your heat press according to the material's specifications.
Once ready, carefully place the cup into the heat press, ensuring the film is pressed firmly against the cup.
Apply heat and pressure according to the guidelines for your specific cup and film.
After the designated time, carefully remove the cup and let it cool.
Features to Consider When Printing UV DTF Cup Wraps
When venturing into UV DTF cup wraps, certain features enhance your overall printing experience:
Printer Quality: Select printers capable of delivering high resolution and accurate colors.
Film Quality: Invest in high-quality UV DTF films that provide better adhesion and durability.
Ink Quality: High-quality UV inks ensure longevity and vibrancy of the prints.
Support and Help: Choose brands that offer good customer support and resources for troubleshooting.
Conclusion
Printing UV DTF cup wraps is a rewarding process that combines creativity and technical skills. By following this guide, you can create stunning, personalized cups that stand out in the market, whether for personal use or for selling. The key to success lies in choosing the right materials, setting up your printer correctly, and mastering the transfer process. Now that you armed with the knowledge, it's time to unleash your creativity and start creating fabulous cup wraps!
FAQ
What types of cups can I use for UV DTF printing?
You can use a variety of materials, including glass, ceramic, and plastic cups. Just ensure the surface is appropriate for UV ink adhesion.
How long does the UV ink take to cure?
The curing time can vary depending on the specific printer and ink you are using, but generally, it is a matter of seconds when exposed to UV light.
Do I need a special printer for UV DTF printing?
Yes, a UV DTF printer is specifically designed to work with UV inks and films, ensuring high-quality results for your cup wraps.
Can I print on other items besides cups?
Absolutely! UV DTF printing is versatile and can be used on a wide range of materials, such as phone cases, wood, and other promotional items.
Is UV DTF printing safe for food containers?
Yes, as long as you use FDA-approved inks and materials, UV DTF printing can be safe for food and drink containers. Always follow packaging guidelines for the specific products you use.