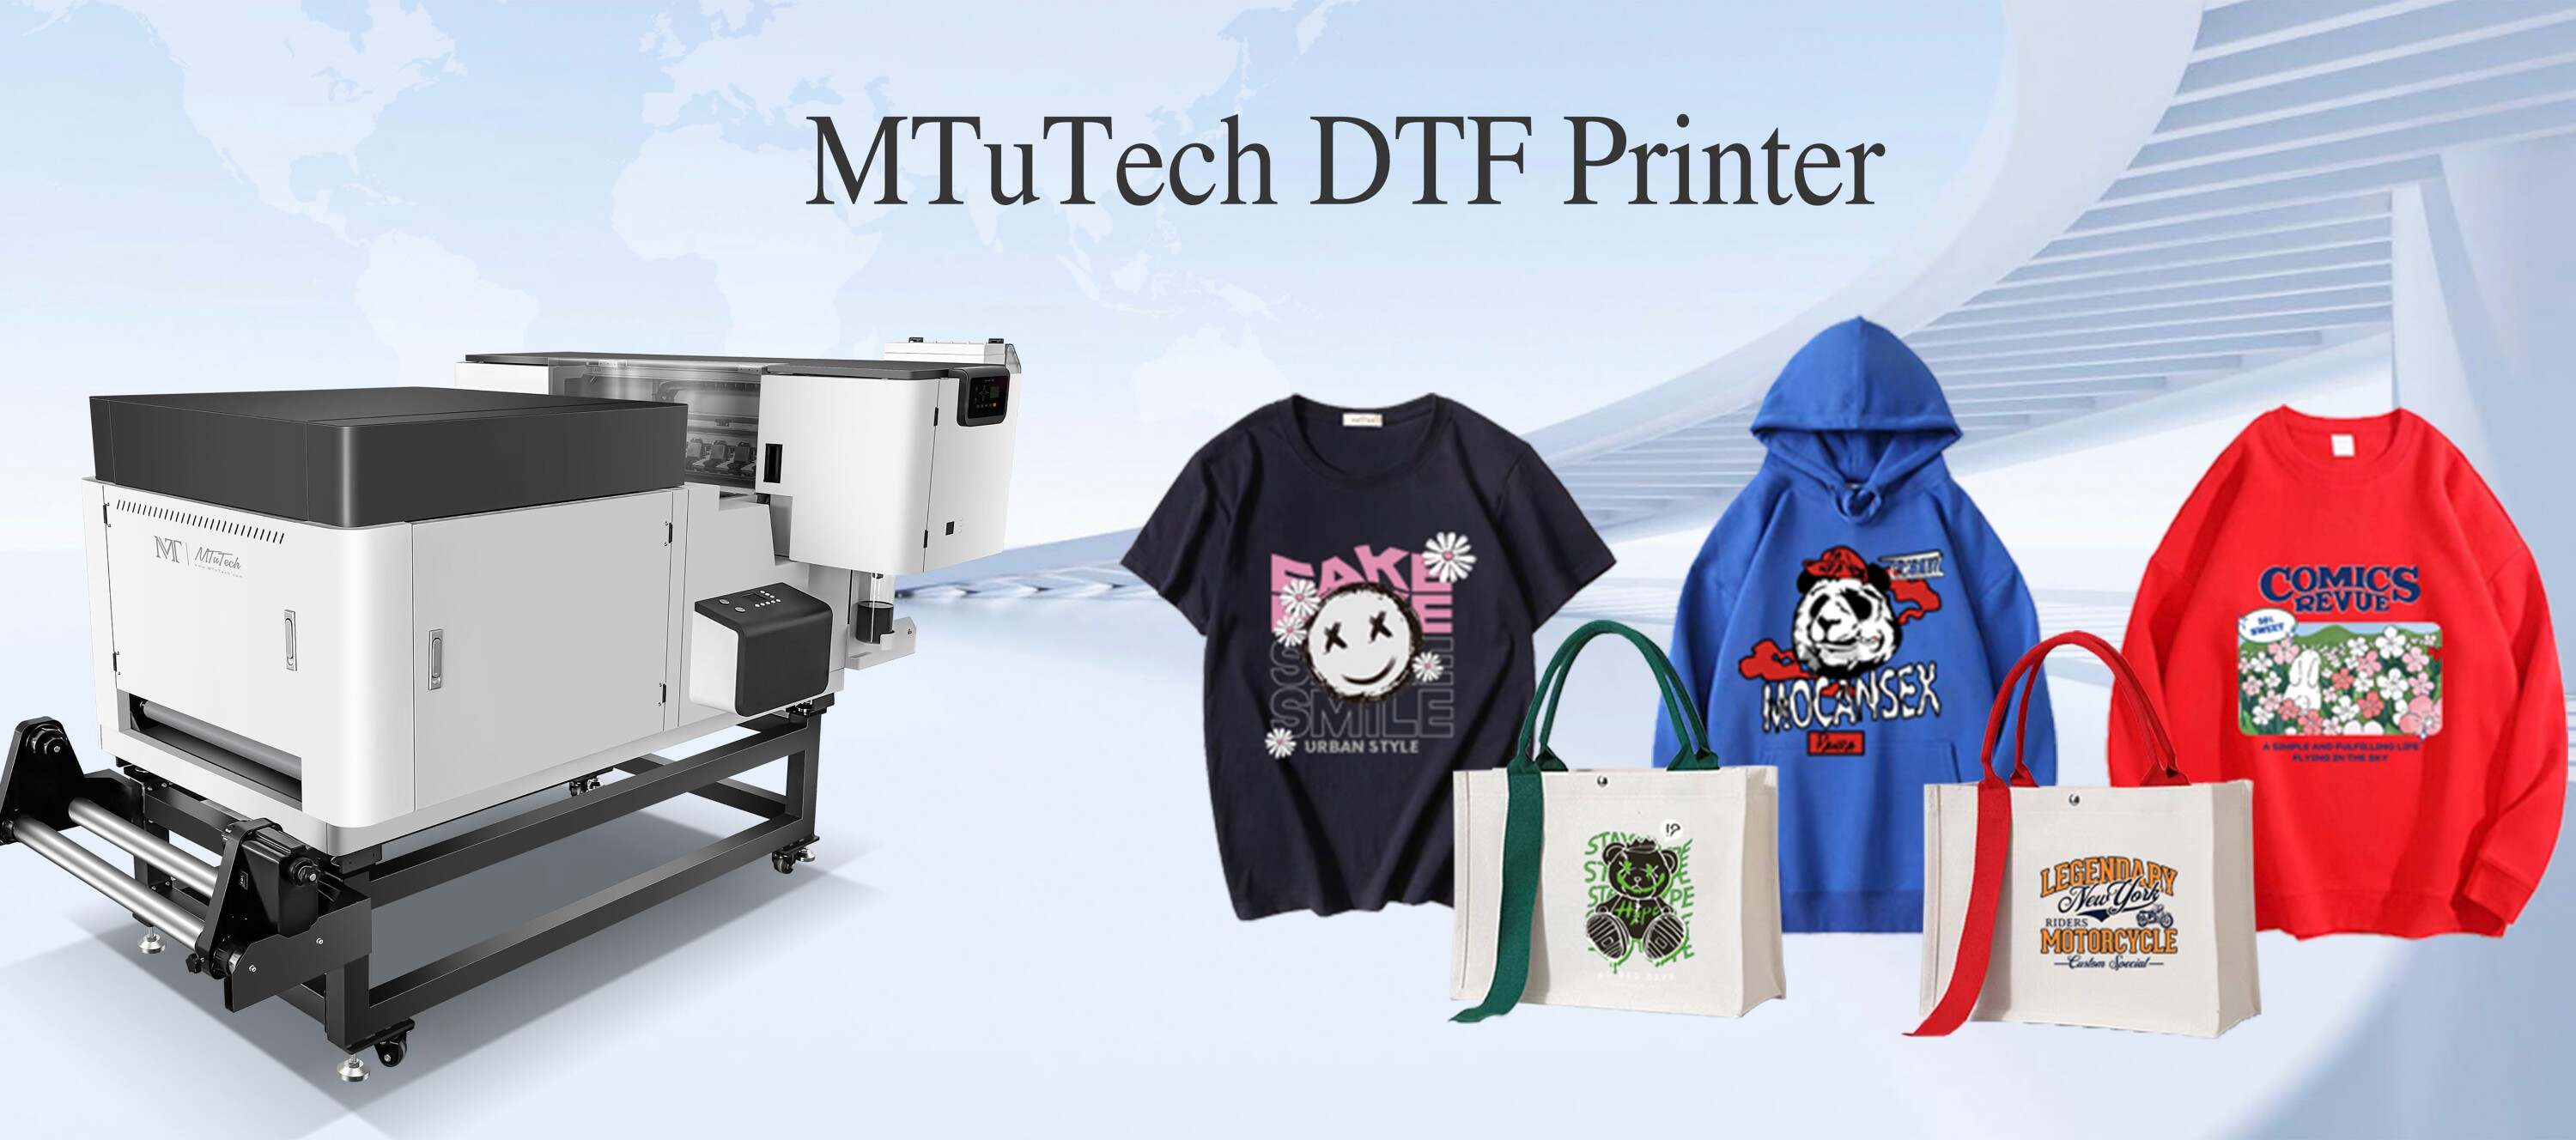
Designing for Direct to Film (DTF) printing is more than just choosing pretty graphics—it’s about translating digital art into vibrant, high-quality prints that stick and sell. Whether you're an illustrator, graphic designer, or hobbyist, a solid workflow ensures your art pops on any fabric. Here's how to do it:
1. Choose the Right Software
Photoshop, Illustrator, CorelDRAW, and Procreate are top picks. For vector-based art, Illustrator is ideal. For detailed raster images or photo-based art, go with Photoshop.
2. Set Up Correct Canvas Settings
• Resolution: 300 DPI
• Color mode: RGB (convert to CMYK if needed by RIP software)
• Transparent background for easier layering
• Size: Match the transfer sheet (typically A3 or A4)
3. Clean Up the Design
Remove unwanted pixels, stray strokes, or fuzzy edges. Make sure all elements are sharp, especially when zoomed in. Use layer masks instead of destructive erasing.
4. Add a White Layer if Needed
Many DTF printers require a white underbase. Your RIP software might automate this, but it helps to test designs with and without it to preview output quality.
5. Export the File Correctly
Save your artwork in formats like PNG (for transparency), PSD (for edits), or TIFF. Check if your RIP software has preferred file types and naming conventions.
6. Use RIP Software Settings
Load your design into the DTF printer’s RIP software. Set the white ink layer, ink limit, and print order. Preview your film before hitting ‘Print.’
7. Run a Test Print
Always test on a small fabric piece to check:
• Color accuracy
• Alignment
• Ink density
• Print durability
8. Archive Your Artwork
Store final print-ready files in labeled folders by project or theme. This helps with reorders and creating variations in the future.
With the right setup and workflow, your digital art can become profitable DTF transfers. If you’re serious about elevating your print game, [click here](https://www.mtutech.com/DTFPrinter.html) to explore high-performance DTF printers built for pro designers.
