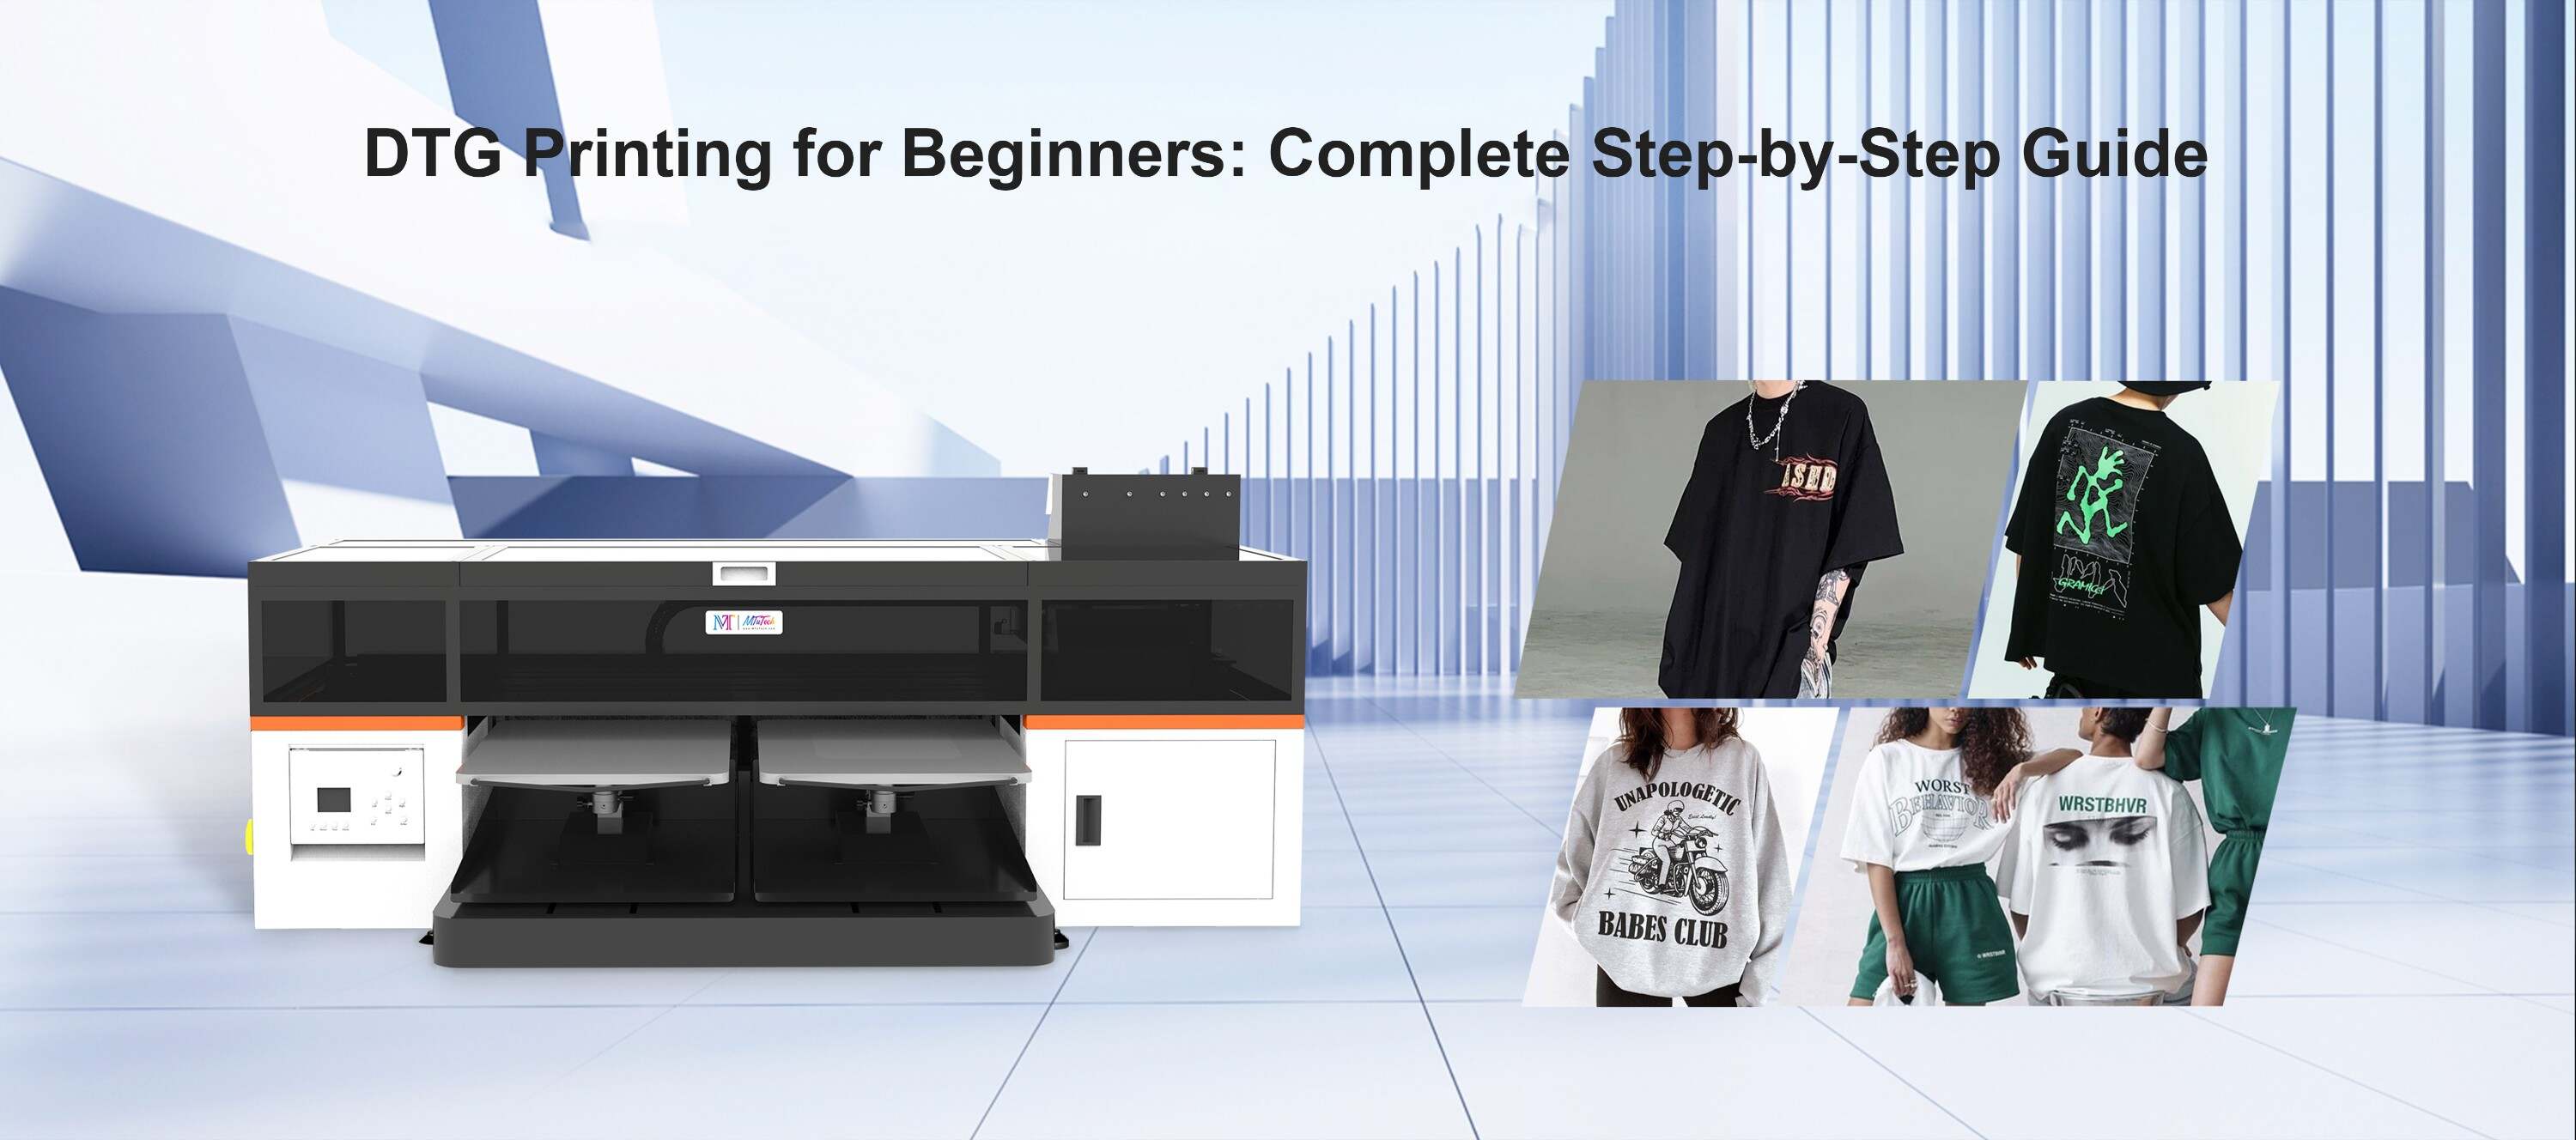
Introduction
DTG printing gives you the freedom to bring complex and colorful designs to life—but software plays a key role in preparing those designs for printing. Adobe Photoshop and Illustrator are industry-standard tools that offer deep control over customization, layers, and print-ready artwork. In this blog, we’ll show you how to use these tools effectively to optimize your DTG prints.
Photoshop vs. Illustrator for DTG Printing
- Photoshop is best for photographic or raster-based designs
- Illustrator is ideal for vector artwork like logos, icons, or clean line art
- Use both together for hybrid workflows (e.g., photo with text overlay)
Preparing DTG Designs in Photoshop
- Set resolution to 300 DPI and canvas to actual print dimensions (e.g., 12x16 inches)
- Use transparent background (especially for dark garments)
- Convert text to shapes to avoid font issues
- Flatten layers when exporting to reduce file size
Preparing DTG Artwork in Illustrator
- Use CMYK or RGB depending on RIP compatibility
- Expand all strokes and outline fonts
- Save as high-res PNG or export as PDF if supported by your RIP software
- Keep file dimensions within printer limits
Design Tips for Best Results
- Avoid excessive gradients or very thin lines—they may not print well
- Use bold, high-contrast colors for better visibility on garments
- Preview how the design looks on the garment color you're using
Exporting and Sending to RIP Software
- Export as PNG (transparent background) or TIFF (lossless)
- Double-check resolution and file size before importing into RIP
- Use naming conventions to stay organized (e.g., “ClientName_Product_Color_Size”)
Conclusion
Photoshop and Illustrator unlock incredible potential for DTG printing when used correctly. Mastering these tools helps you deliver standout designs, reduce production errors, and keep your workflow clean and efficient.
️ Bring your designs to life with our precision DTG printer — the perfect partner for graphic artists and apparel creators.